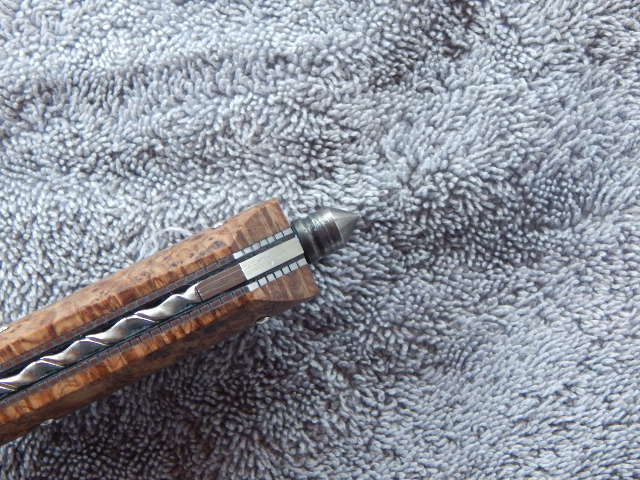
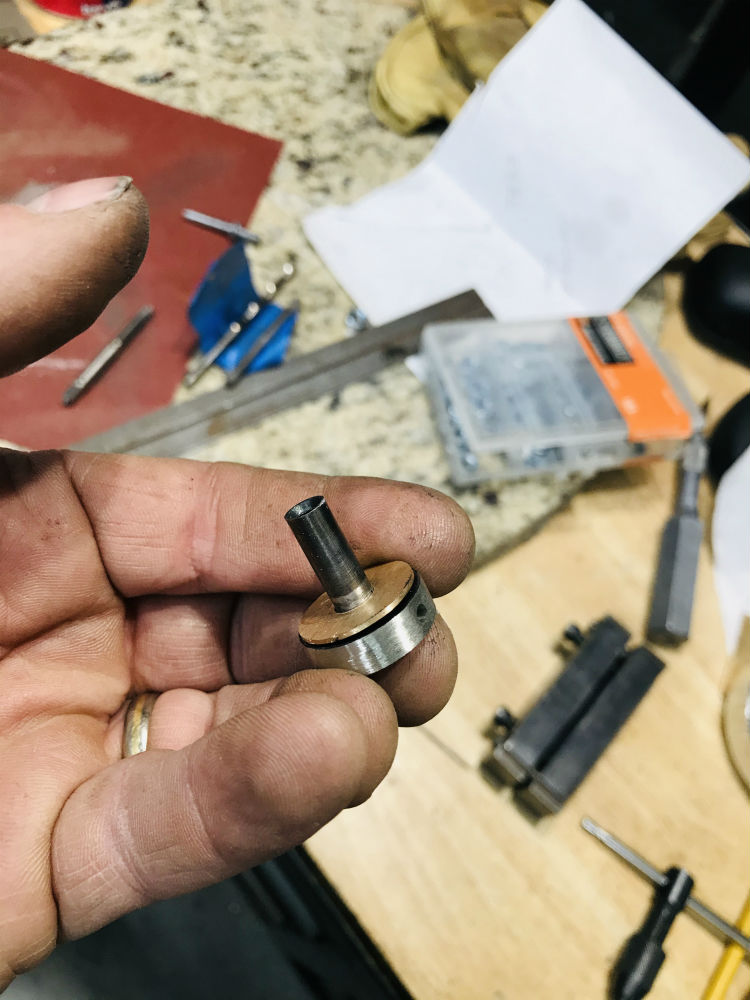
I am in the process of doing a little take-down knife and thought I would share my process for creating the threaded finial that holds the whole thing together.
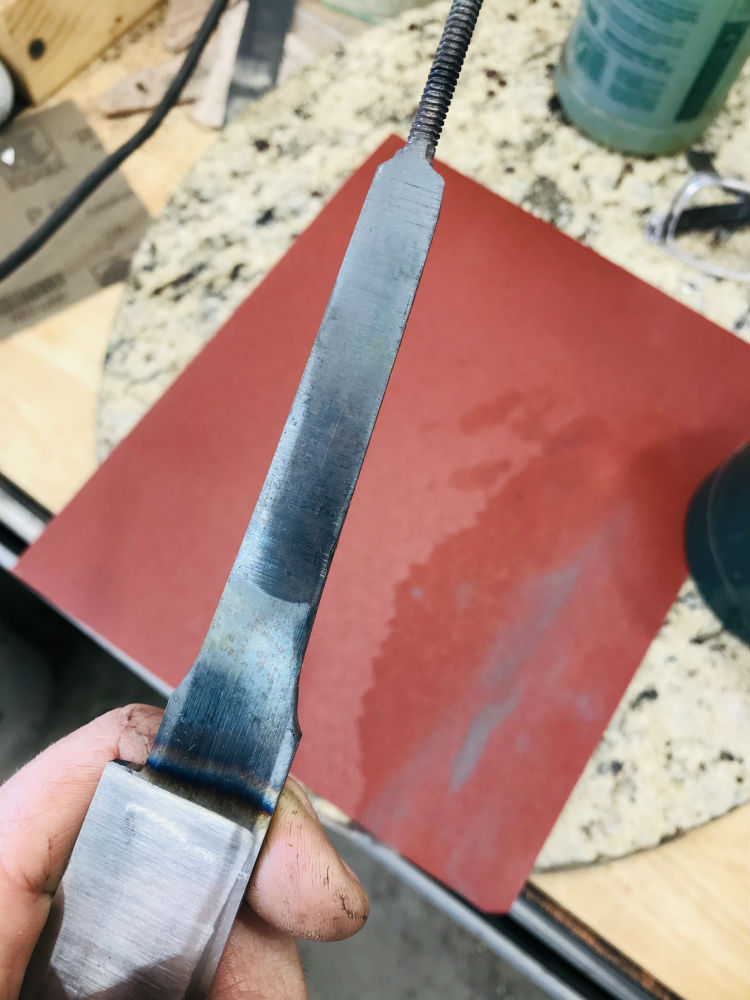
The blade is forged with a long tang, the end of which is ground down to a roughly round stem and threaded with 10/24.
Here is the tang after HT and the tang drawn back.
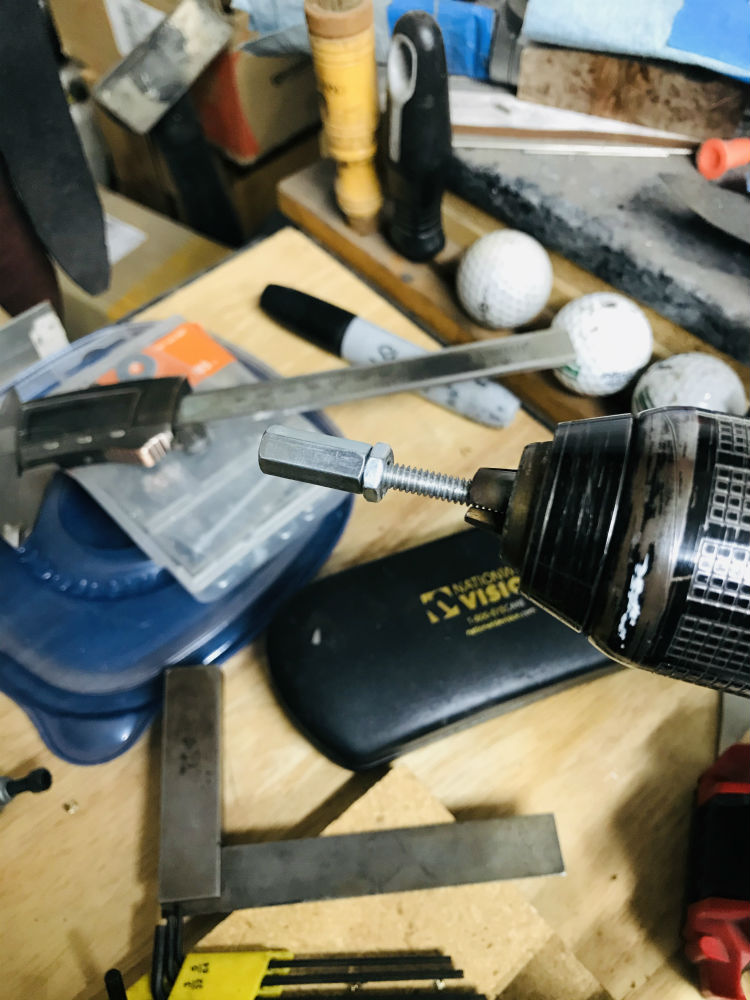
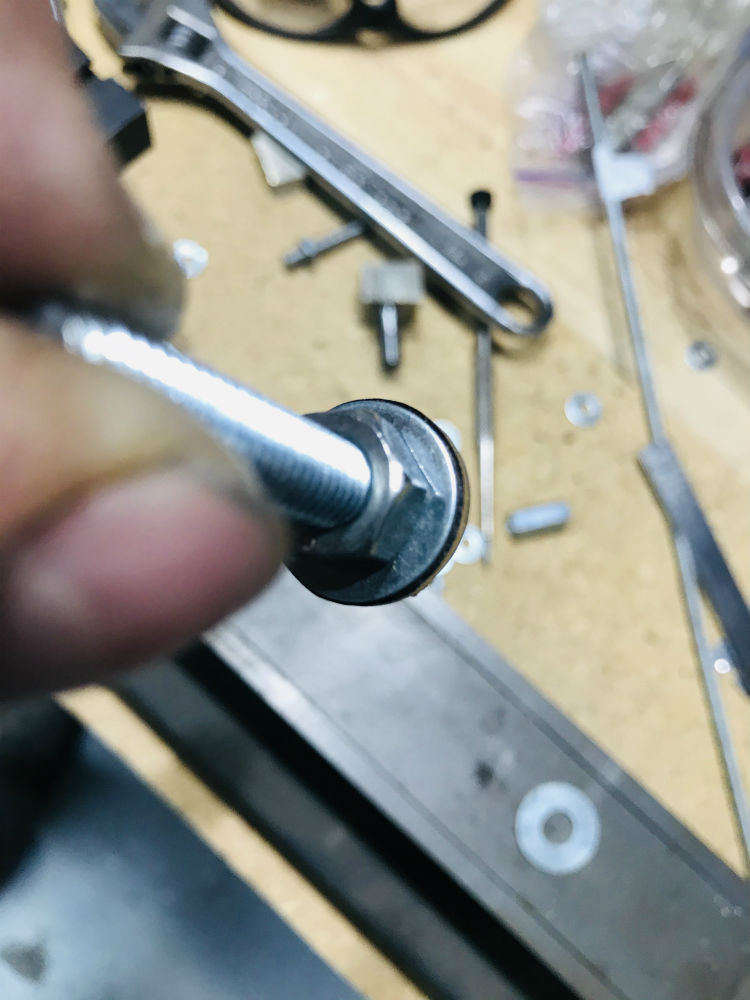
I take a 10/24 threaded coupler nut, put it on a short piece of threaded rod with a small nut to tighten it against and chuck it up in a drill.
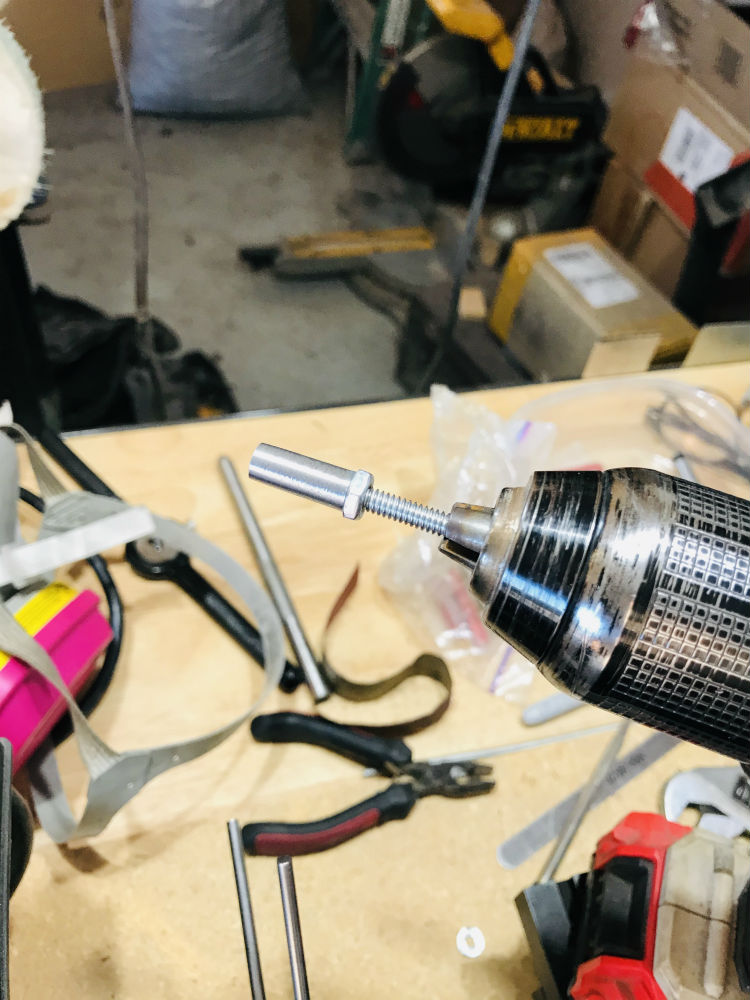
This I turn to basically round with a short taper on either the flat platen or the disc sander.
The fat end I keep measuring until it is a couple thousandths under 5/16"
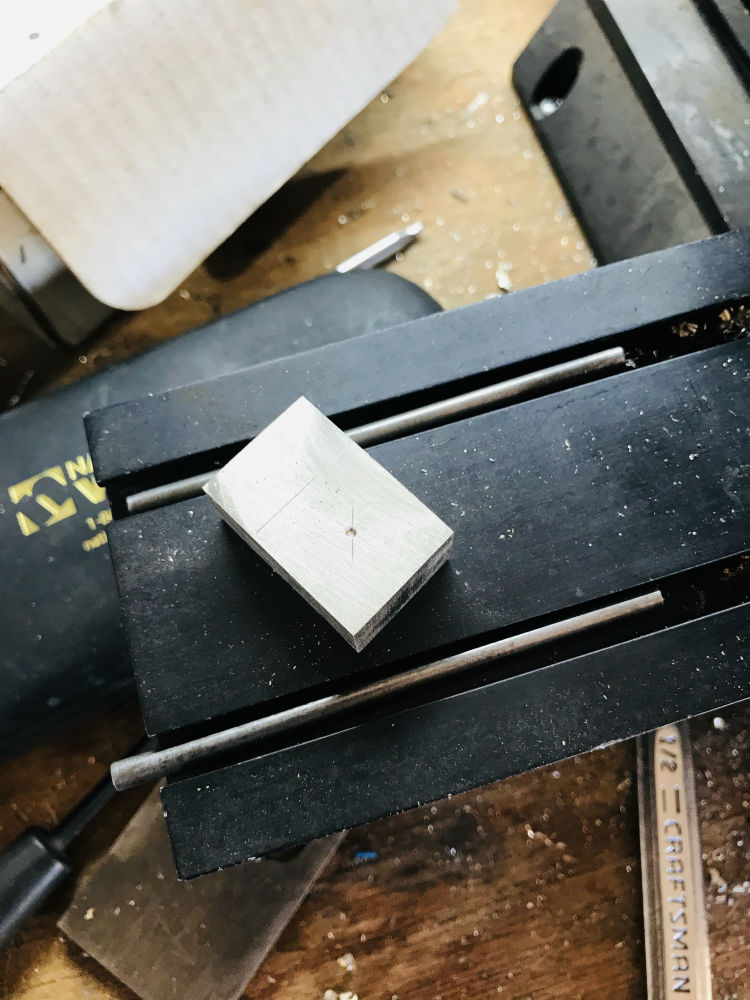
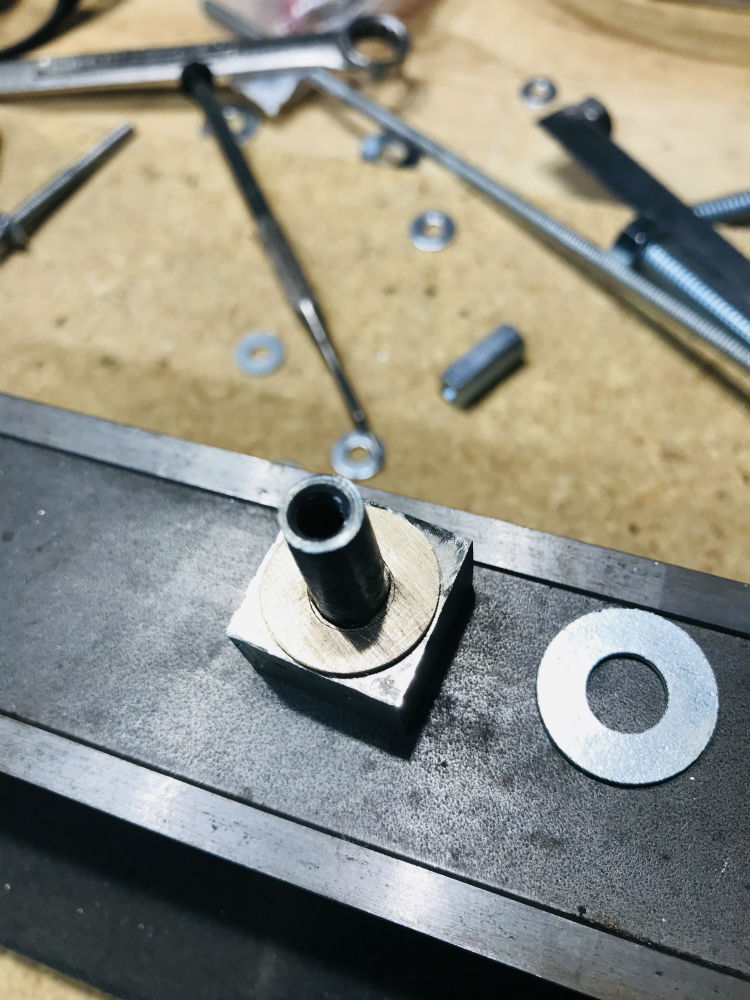
Now I have a large chunk of nickel-silver that I cast from all my cutoffs and scrap. So I cut a piece off of it, made all the sides flat, square and parallel. Then I marked off a fairly square area and center punched it.
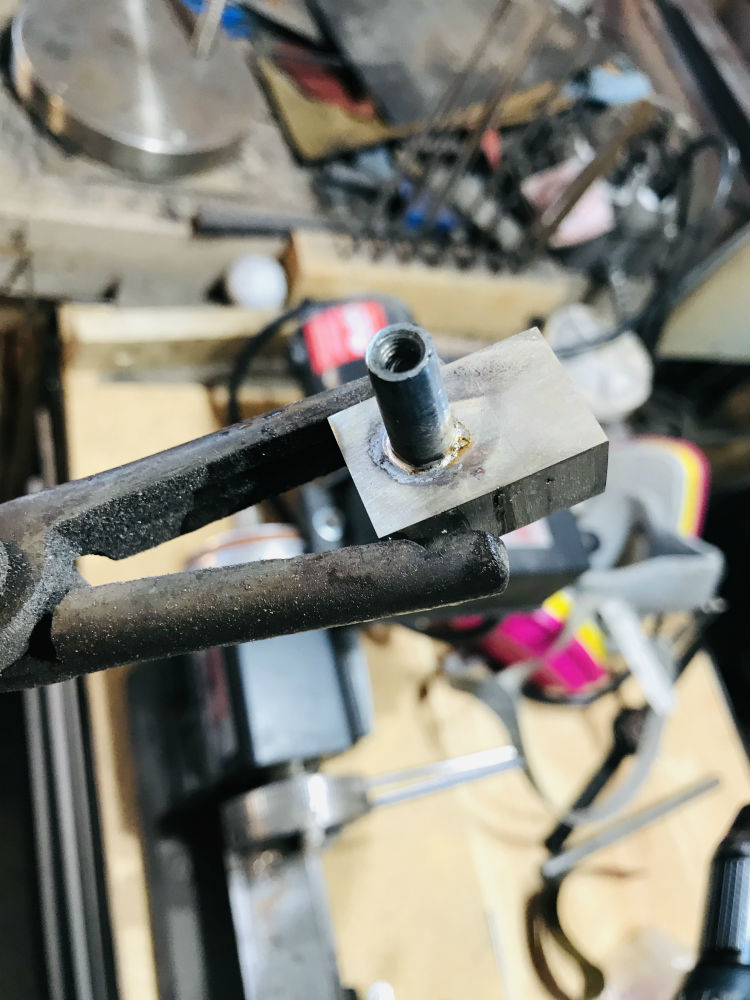
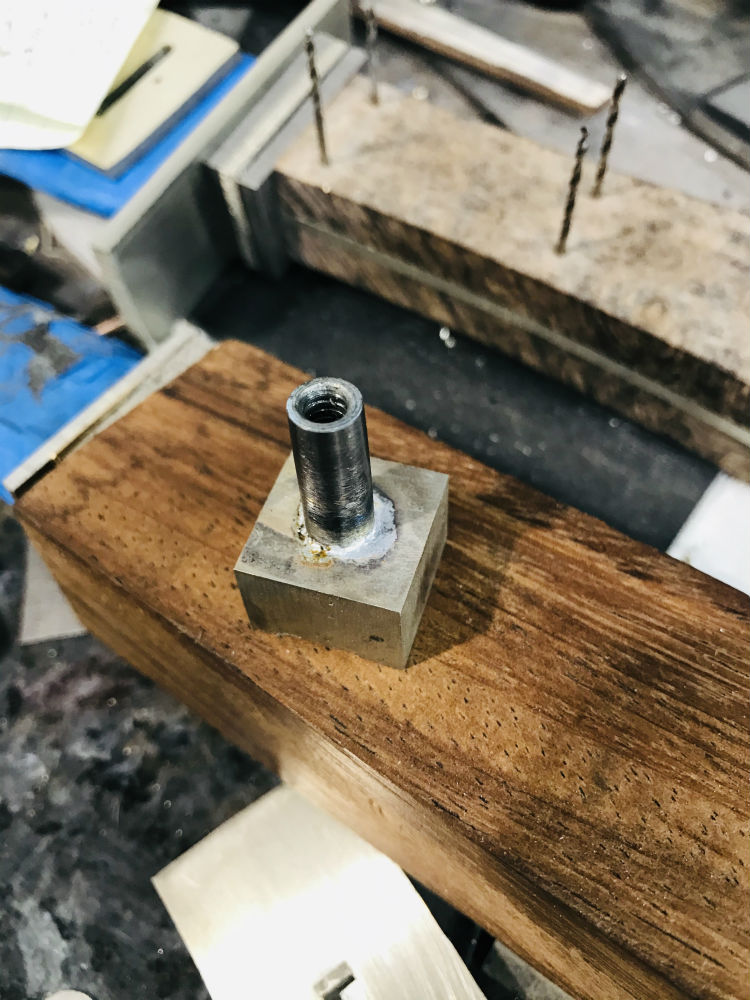
I drill that with a 5/16" drill just deep enough to create about 1/32" straight sides. Flux the depression and the fat end of the hex nut, and tap them together eyeballing the straight and square. Then I drop a piece of silver solder down the tube and make my way over to Liz's (the wife) workbench and solder that sucker together.
I cut off the excess (save that for later) and I have the rough made finial.
Joshua States
www.dosgatosforge.com
https://www.youtube.com/channel/UCdJMFMqnbLYqv965xd64vYg
https://www.facebook.com/dos.gatos.71
Also on Instagram and Facebook as J.States Bladesmith
“So I'm lightin' out for the territory, ahead of the scared and the weak and the mean spirited, because Aunt Sally is fixin’ to adopt me and civilize me, and I can't stand it. I've been there before.â€
Lots of ways to skin that ol' cat. I've threaded mine 10-32 for 20 years. I find the finer thread friendlier on this type of assembly.
Thanks for posting these pictures.
Karl B. Andersen
Journeyman Smith
Looking good Joshua.
Thanks guys. Previously, I have always made these so a standard wrench is used to take it off, or a pair of channel locks and a piece of leather. This one, I am going to make a small tool with a straight pin and put a hole in the finial. I was thinking 3/32" 416 for the pin. Sound about right?
Joshua States
www.dosgatosforge.com
https://www.youtube.com/channel/UCdJMFMqnbLYqv965xd64vYg
https://www.facebook.com/dos.gatos.71
Also on Instagram and Facebook as J.States Bladesmith
“So I'm lightin' out for the territory, ahead of the scared and the weak and the mean spirited, because Aunt Sally is fixin’ to adopt me and civilize me, and I can't stand it. I've been there before.â€
|quoted:
I was thinking 3/32" 416 for the pin. Sound about right?
Go to the 6 minute mark here and see if this gives you any ideas. Watch the entire explanation.
https://www.youtube.com/watch?v=bxh8ejf_MtA&t=1s
Karl B. Andersen
Journeyman Smith
Thanks for the video Karl. Your knife is quite a bit larger than the one I am making. Proportions need to be maintained. I think that almost 1/8" would be a little thick, but I will check it out. I might have some 3/32" music wire. It's steel and spring tempered.
Joshua States
www.dosgatosforge.com
https://www.youtube.com/channel/UCdJMFMqnbLYqv965xd64vYg
https://www.facebook.com/dos.gatos.71
Also on Instagram and Facebook as J.States Bladesmith
“So I'm lightin' out for the territory, ahead of the scared and the weak and the mean spirited, because Aunt Sally is fixin’ to adopt me and civilize me, and I can't stand it. I've been there before.â€
|quoted:
Thanks for the video Karl. Your knife is quite a bit larger than the one I am making. Proportions need to be maintained. I think that almost 1/8" would be a little thick, but I will check it out. I might have some 3/32" music wire. It's steel and spring tempered.
You can get W1 drill rod in any dimension that drill bits come in. And it's cheap. Austenize with a torch - quench and double temper at about 550.
Karl B. Andersen
Journeyman Smith
Would one of the admins please do me a favor and correct my spelling in the title? I spelled Threaded wrong.
Thank you in advance.
Joshua States
www.dosgatosforge.com
https://www.youtube.com/channel/UCdJMFMqnbLYqv965xd64vYg
https://www.facebook.com/dos.gatos.71
Also on Instagram and Facebook as J.States Bladesmith
“So I'm lightin' out for the territory, ahead of the scared and the weak and the mean spirited, because Aunt Sally is fixin’ to adopt me and civilize me, and I can't stand it. I've been there before.â€
Well, I took Karl's advice and ordered some drill rod from MSC today. It should be here on Tuesday.
Onward with the prep work.
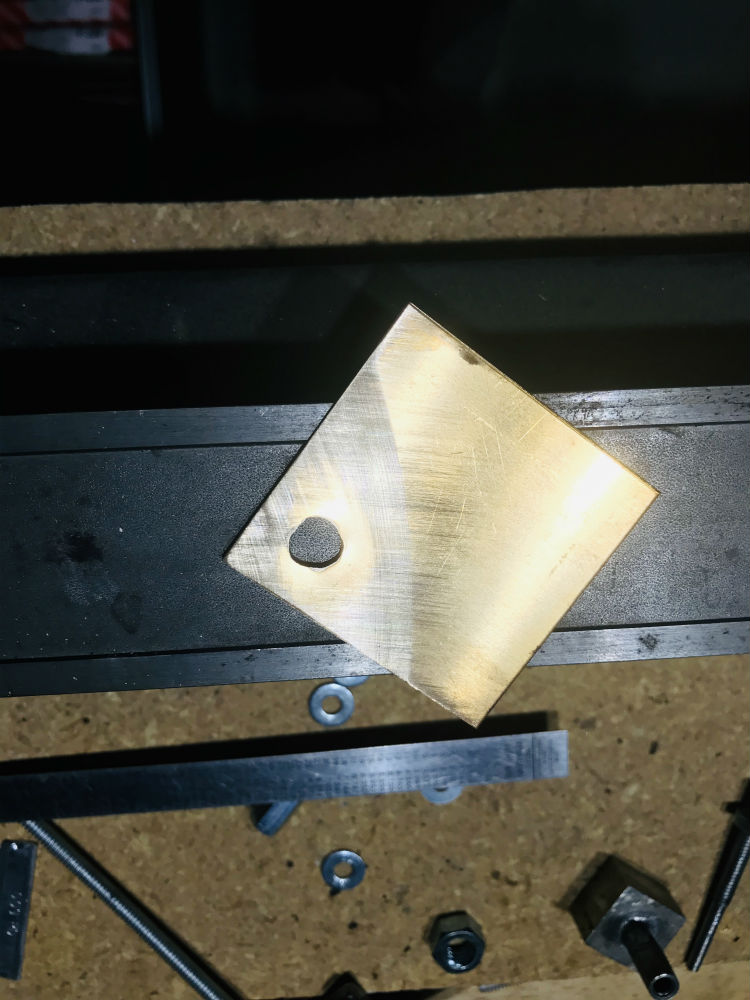
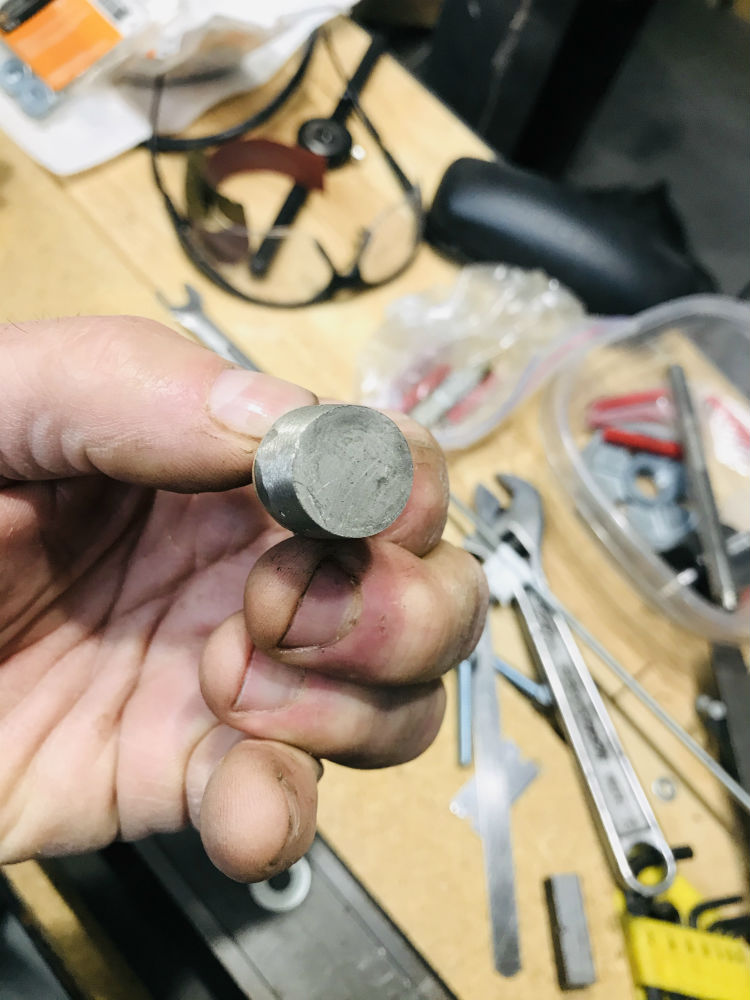
Because this knife will not have a butt cap, I plan on having a bronze washer between the finial and the wooden handle.So I take a piece of .035" bronze and drill a 5/16" hole in it. On really thin stock like this, the drill bit doesn't make a round hole. It is sort of triangular, and that helps.Those three points will keep it snug against the stem.
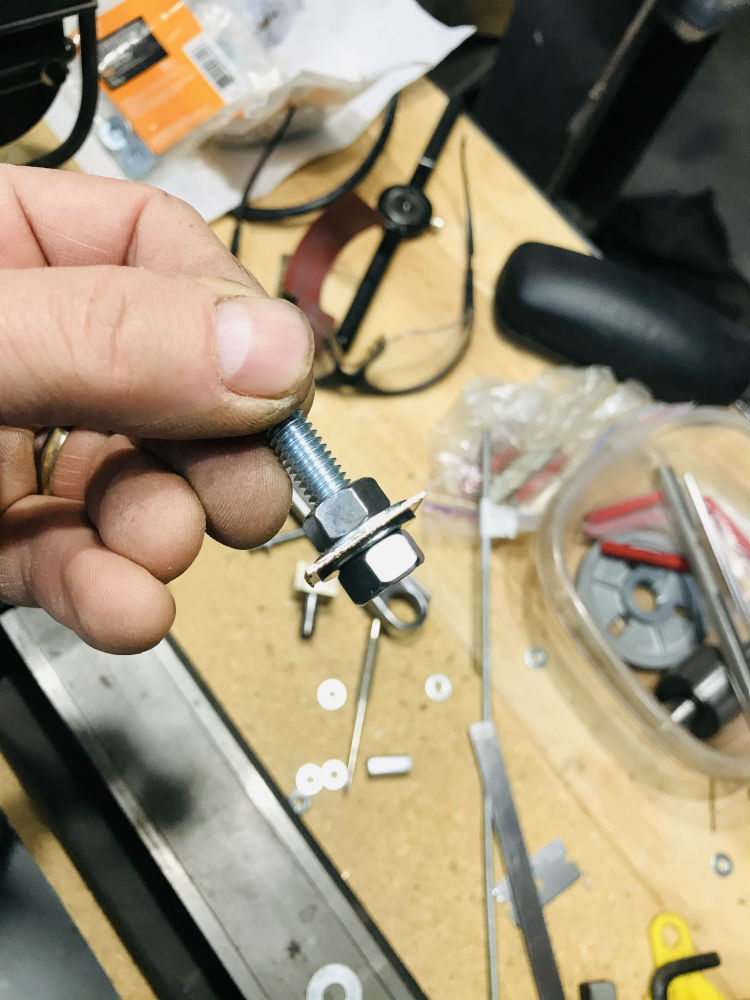
After cutting it out square(ish), put it onto a piece of 5/16" threaded rod (or a bolt with the head cut off) and sandwich it between two nuts.
Grind down almost to the washer.
Chuck it up in the drill and turn it on the disc or belt grinder, using the washers as a stop point. I find using the slack belt works best for this.You should now have a snug fitting round washer.
Use that washer as a guide to rough grind the finial and take off the square corners. Then chuck the finial in the drill and repeat to create a round finial.This can also be done in the drill press or a horizontal drill with a lathe file.
Joshua States
www.dosgatosforge.com
https://www.youtube.com/channel/UCdJMFMqnbLYqv965xd64vYg
https://www.facebook.com/dos.gatos.71
Also on Instagram and Facebook as J.States Bladesmith
“So I'm lightin' out for the territory, ahead of the scared and the weak and the mean spirited, because Aunt Sally is fixin’ to adopt me and civilize me, and I can't stand it. I've been there before.â€
I've done a few similar, tap a hole, insert threaded rod, chuck rod in the drill, grind on the grinder. The last couple, I've changed process a little. I still tap the hole and insert a threaded rod or cutoff bolt. This time I chucked the 1/4" bolt into a collet on my mill. Spin the work with the mill, and cut it with a lathe bit held in the vise jaws. It works, and was a little more precise than the drill/grinder way.
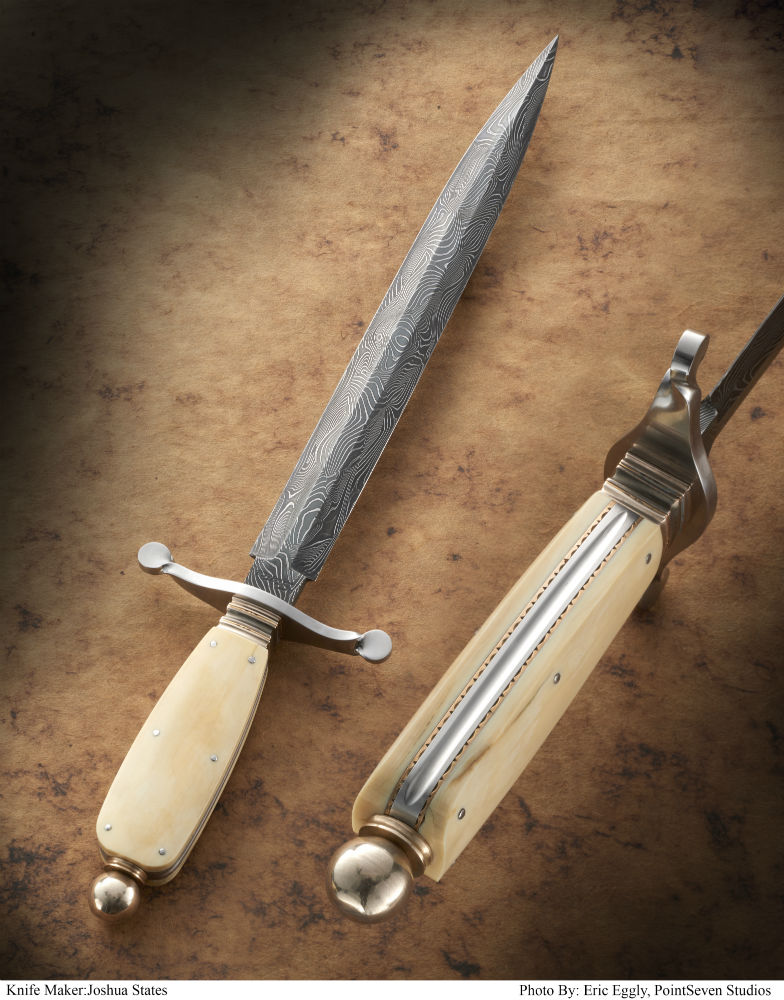
Jason, I have both the mill and the lathe, but showing that wouldn't help folks who don't. I'm trying to demonstrate what is possibly without the fancy equipment.I learned this method from Hancock before I had the lathe. If you take your time and work carefully, this method works well. It allowed me to make the ball finial and washer for this knife.
Also this one
Joshua States
www.dosgatosforge.com
https://www.youtube.com/channel/UCdJMFMqnbLYqv965xd64vYg
https://www.facebook.com/dos.gatos.71
Also on Instagram and Facebook as J.States Bladesmith
“So I'm lightin' out for the territory, ahead of the scared and the weak and the mean spirited, because Aunt Sally is fixin’ to adopt me and civilize me, and I can't stand it. I've been there before.â€
|quoted:
Would one of the admins please do me a favor and correct my spelling in the title? I spelled Threaded wrong.
Thank you in advance.
I'm going to let you do that yourself - because you can.
Go to the first post you made and click "edit" at the bottom of the post section.
Then, on the EDIT page you will see - at the bottom of the text box - "Use full editor"
Click that.
Karl B. Andersen
Journeyman Smith
Thank you Karl. You rock!
Joshua States
www.dosgatosforge.com
https://www.youtube.com/channel/UCdJMFMqnbLYqv965xd64vYg
https://www.facebook.com/dos.gatos.71
Also on Instagram and Facebook as J.States Bladesmith
“So I'm lightin' out for the territory, ahead of the scared and the weak and the mean spirited, because Aunt Sally is fixin’ to adopt me and civilize me, and I can't stand it. I've been there before.â€
I think I'll start a new video series on my YouTube channel. I'll call it "Failures at the Forge"...…..
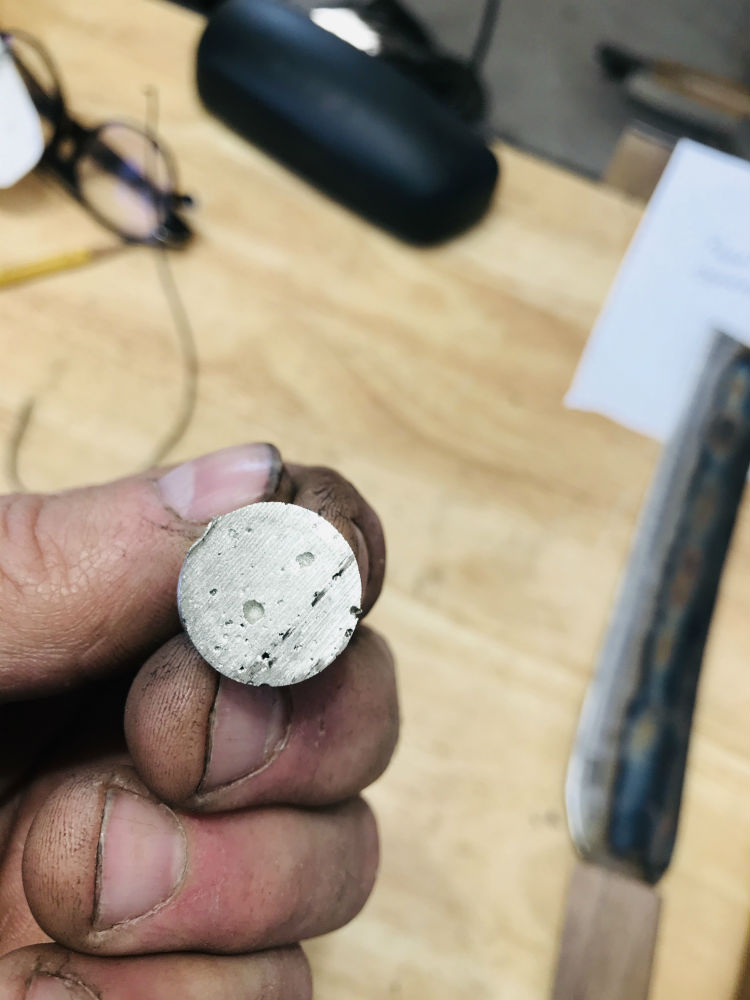
So I cut this finial down and found some serious voids in the center of the ingot. This is unsalvageable.
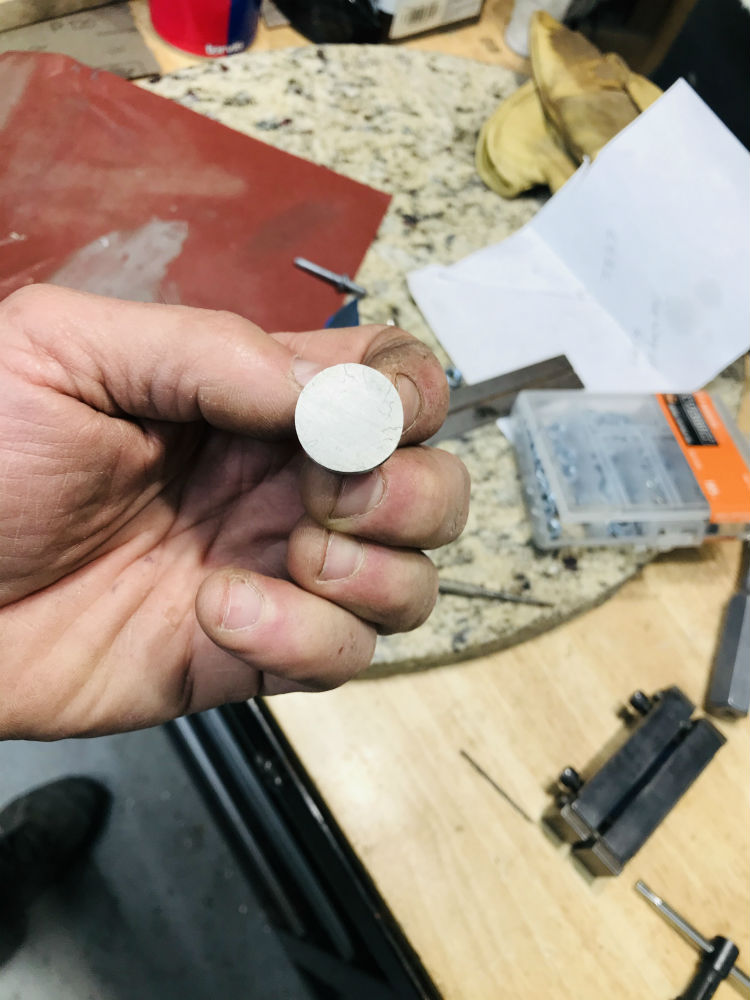
So I did the only thing I could do. I made another one.
That one burned down, fell over, and then sank into the swamp...…
Not really. It came out pretty good.
I did drill it straight through while it was still square with a #35 drill bit.
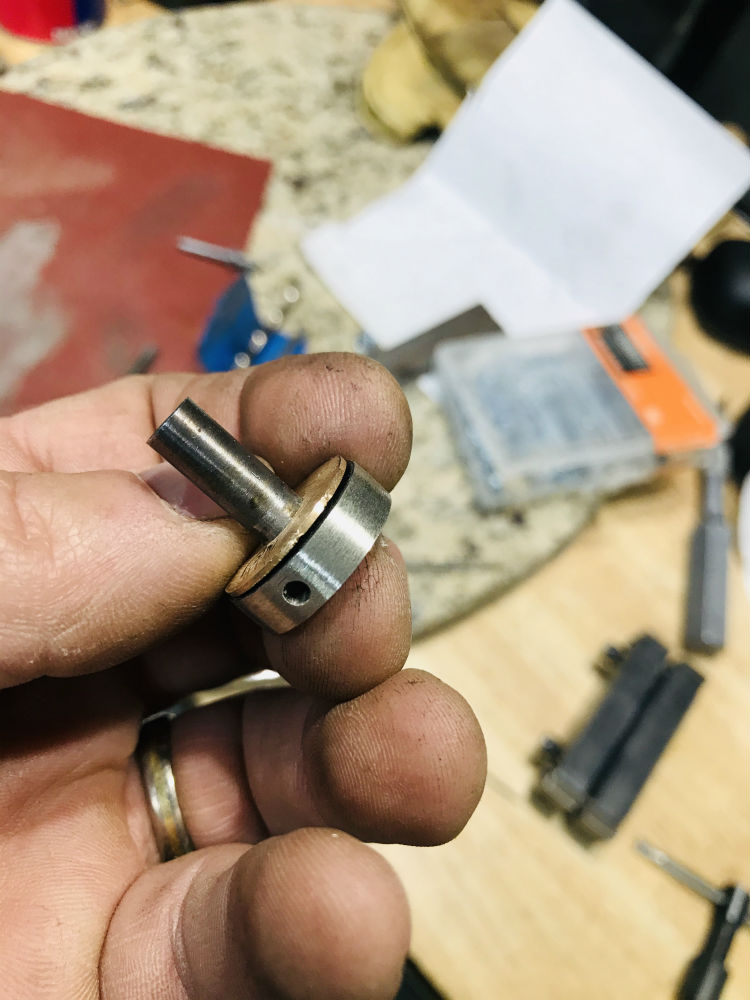
I also made a new bronze washer to fit the new post.
It still needs a little clean up and hand sanding. I'll probably do a little file work on it as well.
Thanks for watching.
Joshua States
www.dosgatosforge.com
https://www.youtube.com/channel/UCdJMFMqnbLYqv965xd64vYg
https://www.facebook.com/dos.gatos.71
Also on Instagram and Facebook as J.States Bladesmith
“So I'm lightin' out for the territory, ahead of the scared and the weak and the mean spirited, because Aunt Sally is fixin’ to adopt me and civilize me, and I can't stand it. I've been there before.â€
Thank you for the tutorial. It helped me to understand the process.

