In a few of the posts, I have seen small bits of folks design sketchpads/notebooks - Lin's come to mind.
Would some of you more experienced makers post a few pics from sketches from your notebooks to show us how far you take the drawing/design work before you start forging?
It would be great to hear how you use your drawings in your process.
Thanks,
Jim
I will share what I do, and it has worked well for me for a number of years.
First thing I do is forge the knife blade to its basic dimensions and then dial it in while grinding and hardening.
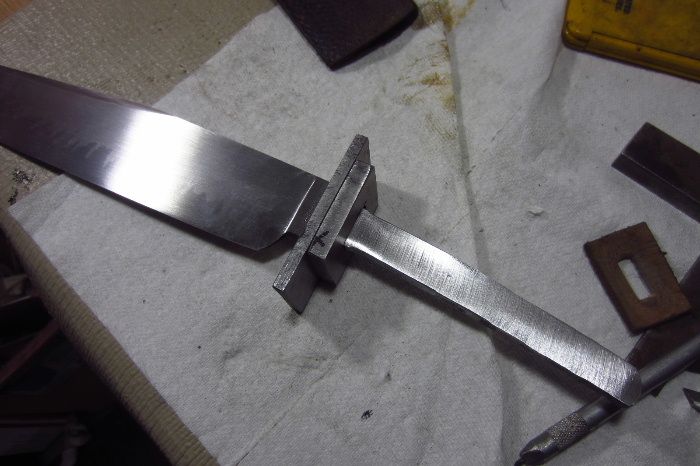
File/mill guard shoulders - slot and fit front hardware. (First picture)
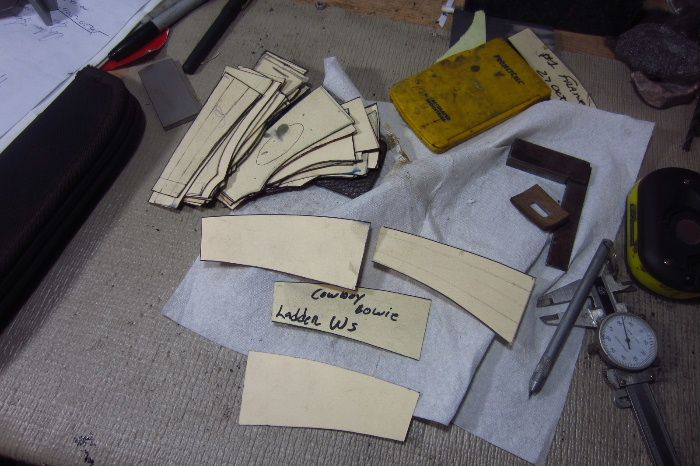
Now, I always draw my finished knife shape using the actual finished blade. I'm going to jump all the way to the end first and say that I save all of my handle drawings!
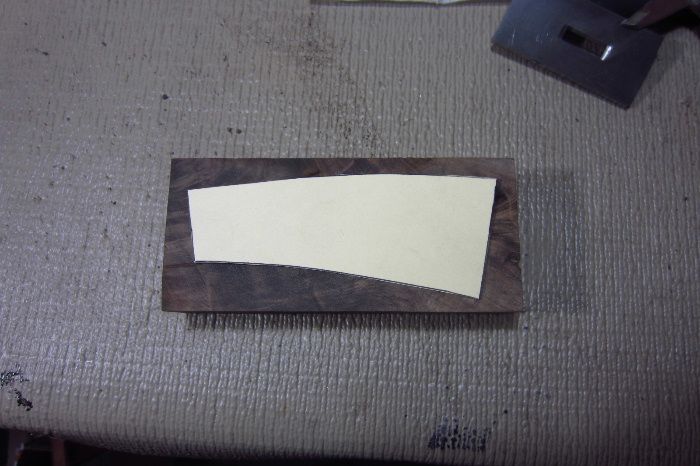
I cut them out for tracing on the handle material and they all get saved.
So I dig into my handle drawing supply and find one that suits the knife I am building and use it to see how it fits my current blade:
Then I dig into my handle drawings and pick one that suits the blade:
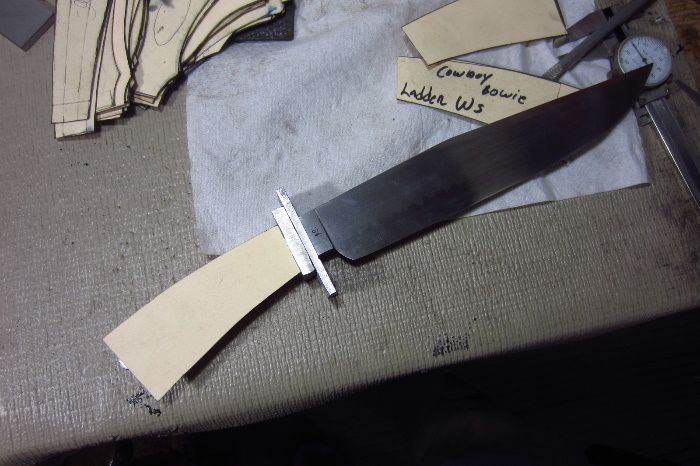
See if it suits my knife well:
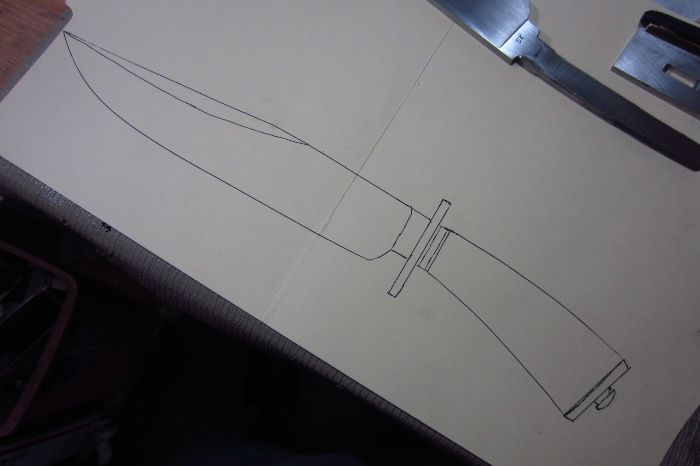
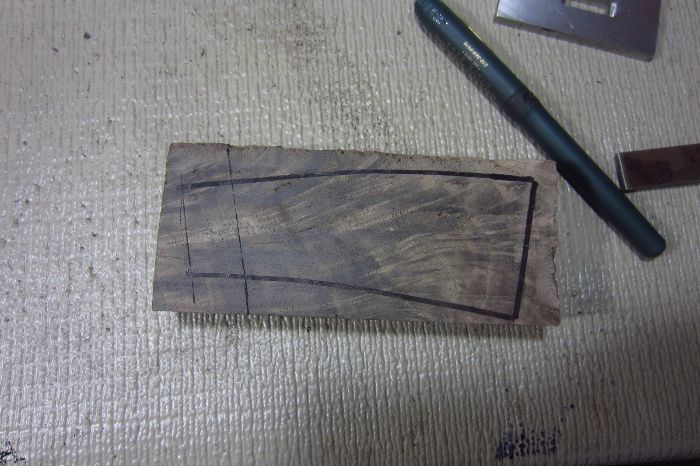
And then use it to draw the knife like I want it - tweaking it accordingly:
The I cut out that actual handle piece and use it to cut out my handle shape:
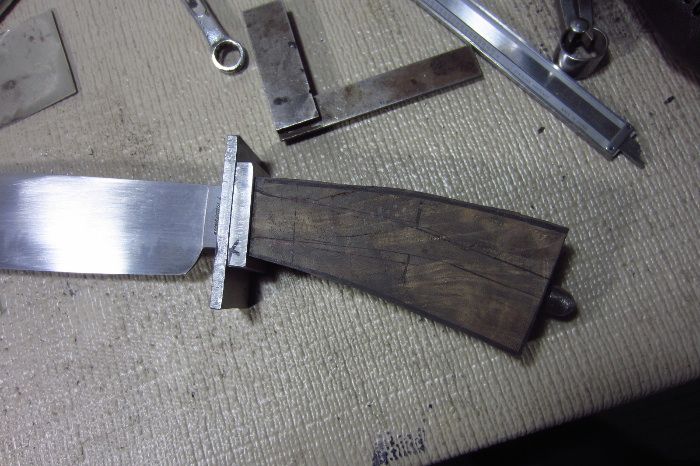
Then I fit that to the knife blade:
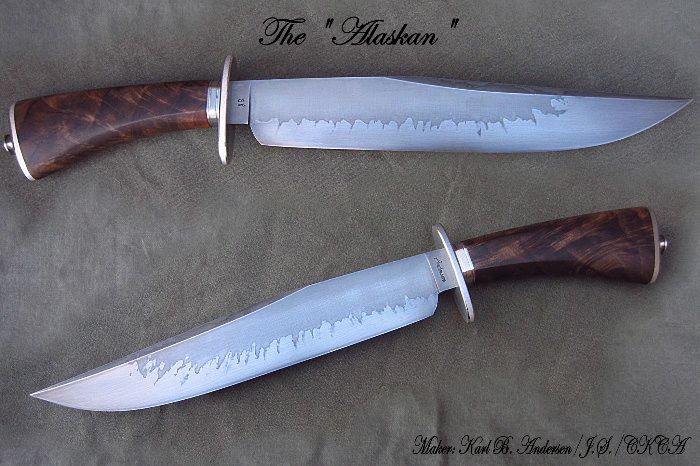
Then I finish out the knife.
I will write the name of the knife on the handle drawing so when a customer sees a knife on my web site and they say they want THAT handle shape - I have it!
Karl B. Andersen
Journeyman Smith
Jim
There were many good methods and ideas shared in the Topic of the Month for January 2014, click: Creating Knife Design Sketches
Dan Cassidy
Journeyman Smith
Send an email to Dan

Thanks Karl good stuff
Karl, those photos are great - thanks for the explanation.
Dan, thanks for the link. This forum is a great resource.
This is a paper drawing pad that is fairly easy to obtain. I like to draw the knife and have room for details or notes. They make them in different sizes so you can have hunting knives in smaller books and Bowies in the large books if you prefer. I don't like the pads that are glued in the back binding. They will come apart over time. These have thicker paper and seem to hold up to lots of opening and closing.
Thanks Lin.
Lin, you got me all inspired and I went out and got a new notebook:

The only embarrassing bit is that you can see the last blade I forged was off center enough that my 7" knife is going to become a 5" knife. ![]()
I am also using a design tool that I haven't heard folks talk about a lot - you can see a Jim Crowell knife in the pic that I am using for reference. I was lucky to get it really affordably because he finished it at a hammer in that I went to.
It is really hard to afford master knives but as an apprentice, I am trying to get knives from the master smiths that help me and I am using them as references when I work on my own designs. I wonder if that is common. I will start another post to ask.
I have two approaches at the drawing board stage, one evolved from, or was heavily influenced by, the other. All of my knives are drawn out and designed on paper first as is shown in this image:

The drawings are given a serial number that is assigned to the blade based on the day it was forged and all information regarding the specs and creation of the piece are entered into a database under that number. The number also corresponds with my records on heat treating notes and testing results. For more uniquely designed pieces sheet metal templates are made to use in the forging process. When the piece is done it is filed away under its category of knife, this way if I ever want to recreate any feature of the work all I have to do is reference the serial number and pull the pertinent files. For almost all of this work I use old style tractor feed printer paper since I have several boxes of the stuff from the era when it was popular. I can tear off whatever length I wish and it has very nice pre-folds at perfect notebook sizes.
Much of this method was inspired by my data gathering methods from old swords and daggers. When I am on a research trip to an arms collection I take what is the equivalent of a “jump kit†for studying ancient blades. This kit includes nitrile or latex gloves, various magnifiers, plastic framed digital calipers I have modified for the purpose, digital scales, plastic mechanical pencils, a soft measuring tape, neoprene cushions to protect the artifact while being measured, camera and tripod, voice recorder etc… but most importantly my preprinted data sheets. These sheets are 5 tractor feed sheets long (the tractor feed paper allows me to print them out in one shot) that has all the fields for the data so all I do is fill them in. But it also has a preprinted gridwork of 1â€x1†to do the photography or transfer the measurements to so that later the image can be transposed onto the data sheet with Photoshop. These sheets allow me to gather data much more efficiently than I normally would, which is very important when I only have a limited amount of time with the artifact. It also helps let museum staff know that I am serious and sort of know what I am doing, I have even gotten compliments from curators on these data sheets.

Once I am home all the data is compiled and the sheets with the full image are printed out. From this sheet I take the cross sectional measurements that were recorded at 1†increments down the blade and begin shaving the replica blade from the blank that was forged using a metal template and old style steel calipers. Work proceeds until I have a finished piece that matches the dimensions, weights and balance points of the original. This type of work is by far the toughest I have done because if I take too much off here or there the piece no longer is true to the original and I need to start over, with my own designs I have much more freedom to adapt.
"One test is worth 1000 'expert' opinions" Riehle Testing Machines Co.
Thanks Kevin - that is a really intense process!

