This process works for me and I am sure there is room for improvement.
To Get a Clean look and a good seal I solder my guards.
To explain it right I need to start with fitting the guard correctly.
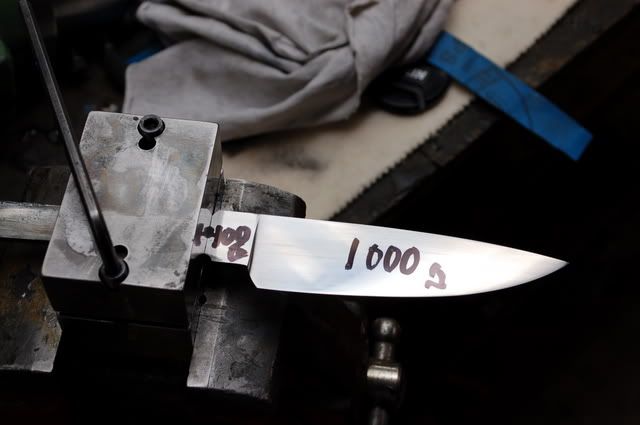
Start off point.
Blade is hand sanded to 1000grit recoso is belt sanded to 400 grit.
I leave the recoso at 400grit and will hand sand it later.
Layout where you want the guard to stop.
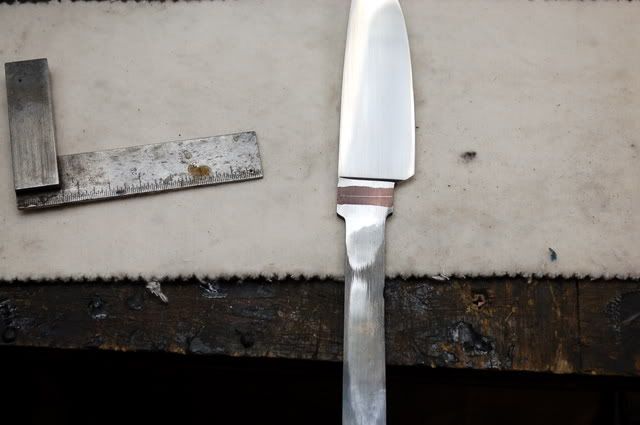
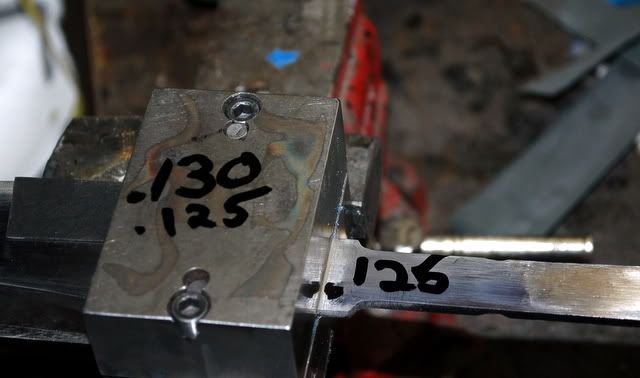
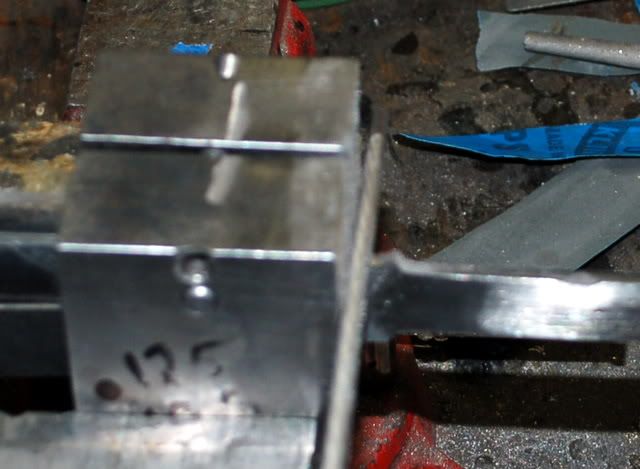
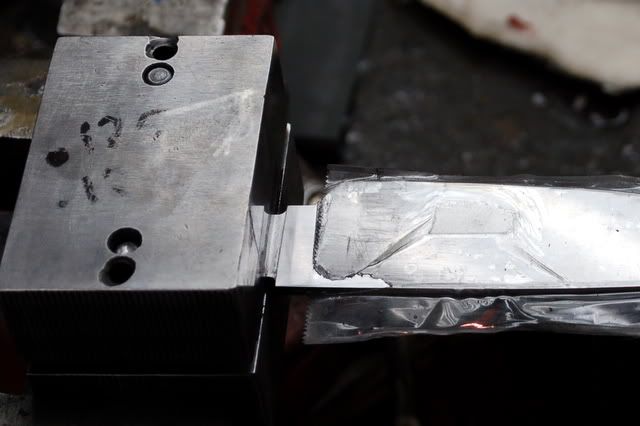
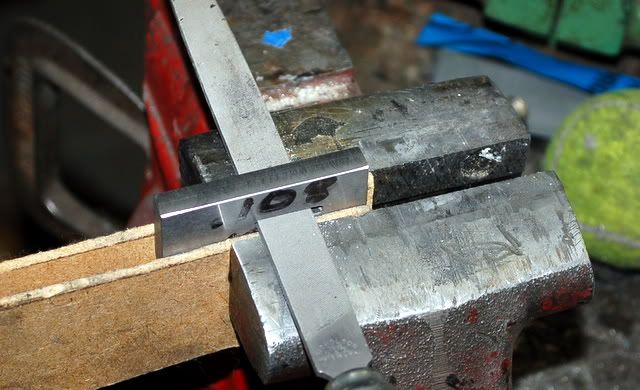
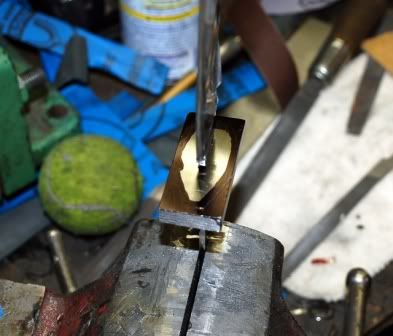
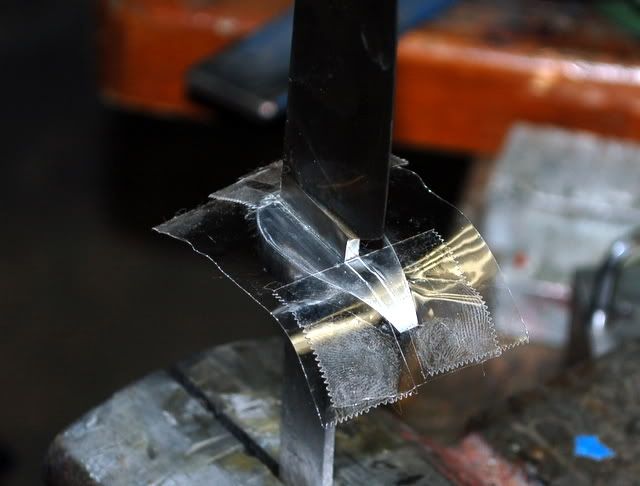
Put it into your filing jig up to your line.
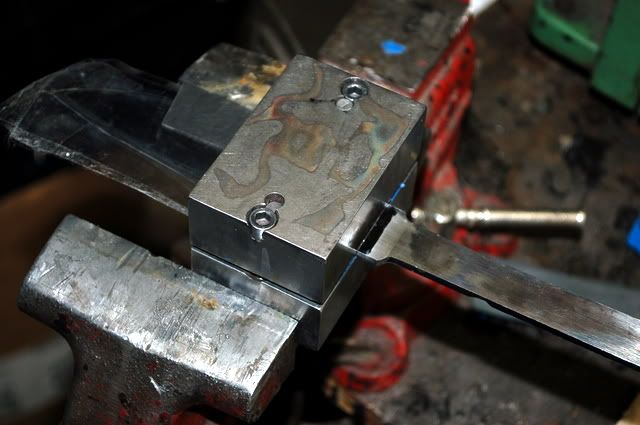
Measure the thickness that I blacked out and write it down (.130) Then write down the thickness - .005. or .125
Sorry for the blured picture I have a few of them in this how too.
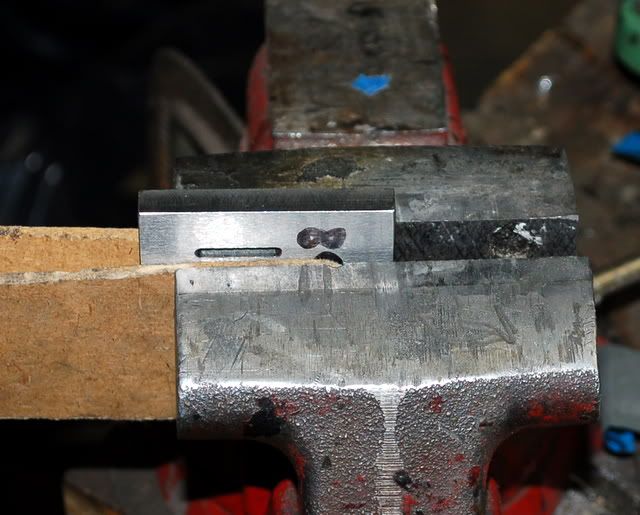
Notice the guard I premachined on a mill is .108
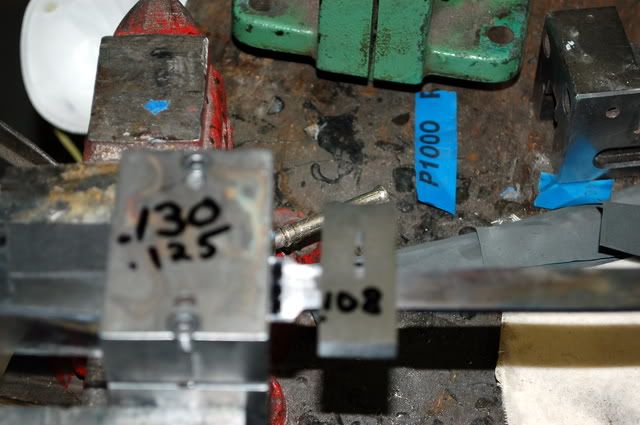
File and sand first side till you have removed .005
Next
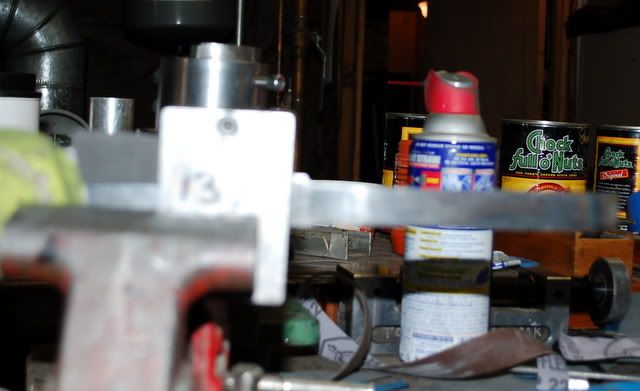
Flip your filing block over and write down your thickness. mine is .125.
write down the thickness - .005 or in my case .120
File and sand till you measure .120
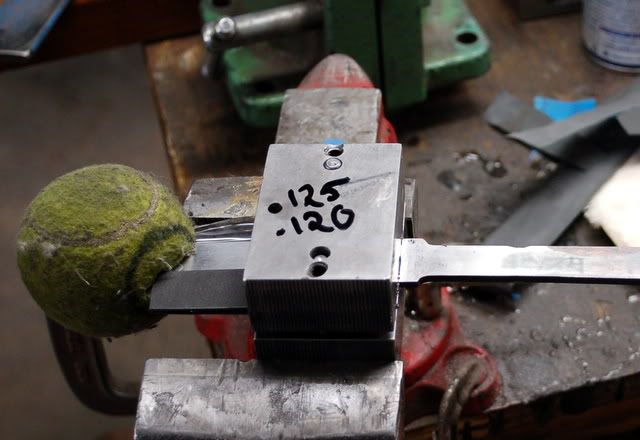
I use a micrometer out of habit for this.
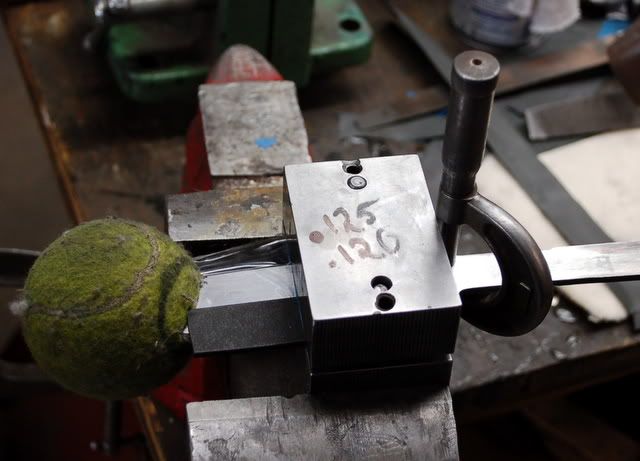
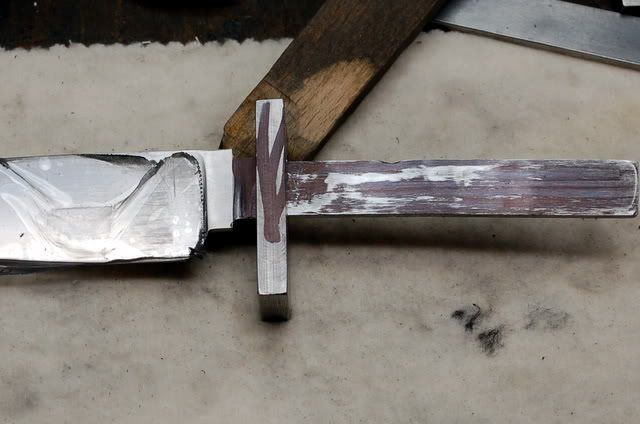
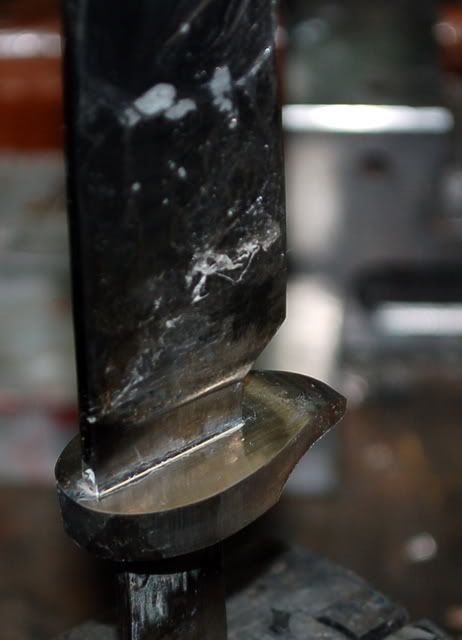
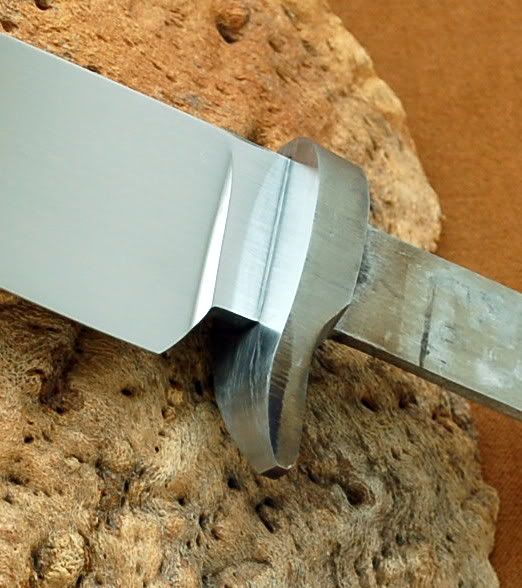
Next turn the spine up and file a radius where the tang meets the recoso.
Same side now using a smaller file.
File and sand to blend.Then flip over and start the other side.
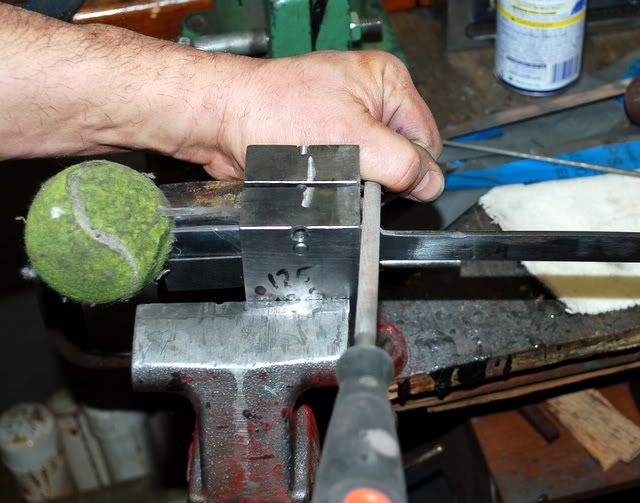
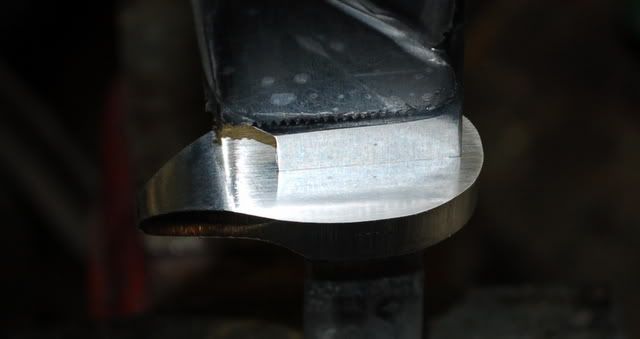
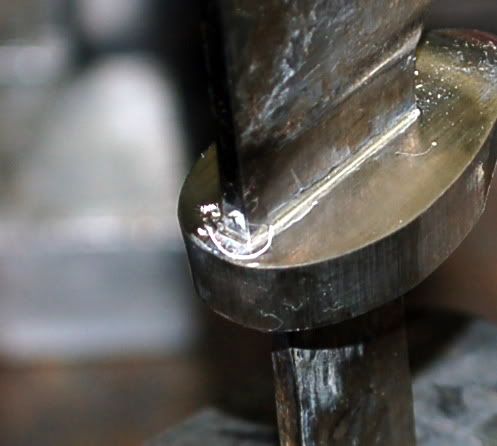
When you finish put the tang straight up so you can see you work. You should have a continues line around the recoso.
Drag a pin around it to see that there is no major steps. If so file and sand untill you are satisfied.
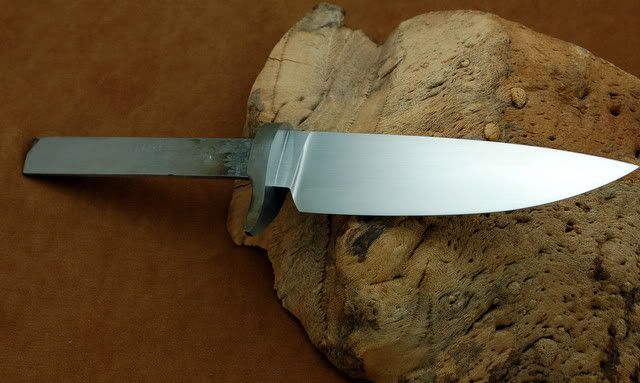
Remove the jig and inspect your work.
Sand the recoso, spine and area under the recoso. to 1000grit.
Why I do it now is it removes the burr I pushed up when filing.
Why I like 1000grit or higher it make the clean up easier later.
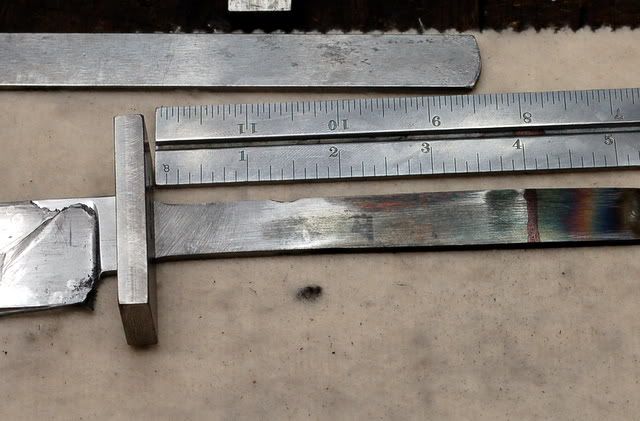
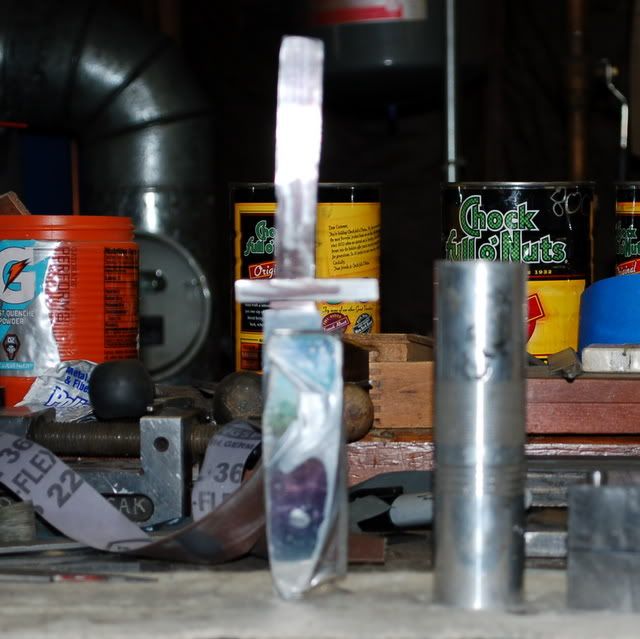
Cut tang to length. In this case 4"
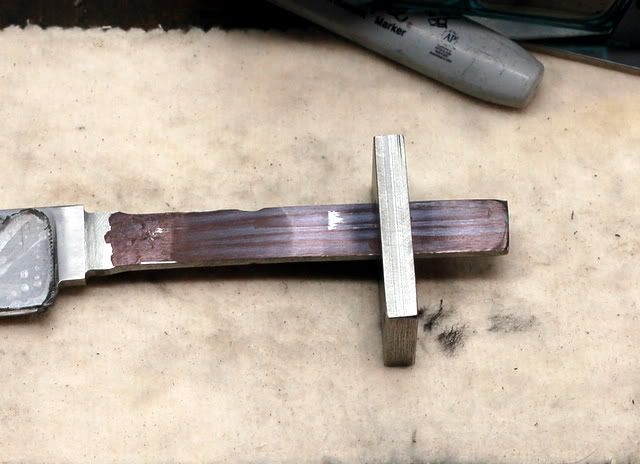
Blacken the shank with a marker and slide the guard on till it stops.
Note where it marks.
Time to fit the guard,
File the guard where it marks the tang.
Keep on working the guard till it approaches the fit area.
I mark the guard so I do not get it turned around.
If you wish to skip this next step its OK. go to the push tool
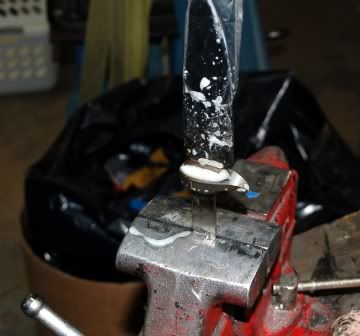
I use a hammer and a piece of aluminium tubing to try to drive the guard partway on,
I trust my blade to stand up to the abuse.
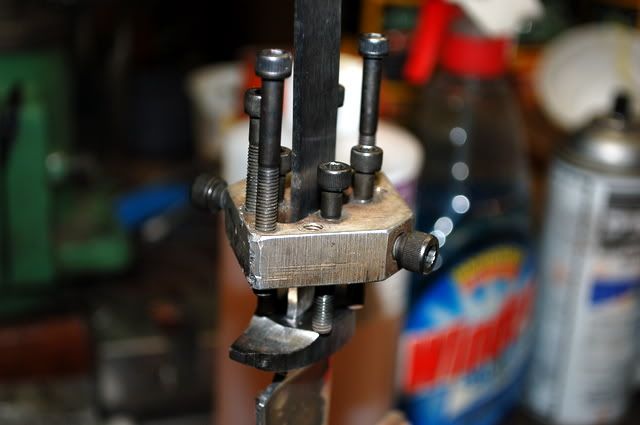
After getting the fit close file and sand the high spots using the push tool to get it even closer.
I use a spacer so the push screws do not dig up the guard.
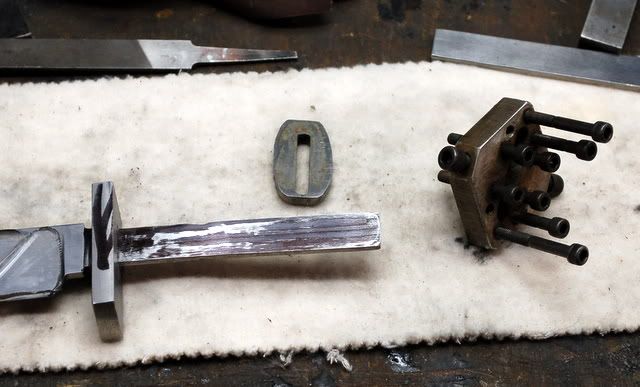

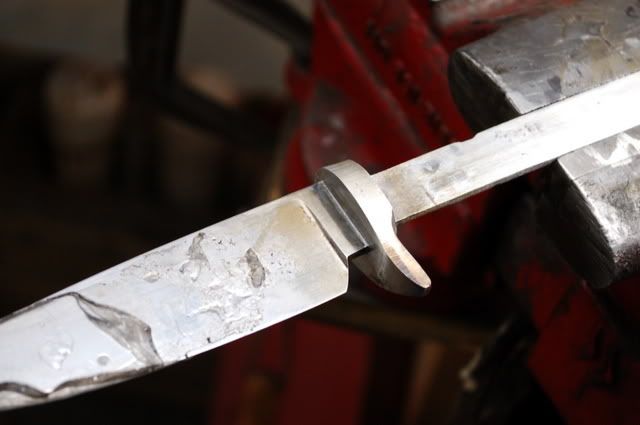
Now layout the guard shape.
Rough Grind the guards profile and install usin the push tool Check for gaps.
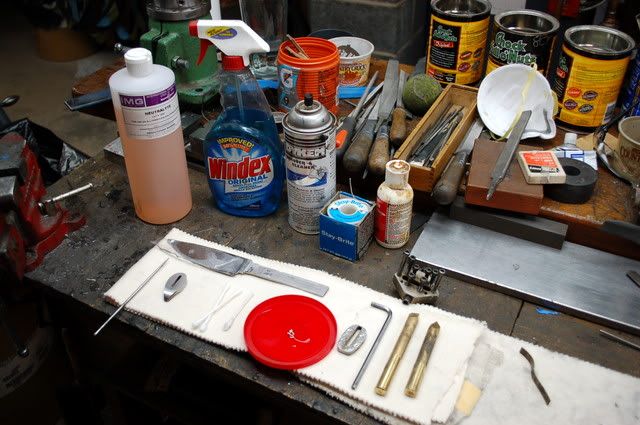
Getting ready to solder.
I use stay-brite solder and liquid flux.
Solder pieces no longer than 1/8" make a extra or two. Put in a lid with a a little flux.
Q-tips to apply the flux to the guard and fitted area.
Dykem cleaner
Brass rods with various points on them to scrap the extra solder off.
Clean the guard and the fitted area with some sort of industrial cleaning agent. ie Dykem cleaner.
Using magnification of some sort and a Q-tip with no cotton on the end, put a LIGHT coat of flux on the contact areas of the guard and blade.
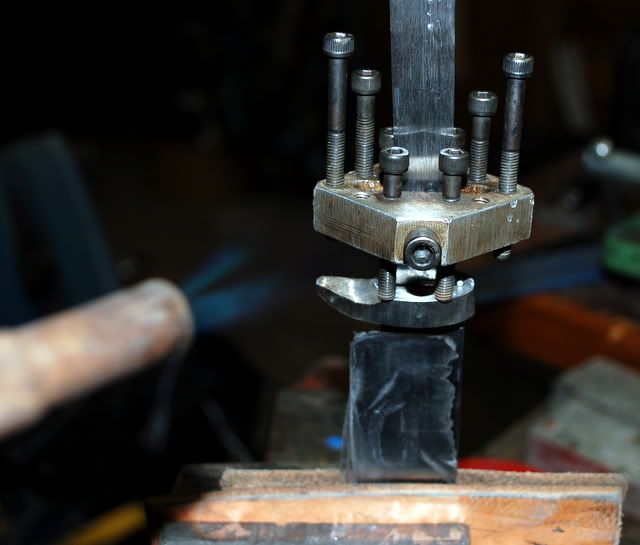
Push together with the push screws and using the protective spacer.
Take off push tool to remove the protective spacer.
Reinstall the push tool only lightly pushing the screws onto the guard.
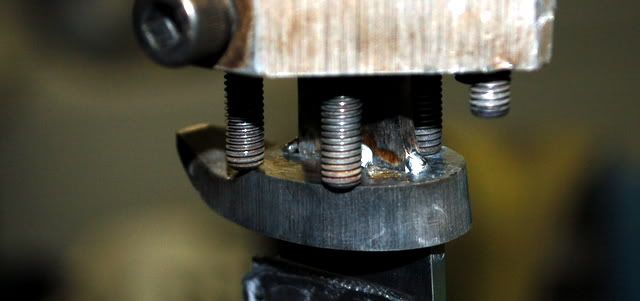
Put Stay-brite pieces one on each side.

The Torch is next.
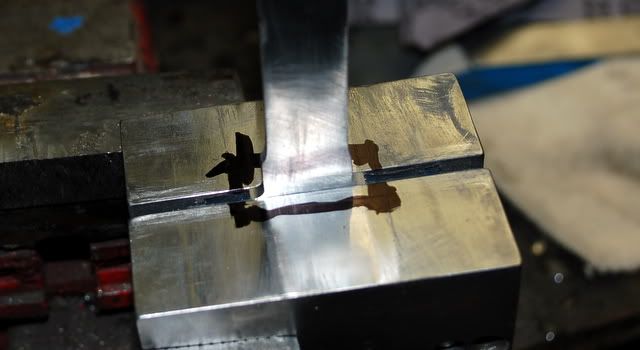
Using a torch, heat the solder till it beads up and sticks. Aim on the solder side not the blade side.
Now hold the tang in the vice.
You can see how the flux is working only in the area that I applied it.

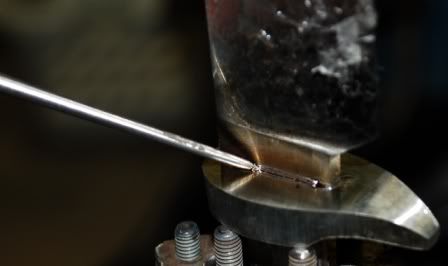
Apply heat toward the guard aiming at the spine. This will pull the solder up thru the fitting.
Using a sharp probe run it along the contact area. This will help you see that the solder flowed all the way around.
Side note.
Keep your cutting edge cool. If it gets to hot you will lose some hardness.
I us a damp wash cloth. To wet and the water will make it to the guard and cool it also.
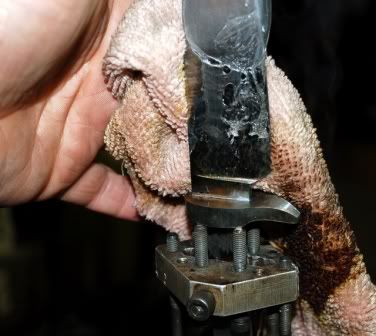
Once the joint is soldered let cool and then spray with Windex to start to neutralize the acid flux.
Spray and wipe a few times then inspect the joint for flaws.
The Solder is only where I wanted it and will clean up nicely.
Using the brass rods as scrapers remove excess solder. Note the little solder scrapping at the spine.
Spray again with windex, dry, Dowse with neutralite, baking soda or any thing that neutralizes acid.
Then Wash with hot soap and water, windex again.
This step of cleaning is very important. If the acid remains it will at least discolour the blade, at worst rust will form.
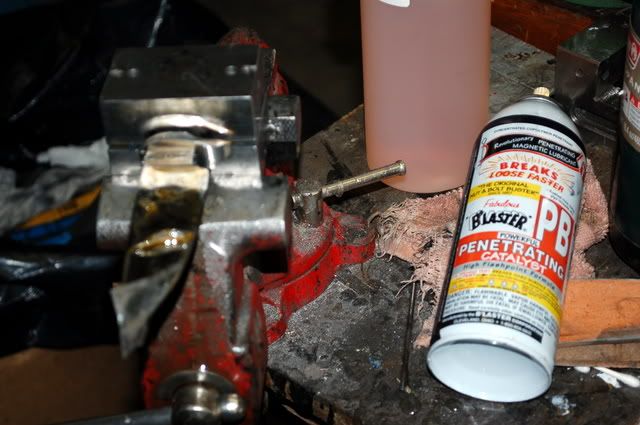
Now clean and oil the blade with a good penetrating fluid.
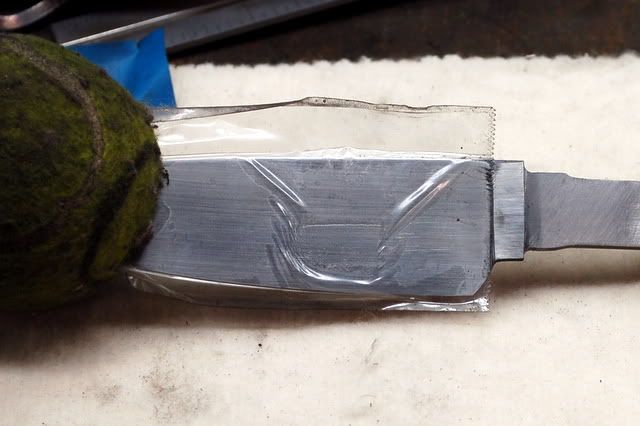
Sand the guard and mask.
Sand the blade.
I will be refinishing every surface after assembly.
With practice Makes almost Perfect!!!!!!!
I would Like to Give Credit to Master Smith Joe Keeslar who showed me the basics of this process at the ABS School in Arkansas.

Dave
Thank you for posting the tutorial. It is very well done and as Master Smith Joe Keeslar says "Pass it on".
Dan Cassidy
Journeyman Smith
Send an email to Dan


Excellent tutorial David. Thanks for taking the time to put this together.
I couldn't help but smile when seeing the pictures of your guard push fixture <img src=' http://www.americanbladesmith.com/ipboard/public/style_emoticons//biggrin.gi f' class='bbc_emoticon' alt=':D' />
Like so many of us on this forum, I've got a similar fixture I made here in the shop. But I have to admit, mine doesn't cover the multitude of shape options you have available with this one. That's a dandy my friend ! <img src=' http://www.americanbladesmith.com/ipboard/public/style_emoticons//wink.gi f' class='bbc_emoticon' alt=';)' />
Thanks again Buddy <img src=' http://www.americanbladesmith.com/ipboard/public/style_emoticons//cool.gi f' class='bbc_emoticon' alt='B)' />
|quoted:
I know not, what course others may take, but as for me, Give me Liberty, or Give me Death
- Patrick Henry, 3-23-1775 -
