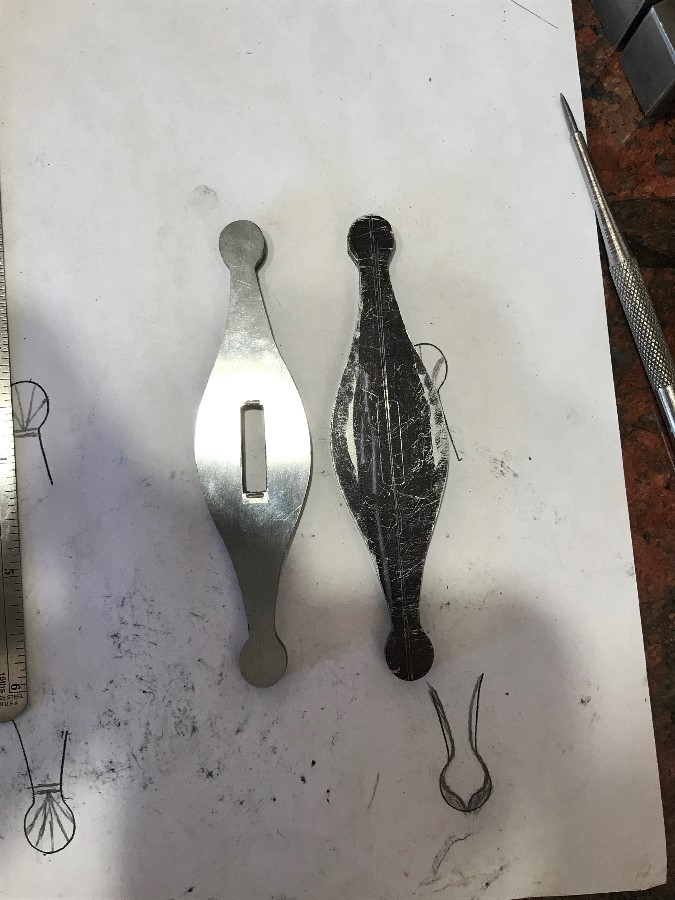
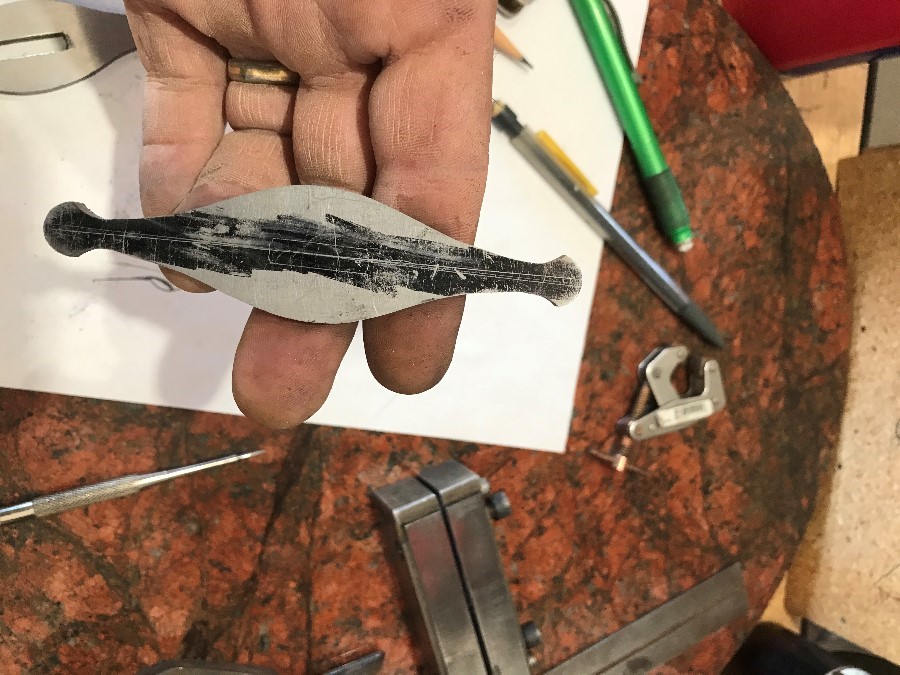
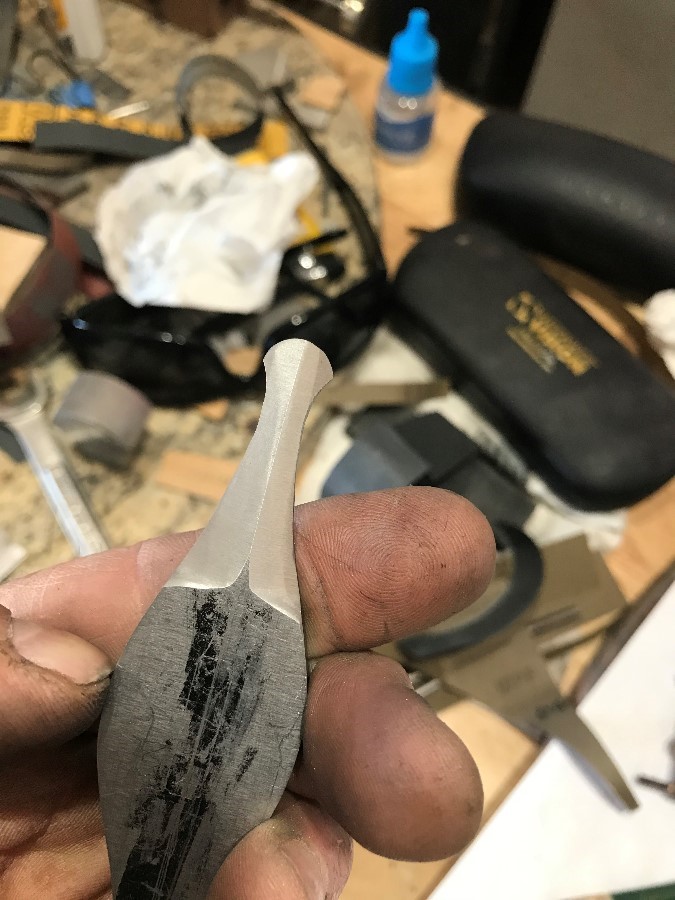
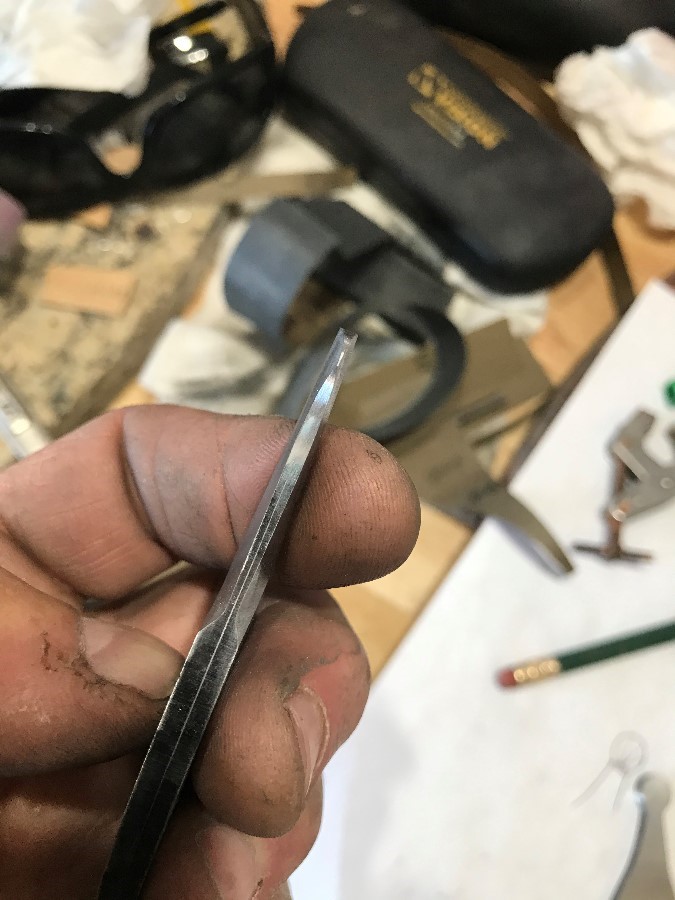
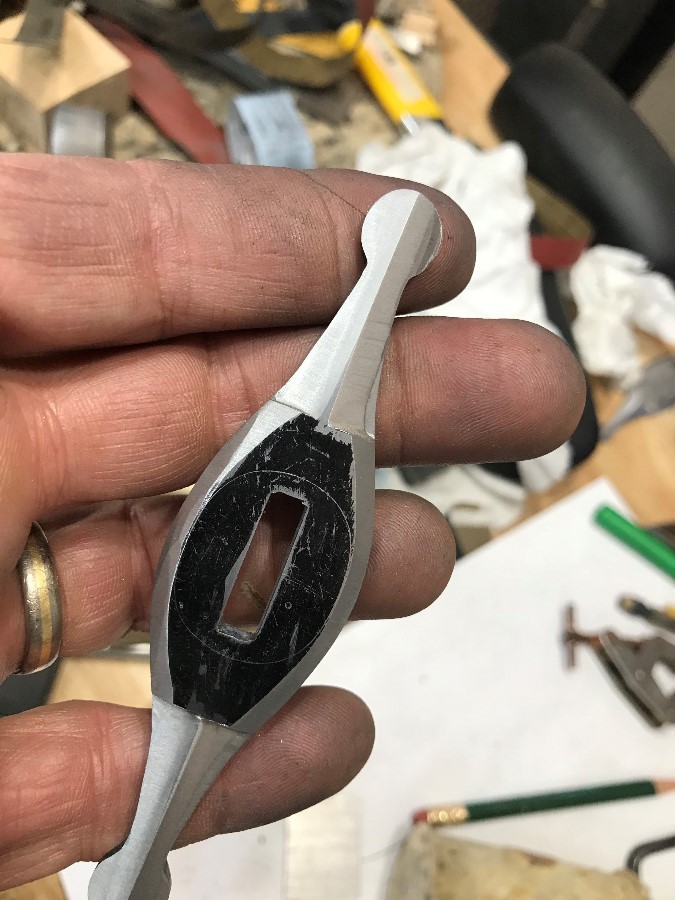
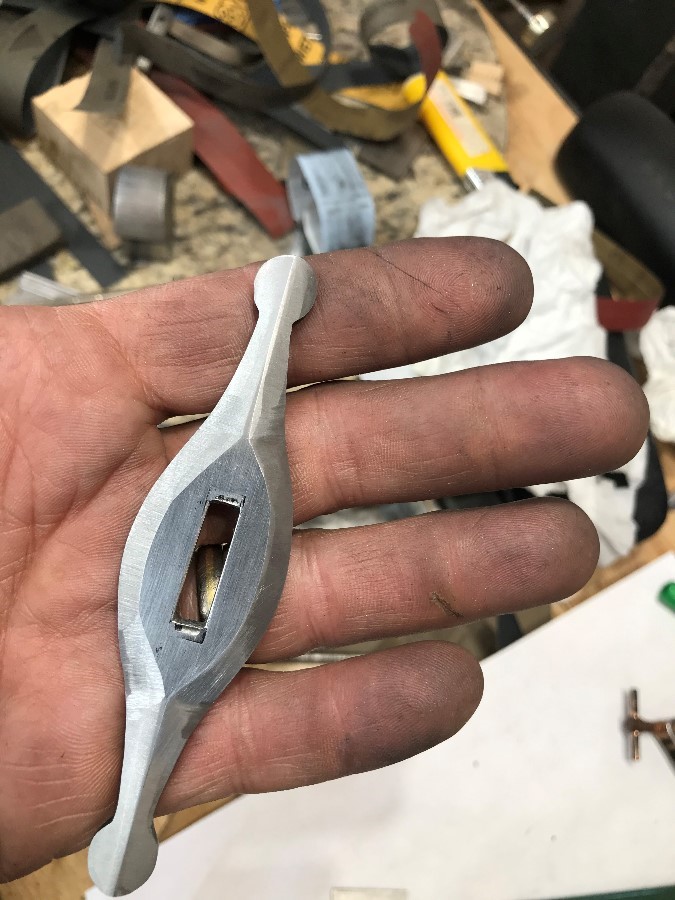
So, now it's onto the guard. This basic shape I have it in, is the foundation I use for a variety of different versions. I did some playing around with paper drawings and I think I want to mimic the Bishop's hat look from the pommel onto the guard. I'm not sure this will work, so I made a copy of the guard to try it out on. I blackened the faces and the profile edge so I could scribe center lines and the ricasso outline for reference.
Then I set up the small wheel to take the round ends and create the larger curves and reduce the circle.
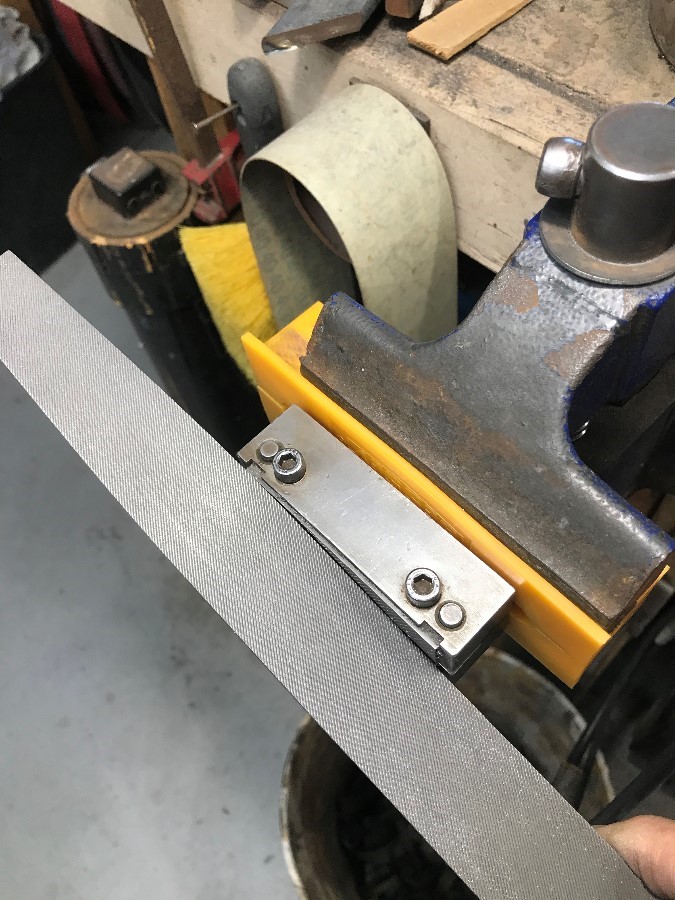
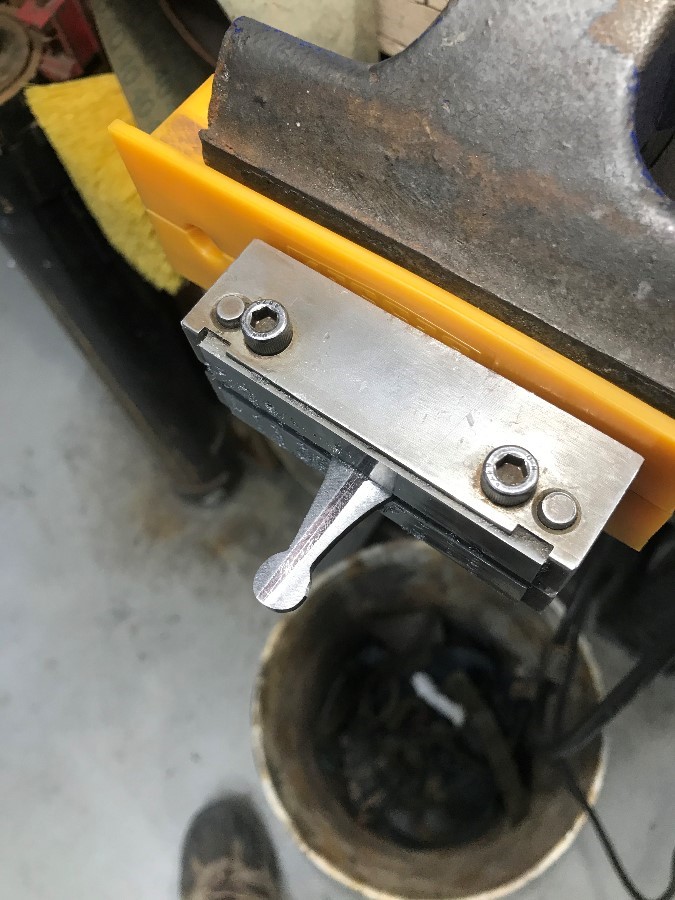
Then I chuck it up in the file jig to limit how far I go and keep things even. I squared it using the mirror trick I posted earlier in this thread.
This is 220 grit on a 10 inch wheel.
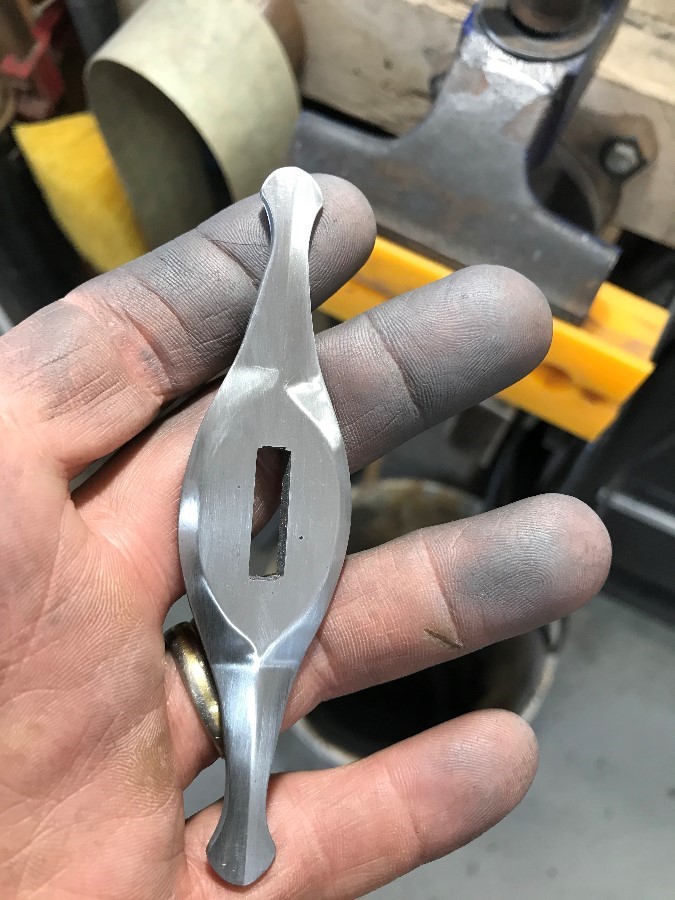
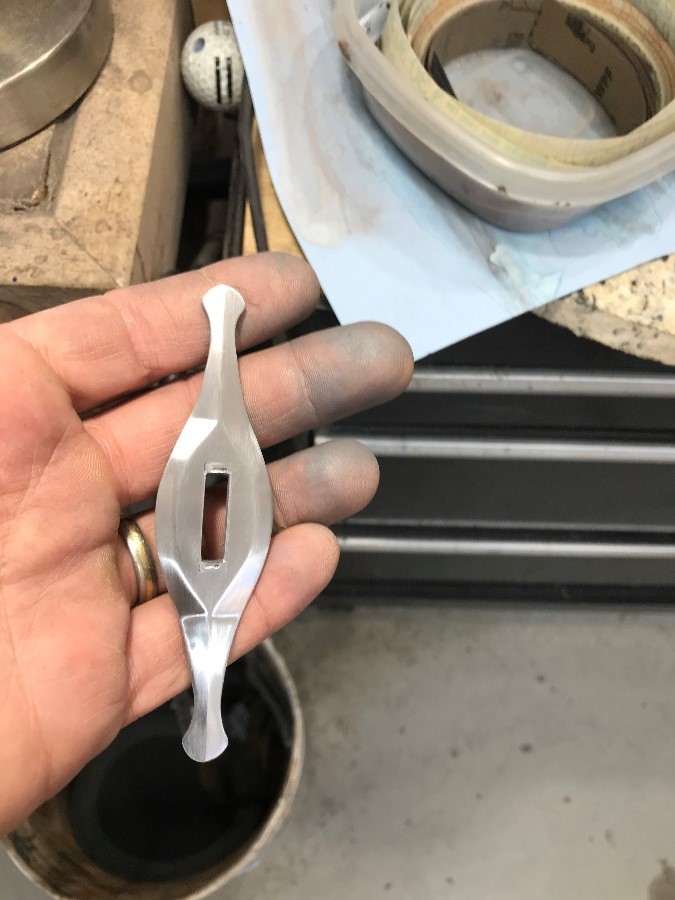
Then I take it out of the file jig, load a Trizac A45 belt and turn the speed way down slow to freehand the bevels and adjust the center rib.
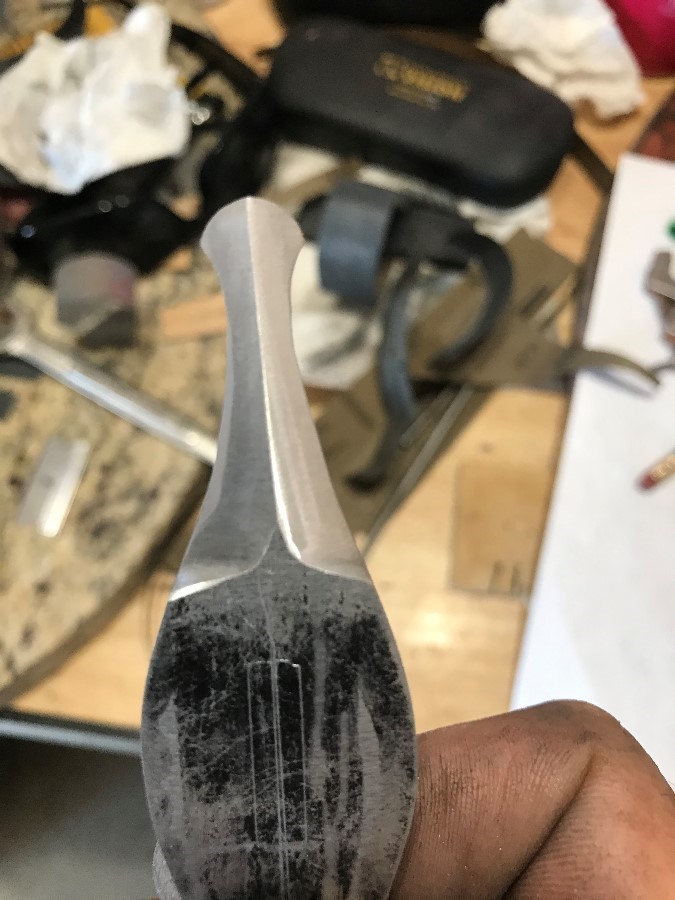
This is where it is at now on one side.
The other side.
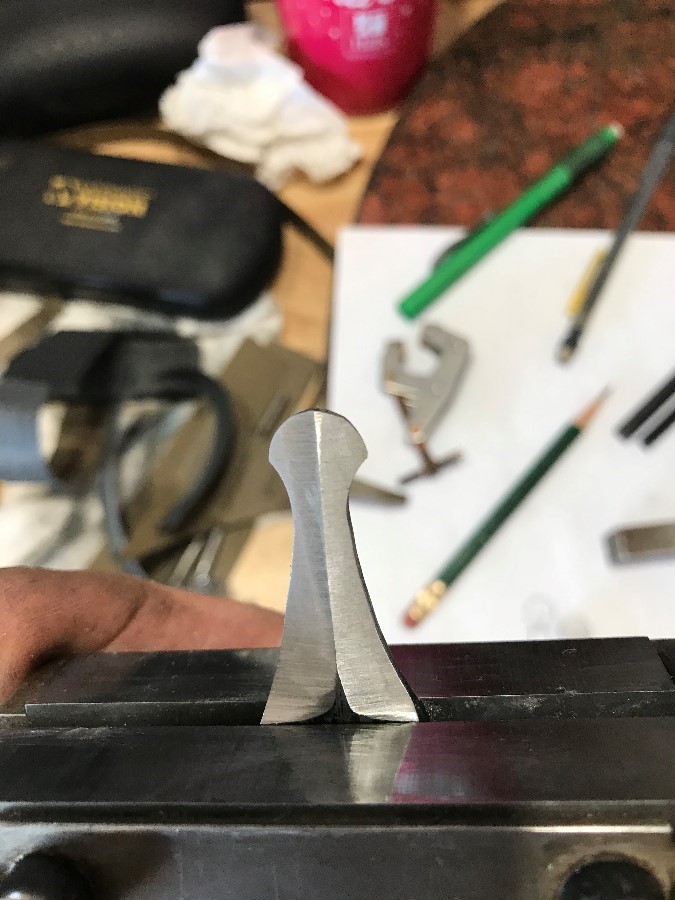
And from the side/edge view. I will likely freehand the rest of the edge to feather in the bevels around the perimeter and reduce the edge, but leave the central portion of the guard at full thickness.
BTW guys, any comments, suggestions, criticisms or whatever are welcome. What do you think?
Quite frankly, at this point, I would appreciate any feedback at all.
Joshua States
www.dosgatosforge.com
https://www.youtube.com/channel/UCdJMFMqnbLYqv965xd64vYg
https://www.facebook.com/dos.gatos.71
Also on Instagram and Facebook as J.States Bladesmith
“So I'm lightin' out for the territory, ahead of the scared and the weak and the mean spirited, because Aunt Sally is fixin’ to adopt me and civilize me, and I can't stand it. I've been there before.â€
I think your doing a fantastic job explaining each step of the way, this is the way I learn new ways of doing.
Instagram @drunken.bladesmith
Thank you Matt. It's good to know that someone gets something out of all this. I have often said that I put these up for two reasons. First so that someone may find it helpful. Second in the hopes that someone say "why are you doing it that way? Why not just do it this way" and then I learn a better way.
Any way, the best laid plans often go awry. The second side of that practice piece didn't turn out right. I am now very grateful that I had the foresight to create a practice piece. After that little slip that made a flat line in exactly the wrong location, I realized that I have a bunch of really good quality files, and it would be best to slow the process down and do things by hand. I also learned that it would be best to leave the profile shaping of the round ends into bishop hat shapes until later in the process.
So the real guard went back into the file jig and using a lathe file I cut the bevels. This went surprisingly quickly.
I sanded these flats down on the disc sander at 400 grit. I finished filing with an 8-inch mill file, so they were pretty smooth from the file.
I have to smooth out those ridges caused by the file stop. First I bevel the edges.
Then I went back to the 10 inch wheel at a very slow speed and blended the ridges down.
Then I shaped the ends. Now it's hand sanding time with some 400 grit paper! Yay!
I also used some very fine needle files to move the lines around.
Side 1
Side 2.
There's a little more work to do on this and then I will sand the profiles and try and smooth out the visible bottoms of the curves and the ridges on the surfaces.
Joshua States
www.dosgatosforge.com
https://www.youtube.com/channel/UCdJMFMqnbLYqv965xd64vYg
https://www.facebook.com/dos.gatos.71
Also on Instagram and Facebook as J.States Bladesmith
“So I'm lightin' out for the territory, ahead of the scared and the weak and the mean spirited, because Aunt Sally is fixin’ to adopt me and civilize me, and I can't stand it. I've been there before.â€
Well, this project is coming to an end. Thanks for allowing me to share this journey with you and thanks to those who have provided support along the way.
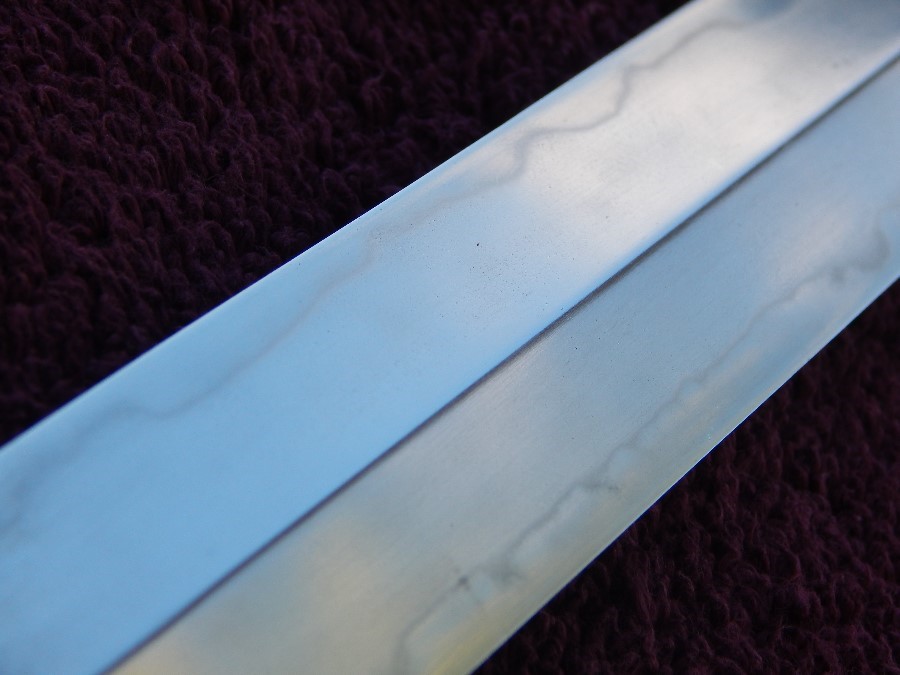
Here are a couple of photos of the knife as she stands today. I just have to set the final pin and peen the ends over. It will sit on the bench for a couple of days and get a final inspection before I completely finish.
I'm sorry for the bad shot of the hamon. I have never really figured out how to photograph them well.
Joshua States
www.dosgatosforge.com
https://www.youtube.com/channel/UCdJMFMqnbLYqv965xd64vYg
https://www.facebook.com/dos.gatos.71
Also on Instagram and Facebook as J.States Bladesmith
“So I'm lightin' out for the territory, ahead of the scared and the weak and the mean spirited, because Aunt Sally is fixin’ to adopt me and civilize me, and I can't stand it. I've been there before.â€
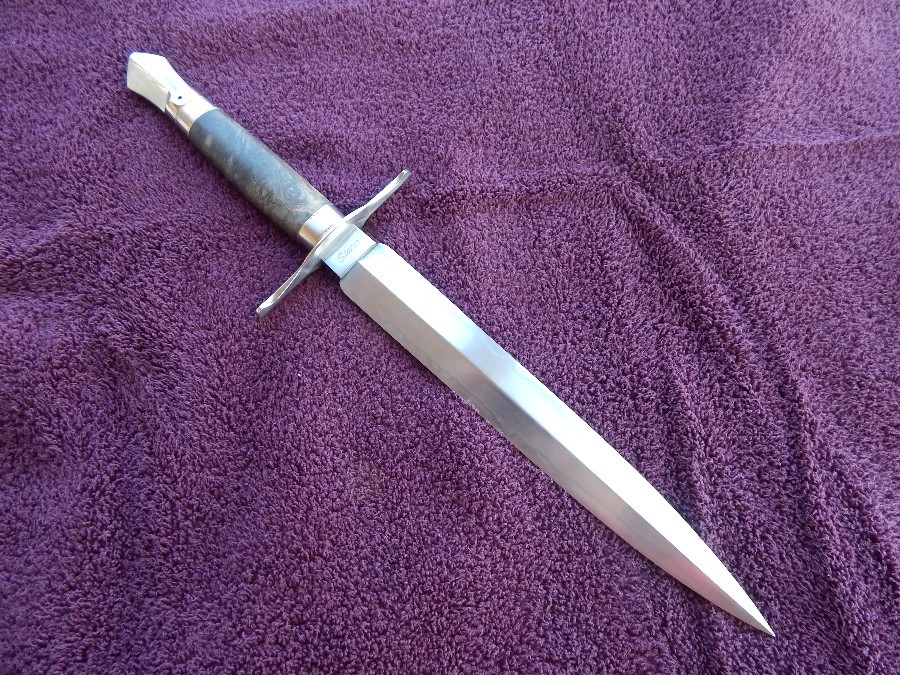
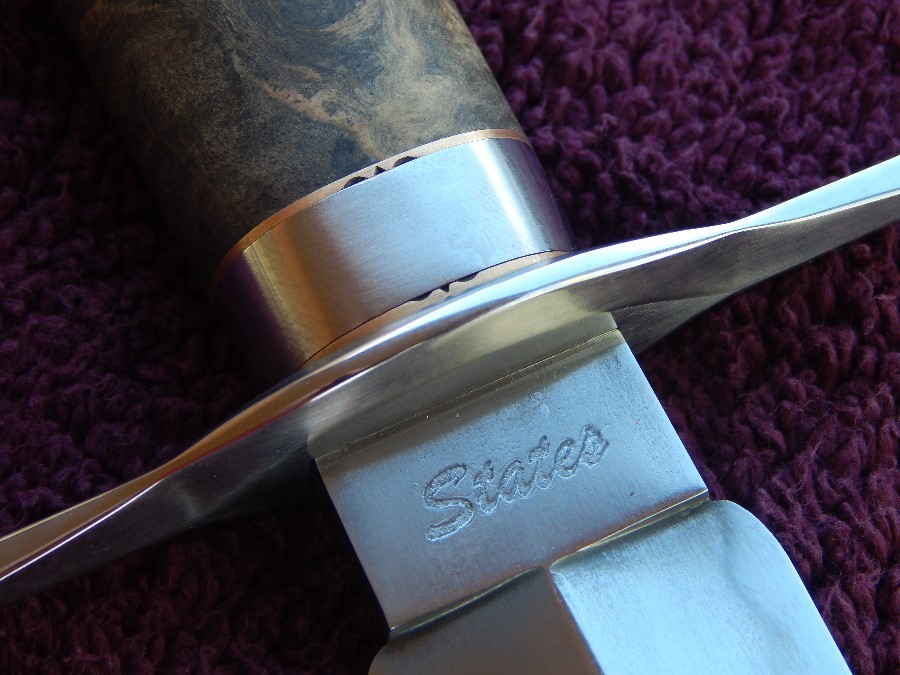
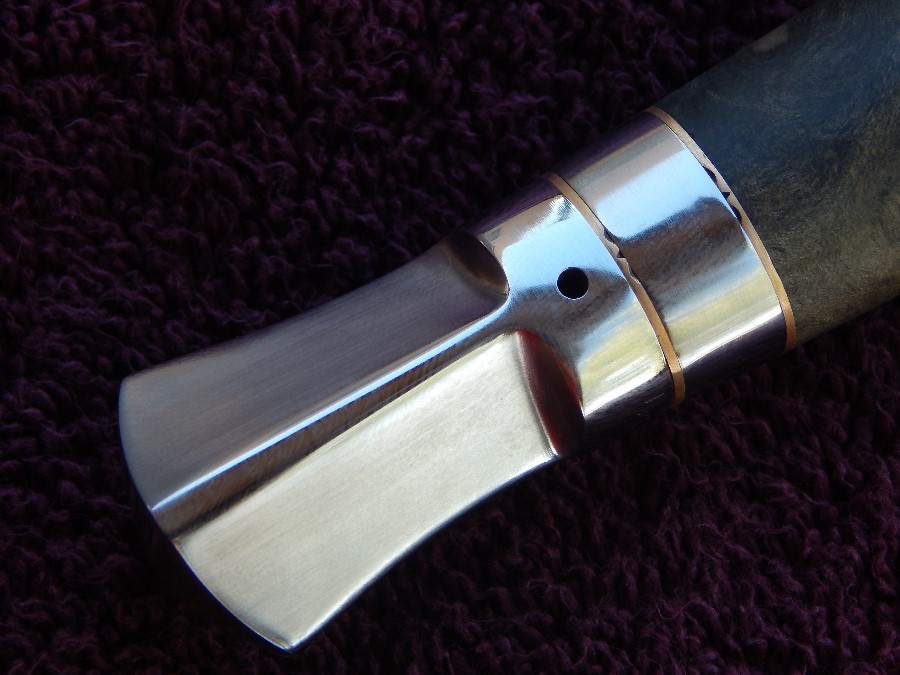
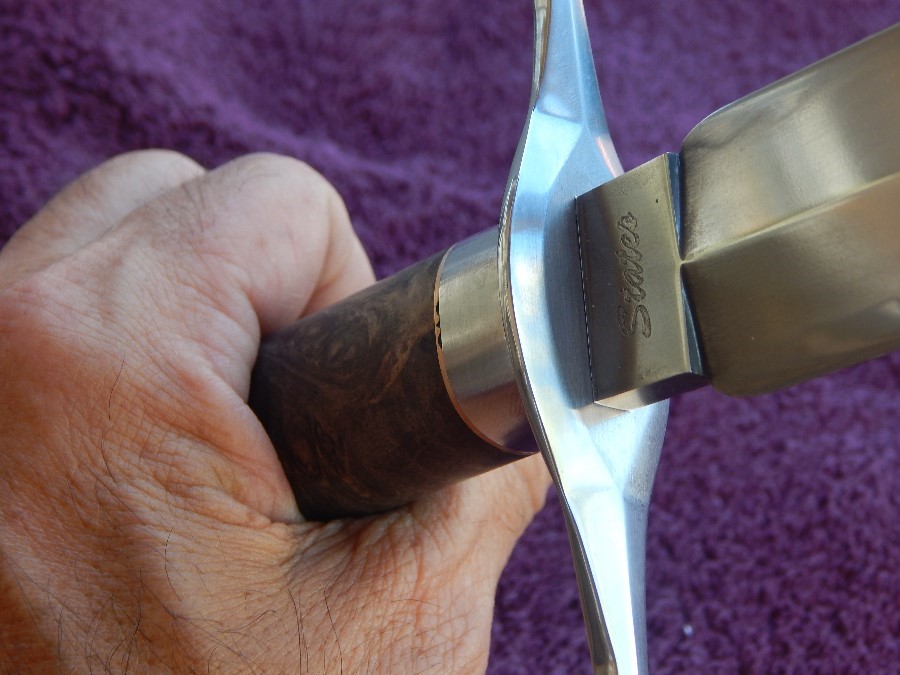
This is now completed.
Joshua States
www.dosgatosforge.com
https://www.youtube.com/channel/UCdJMFMqnbLYqv965xd64vYg
https://www.facebook.com/dos.gatos.71
Also on Instagram and Facebook as J.States Bladesmith
“So I'm lightin' out for the territory, ahead of the scared and the weak and the mean spirited, because Aunt Sally is fixin’ to adopt me and civilize me, and I can't stand it. I've been there before.â€

