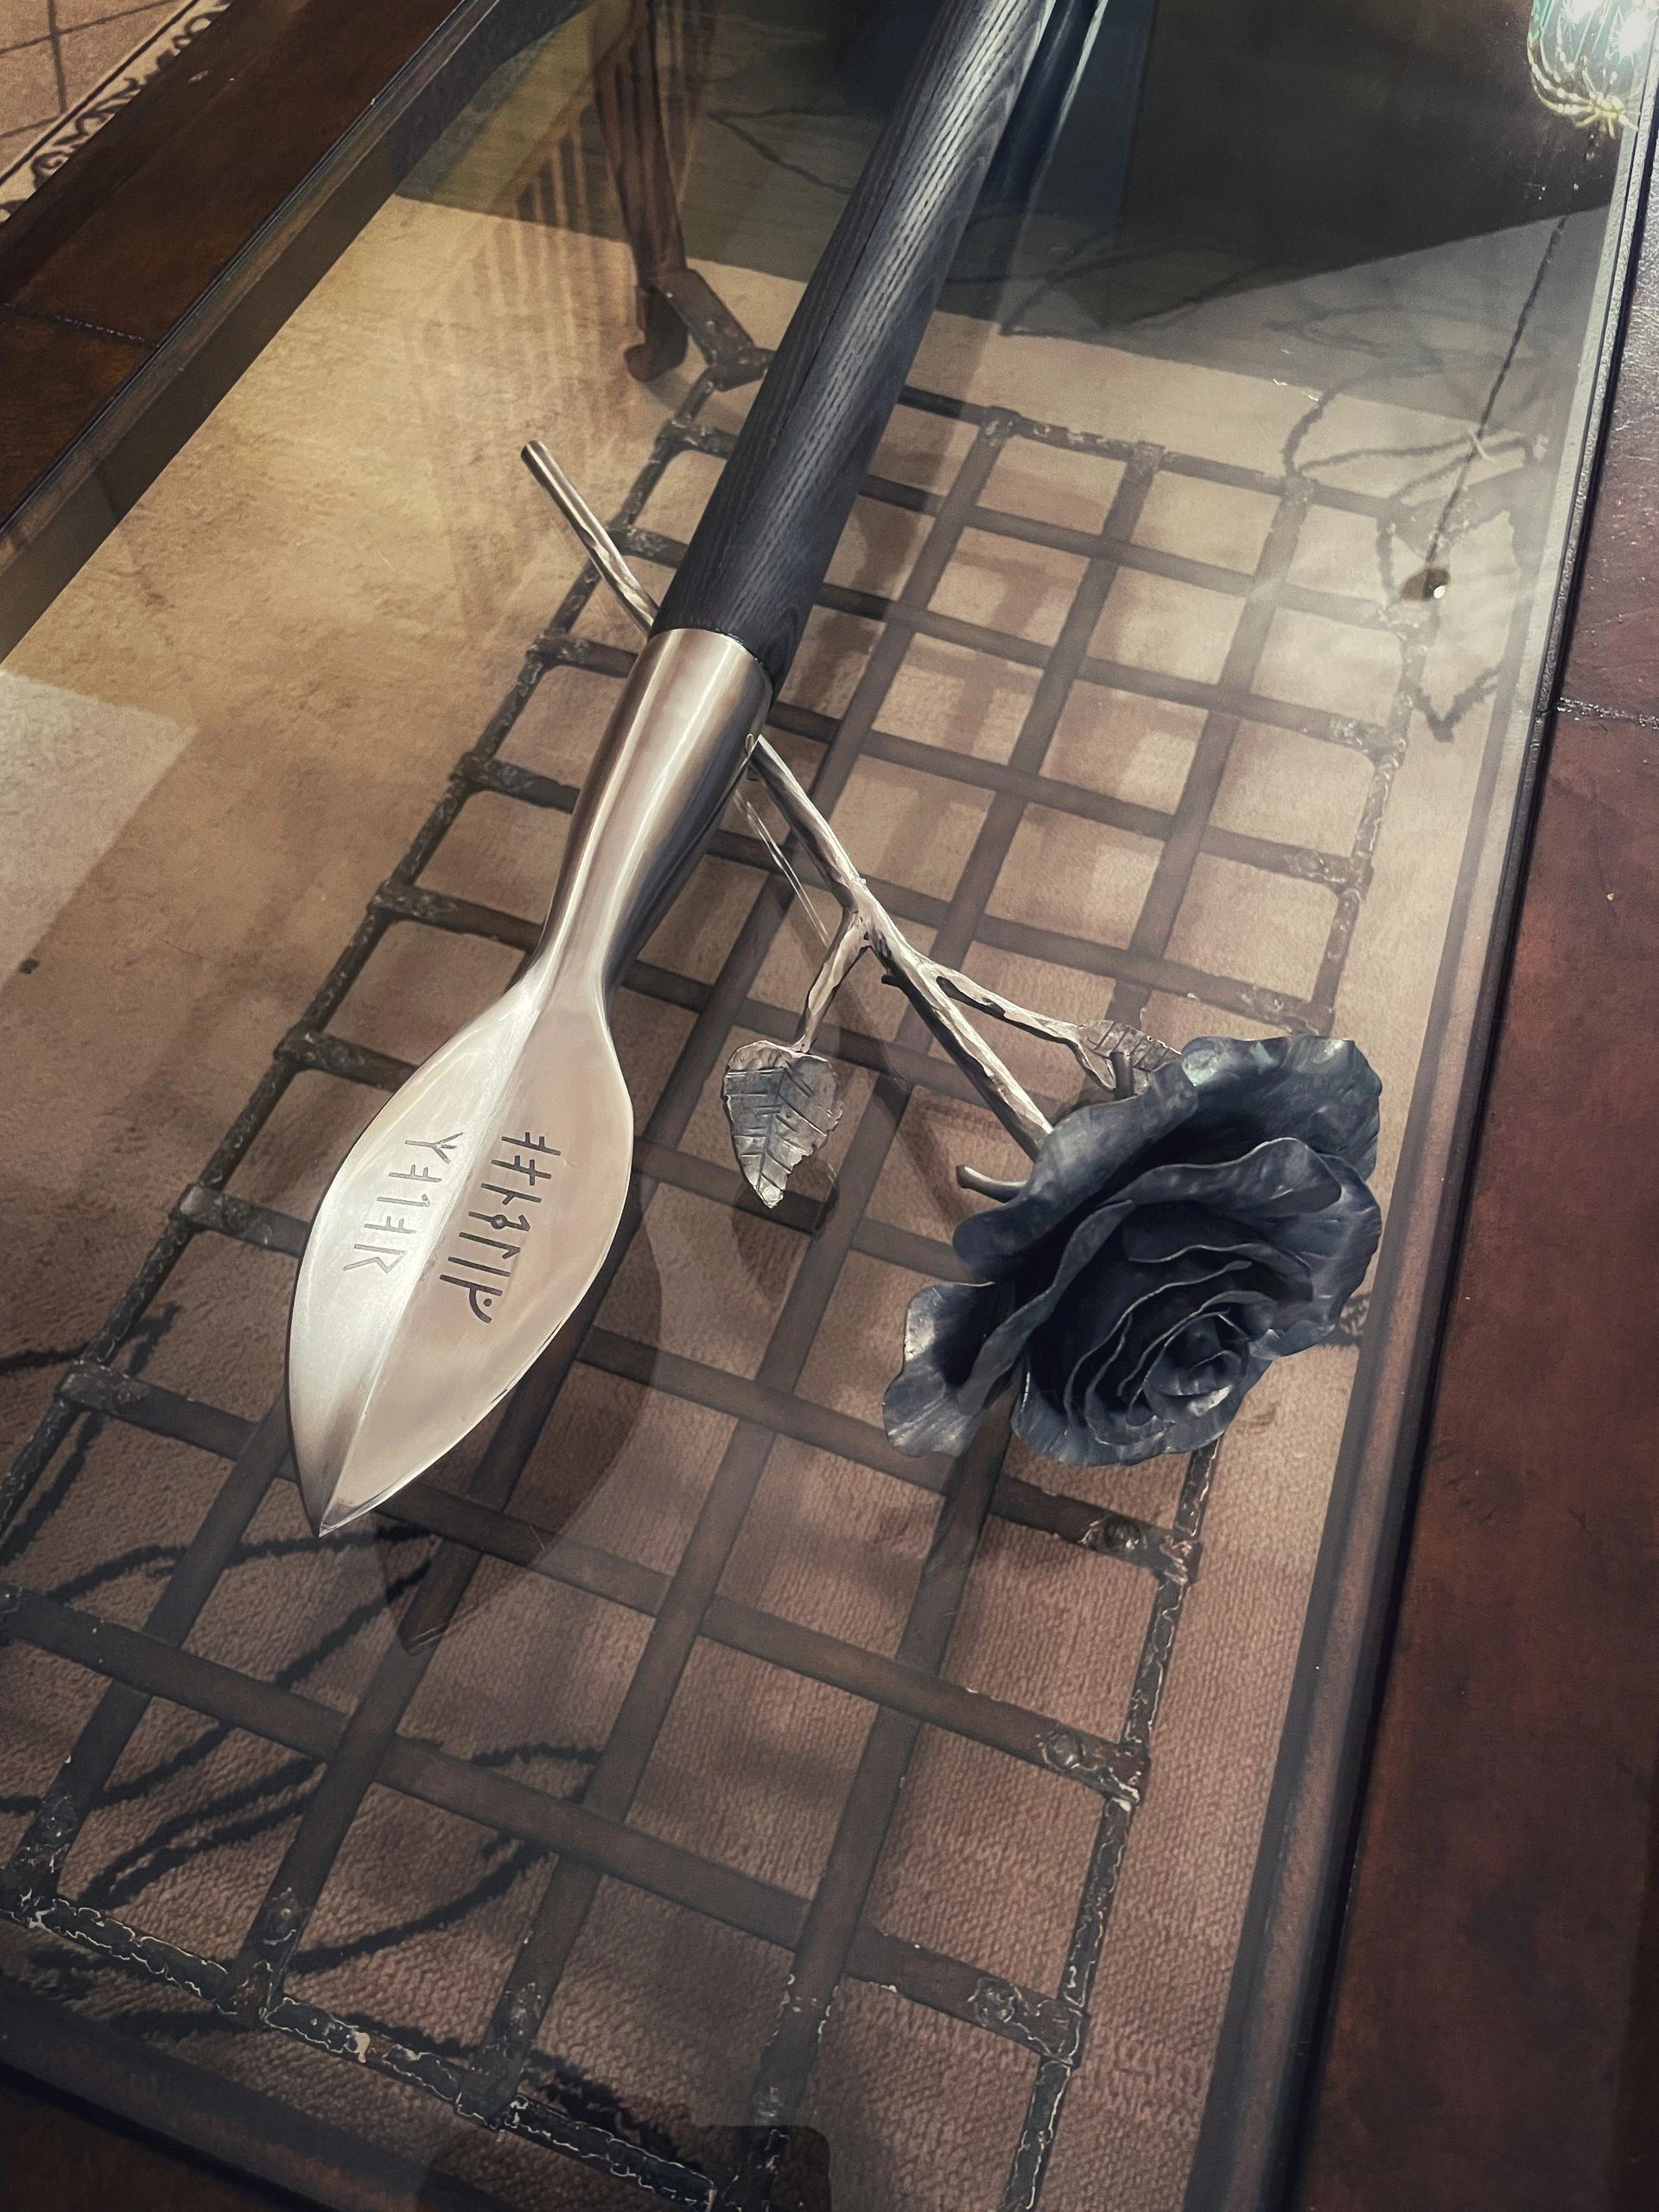
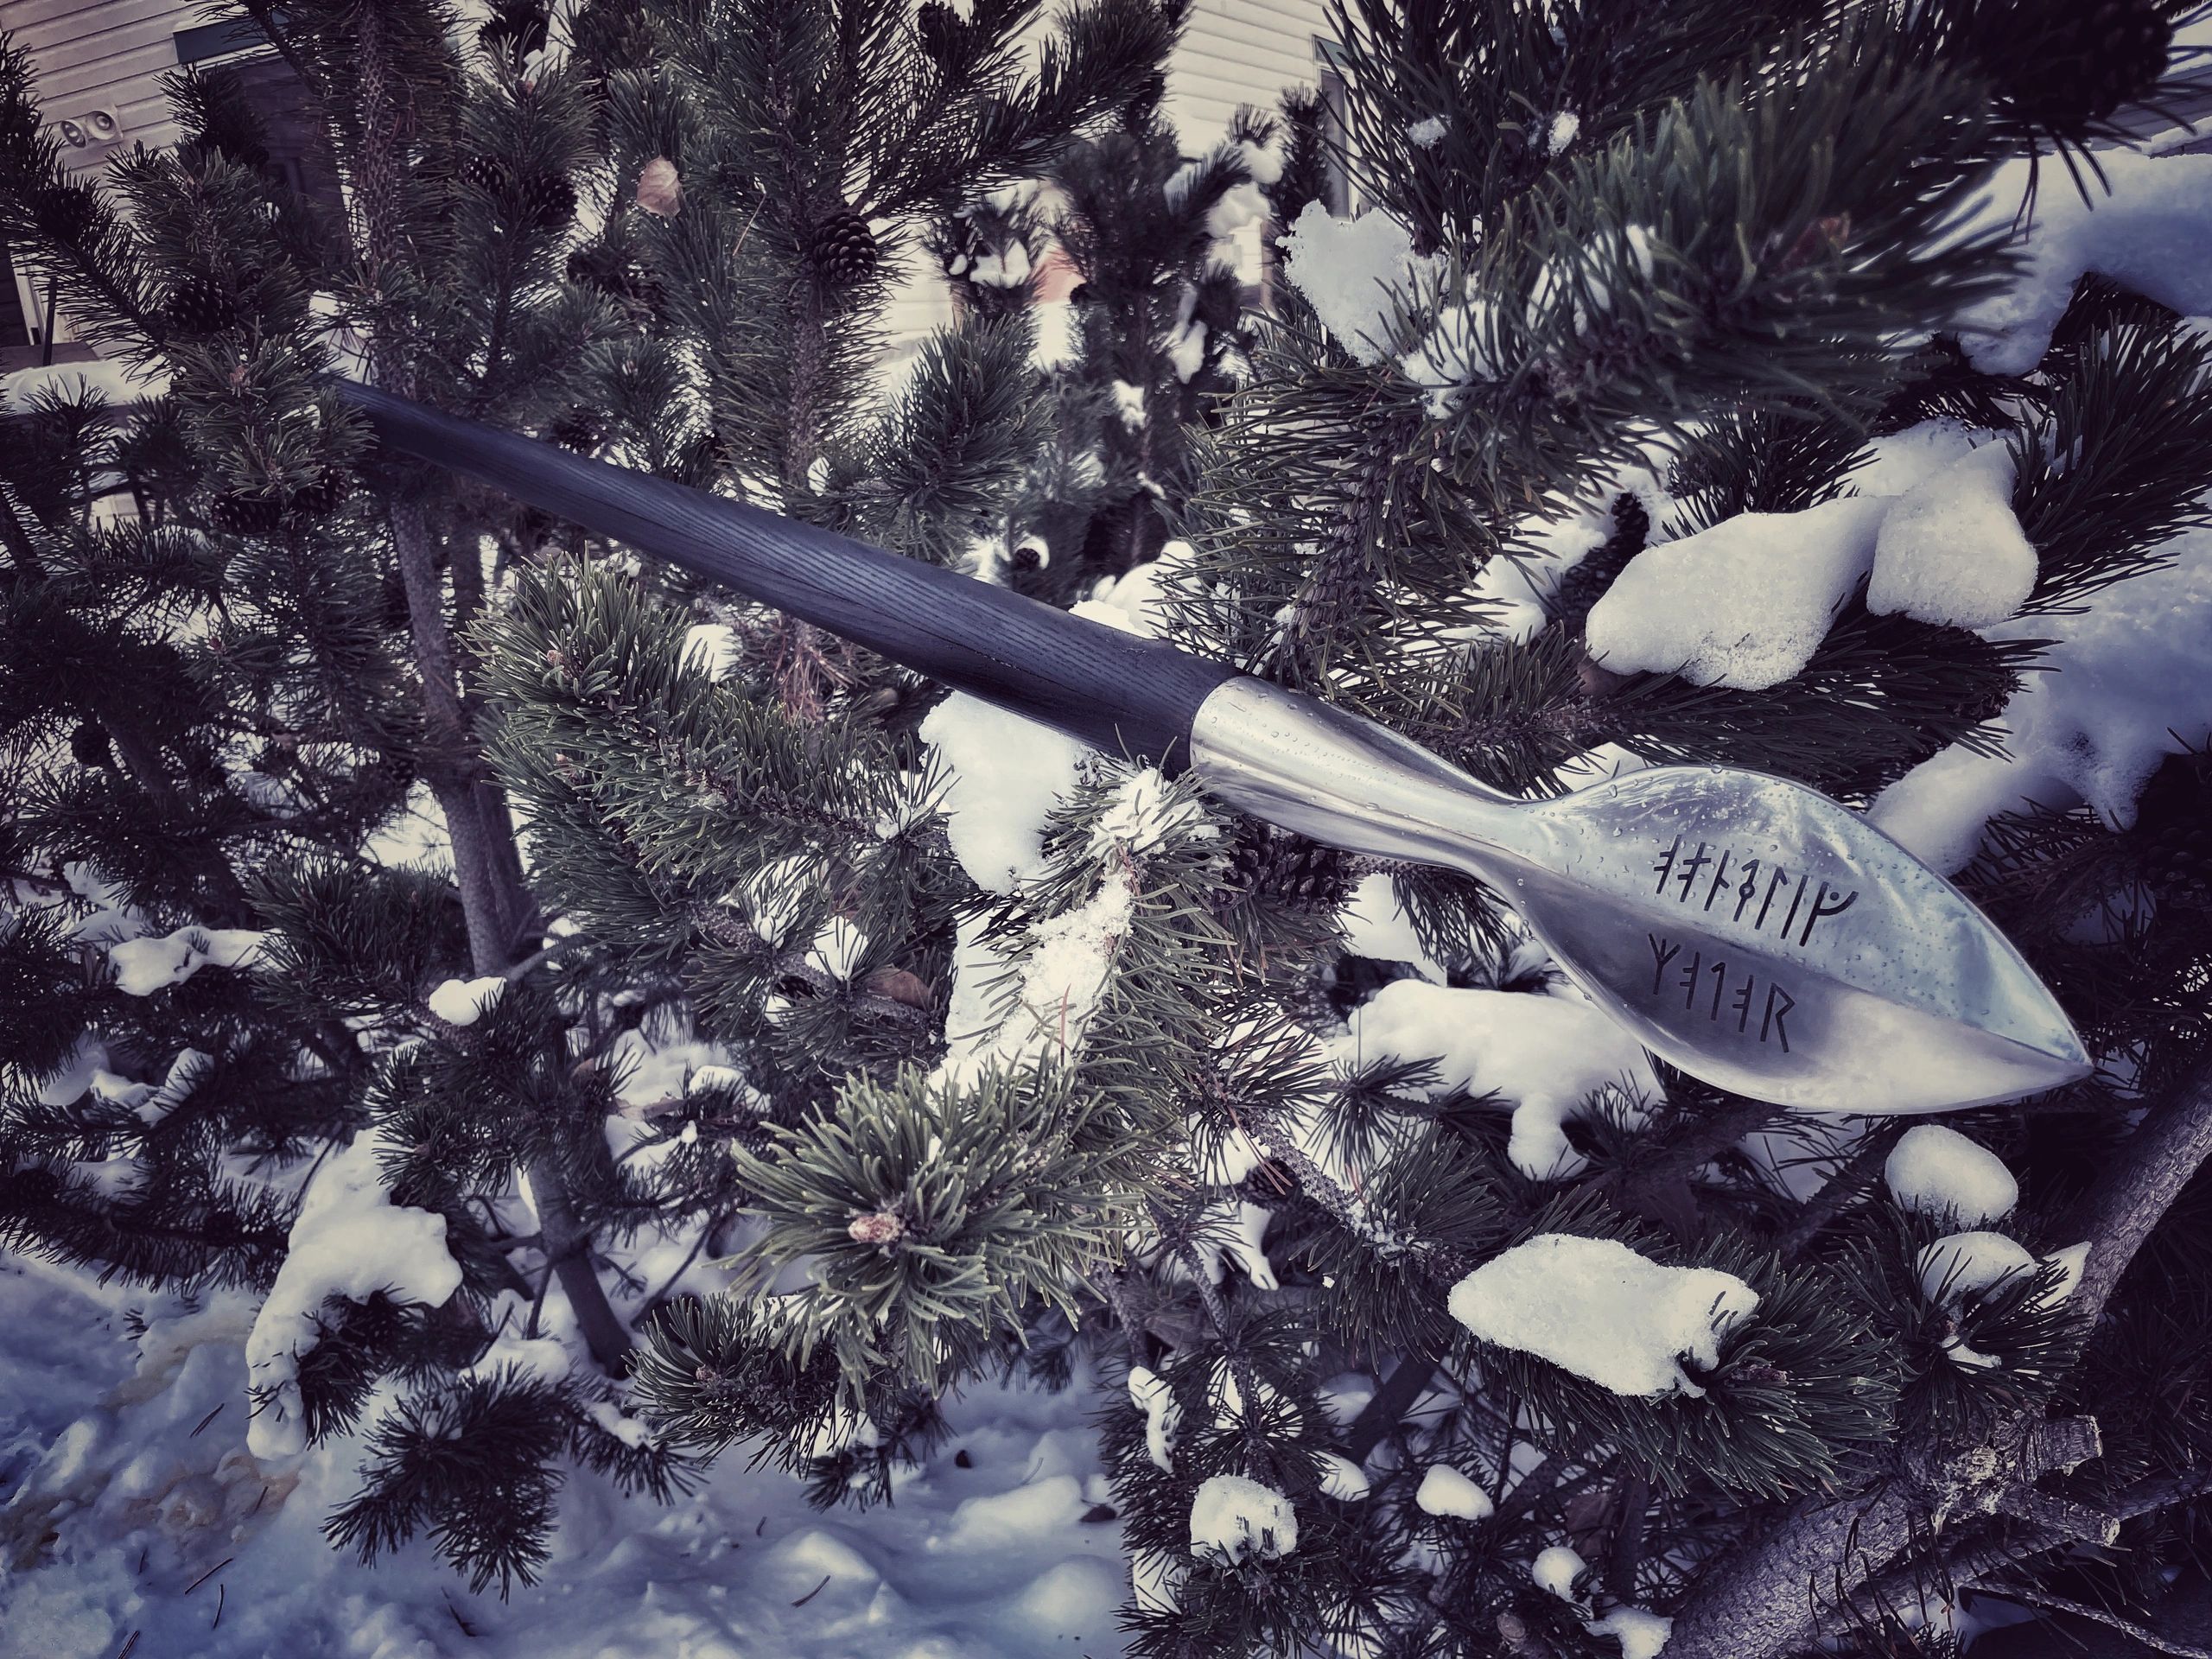
I would encourage everyone to leave their normal comfort zone. The best learnings (and failures) come from doing something different. I had two clients ask for something I had never done before. One was a spear. (I really underestimated and quoted on this one). It is forged from 5160 and I learned how hard it is to forge weld the socket when using 5160. Next time I will use 5160 for the blade, and create a socket from mild steel then forgeweld it to the blade. It is a 5'8" spear with Swedish Runes "Infinite Engine" etched into the blade.
The 2nd step away from my comfort zone was to create an Ulu with a customers supplied antler. I did a 300 layer raindrop pattern damascas that is probably (IMHO) the nicest steel that I have done. 6" Ulu with antler handle.
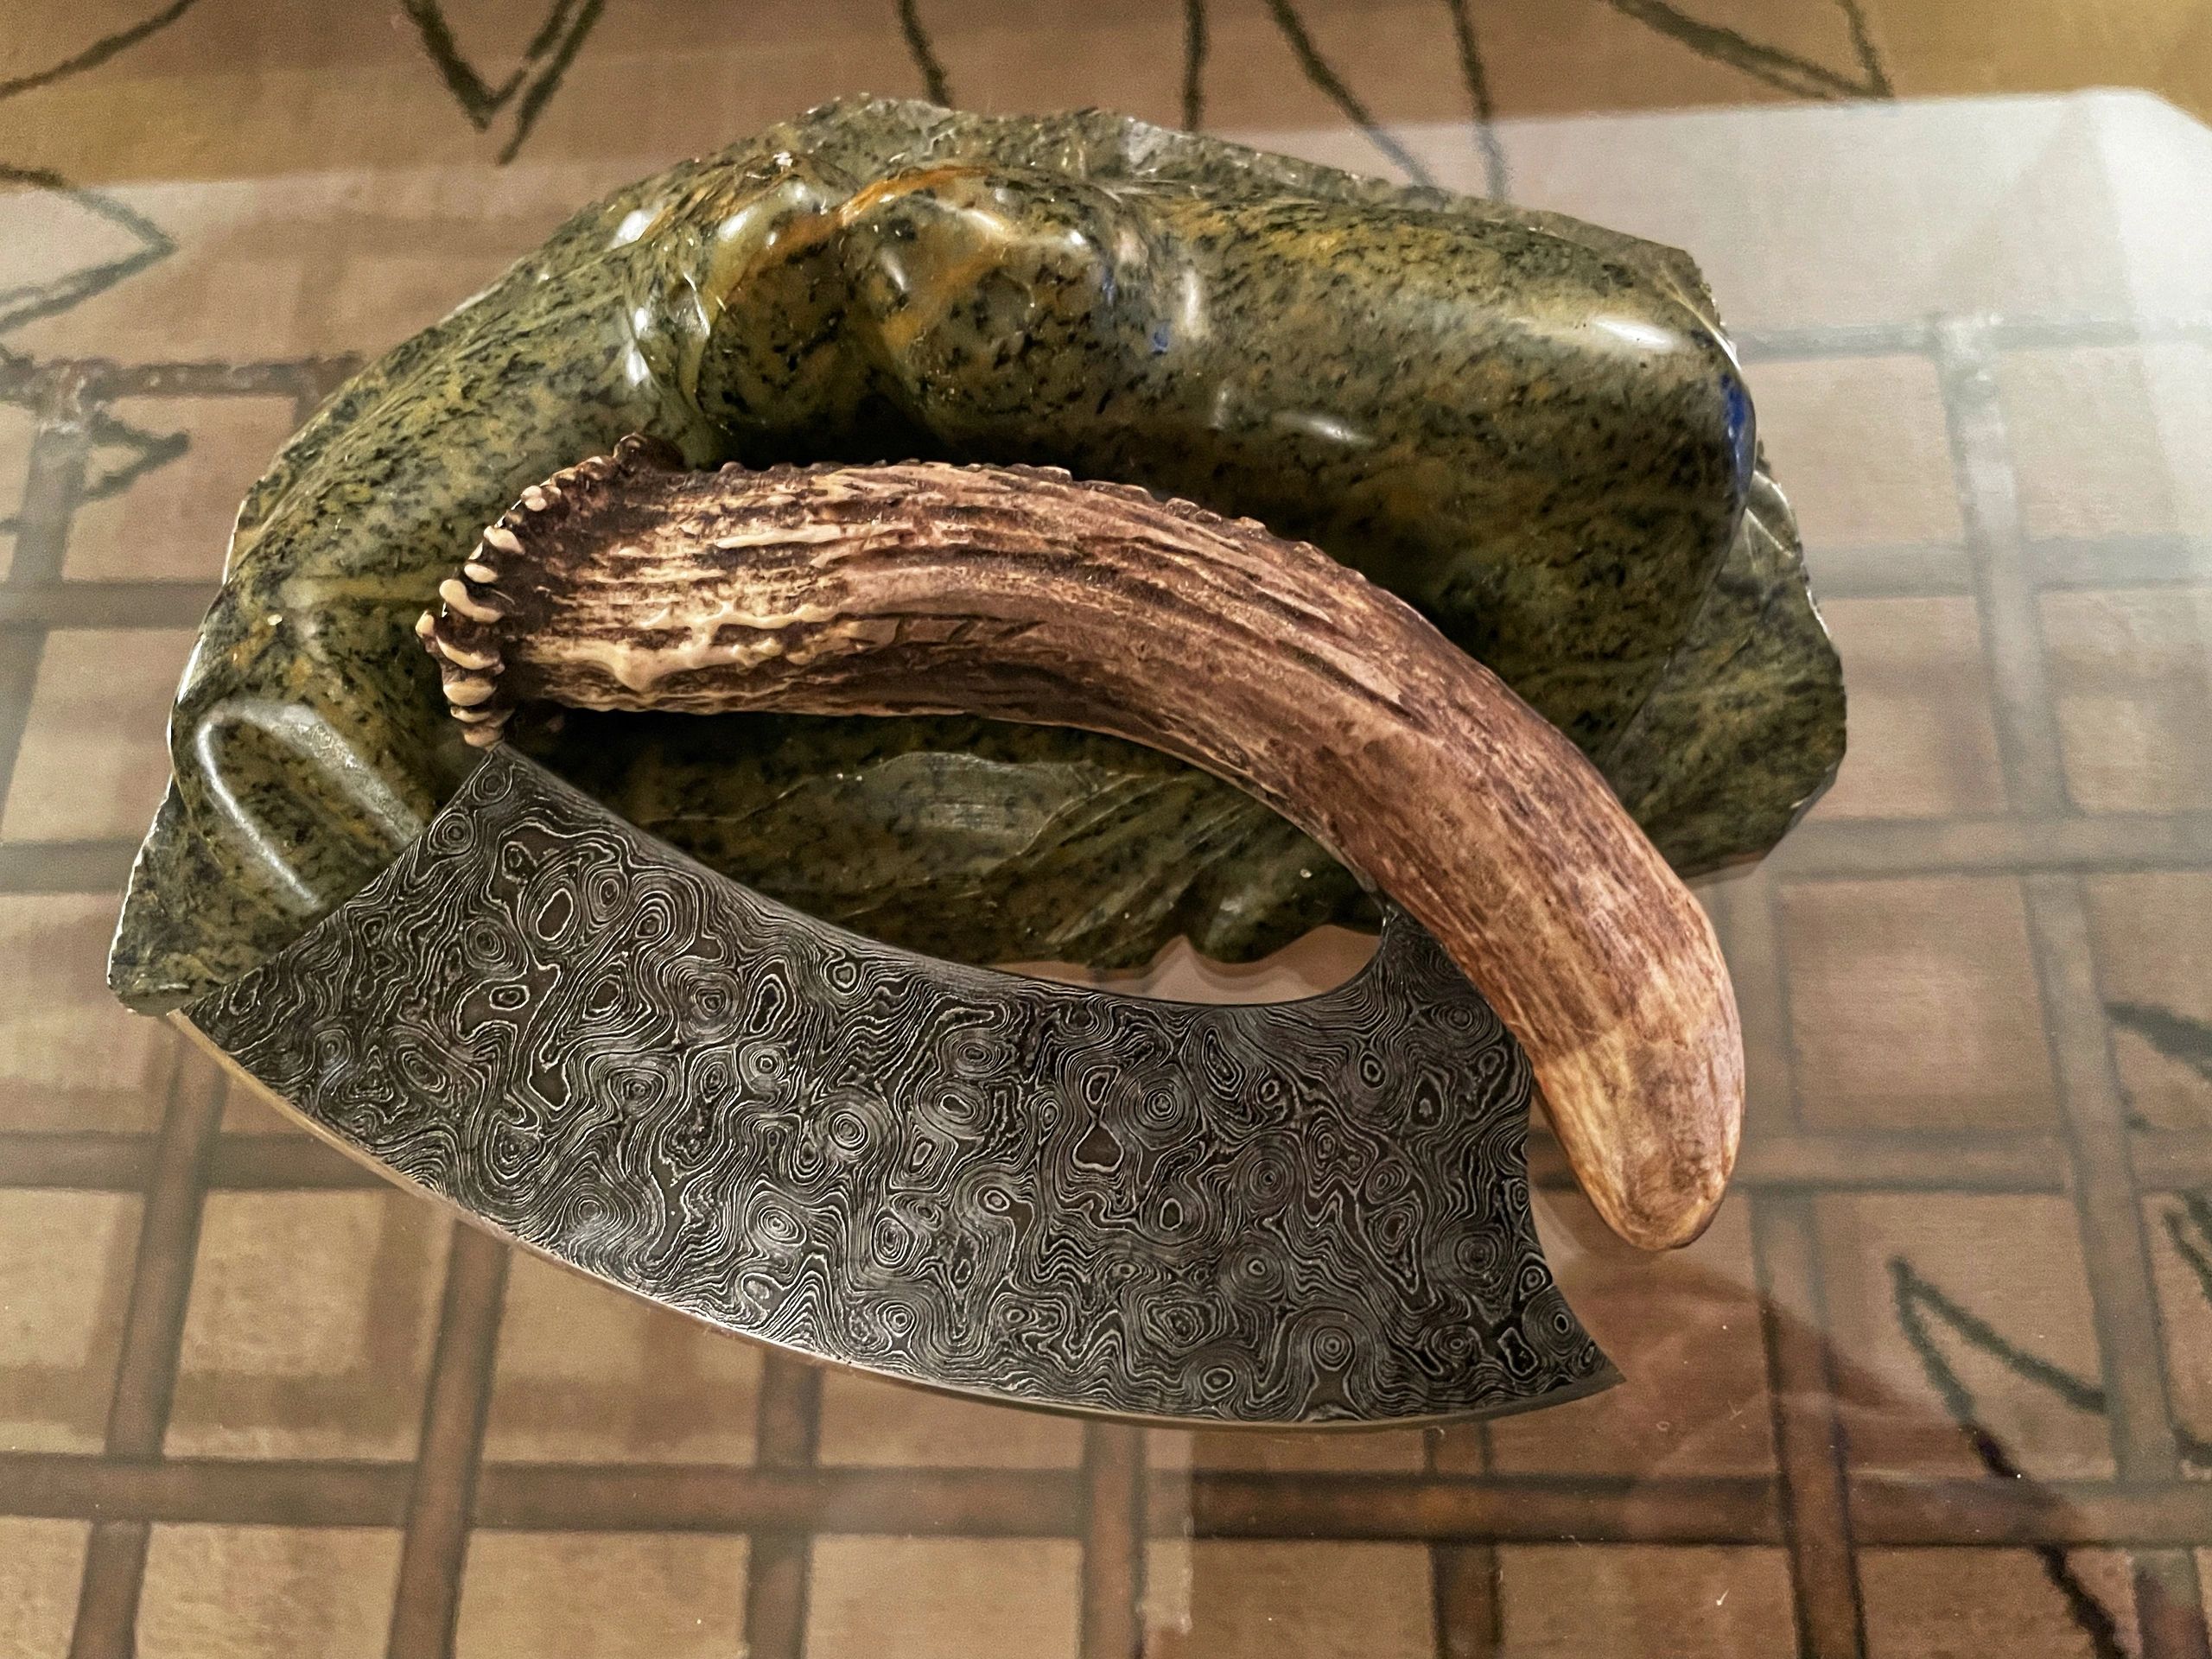
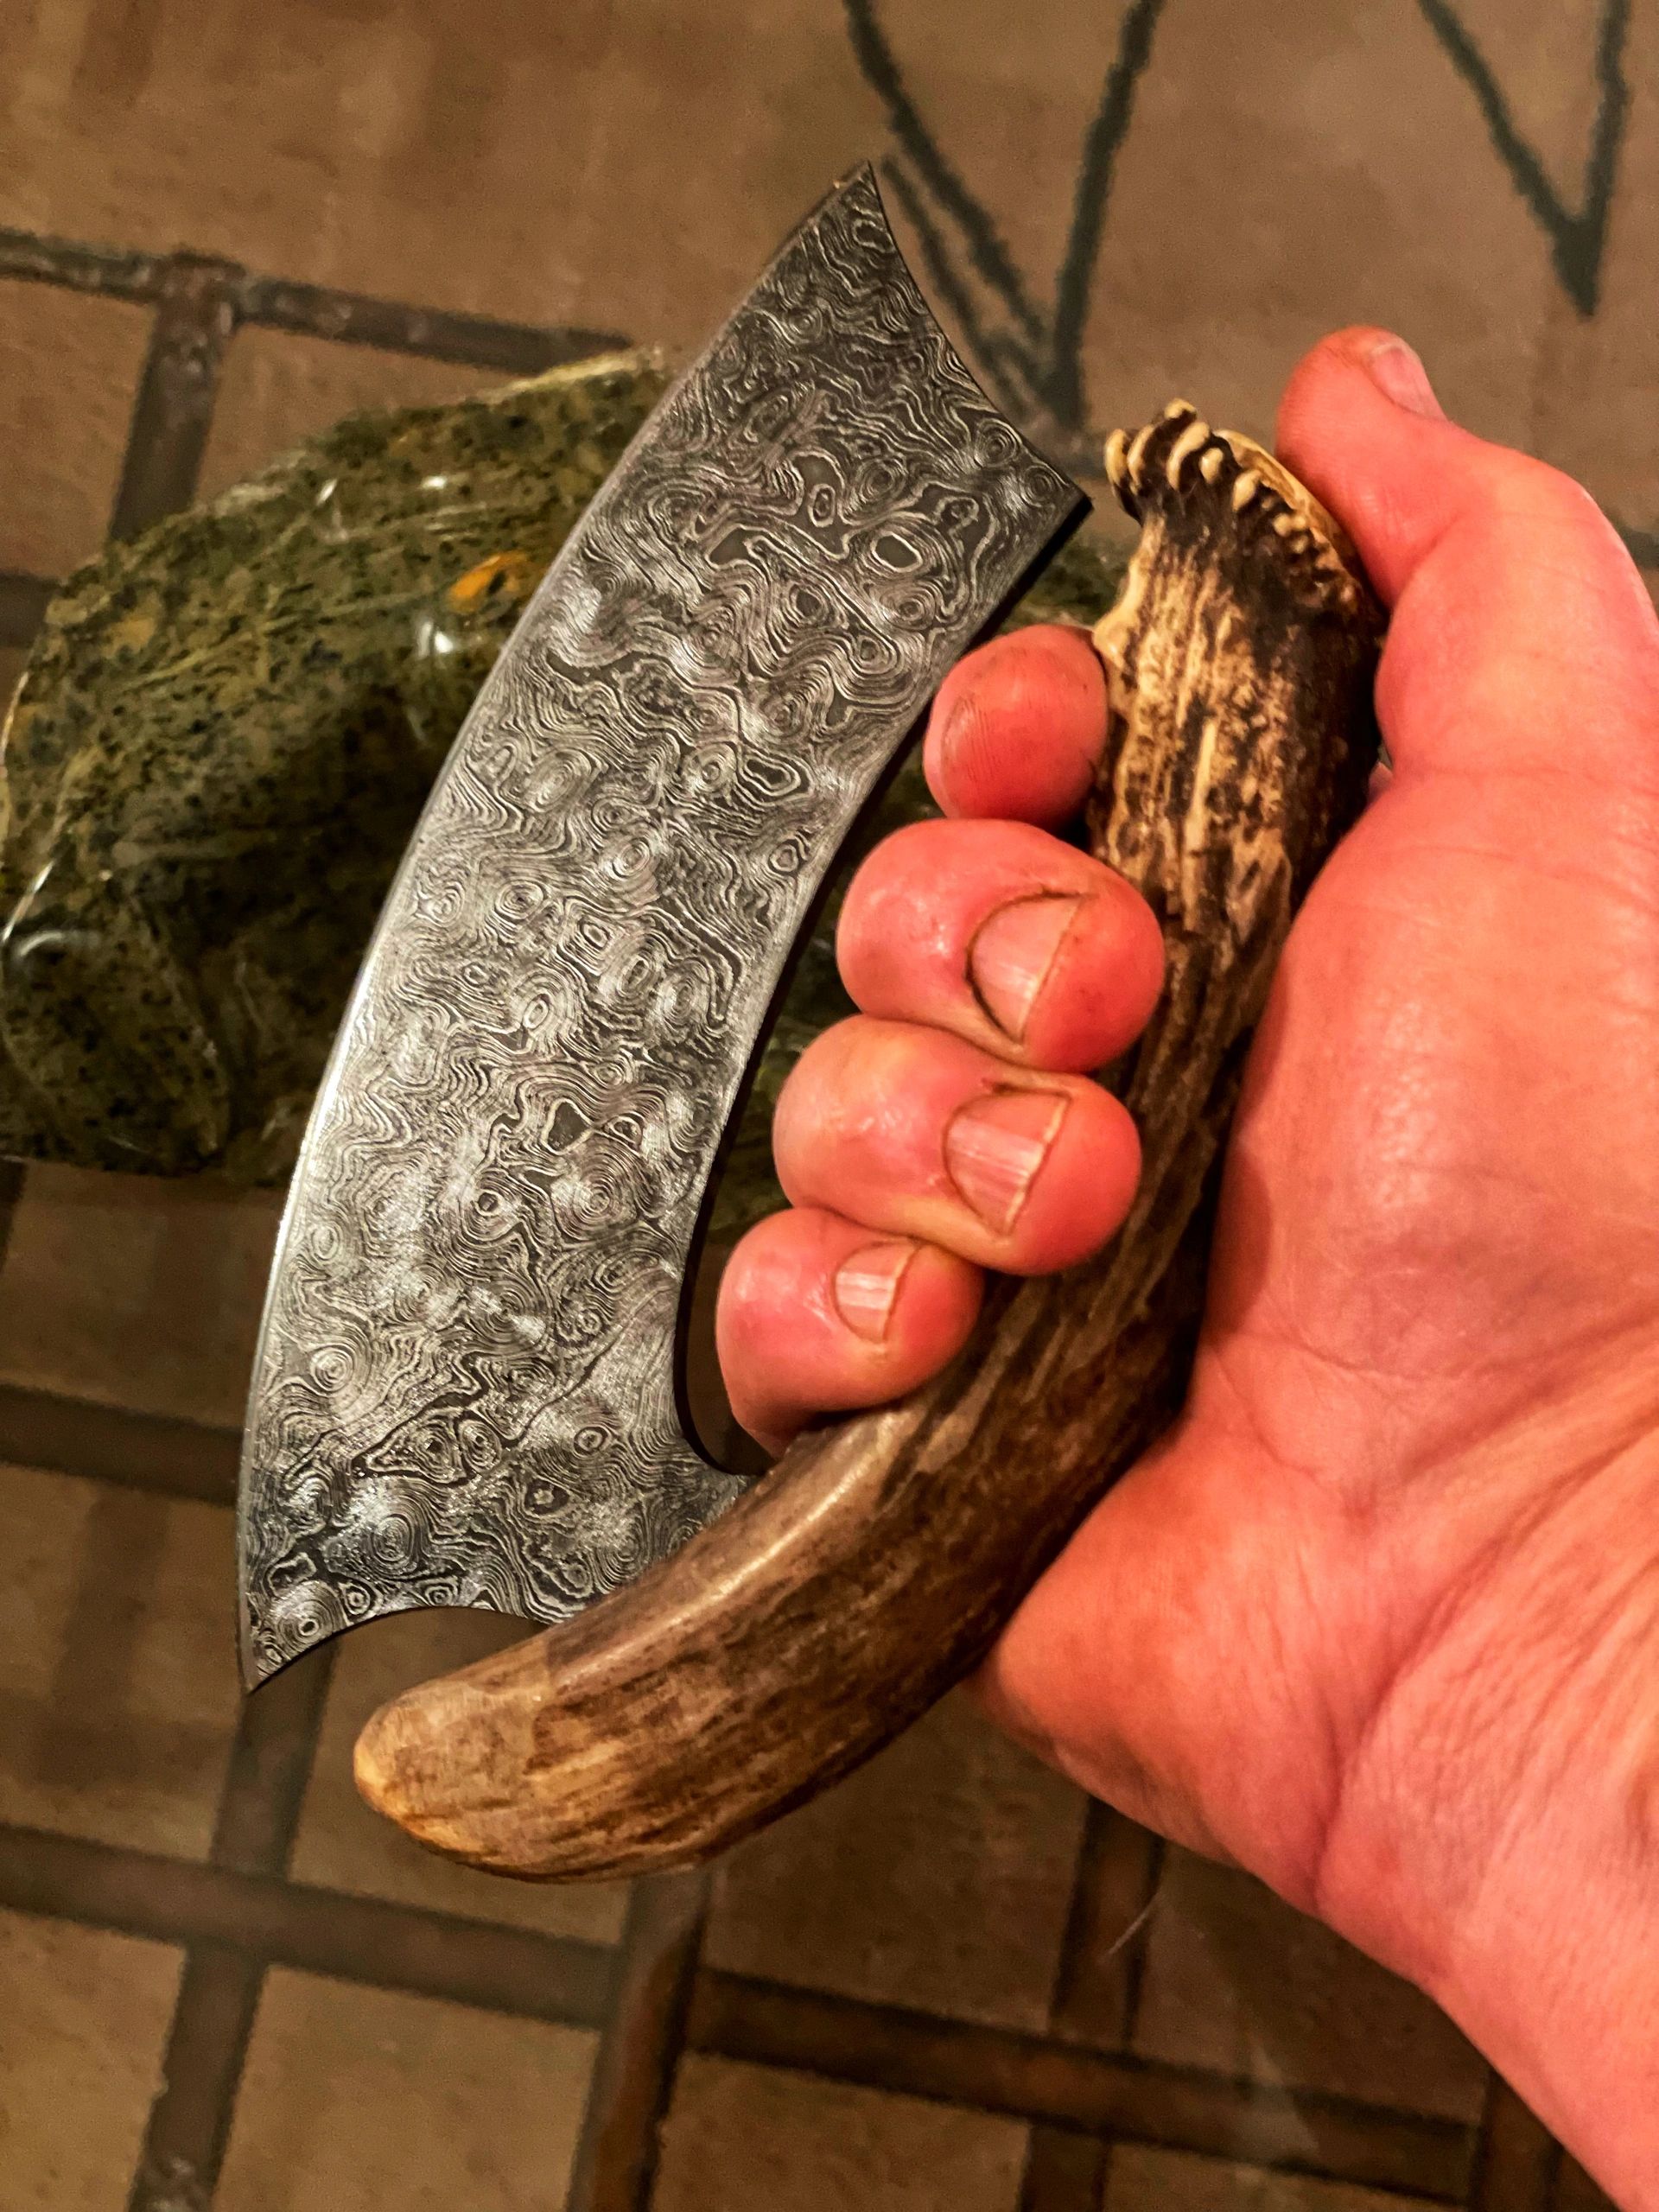
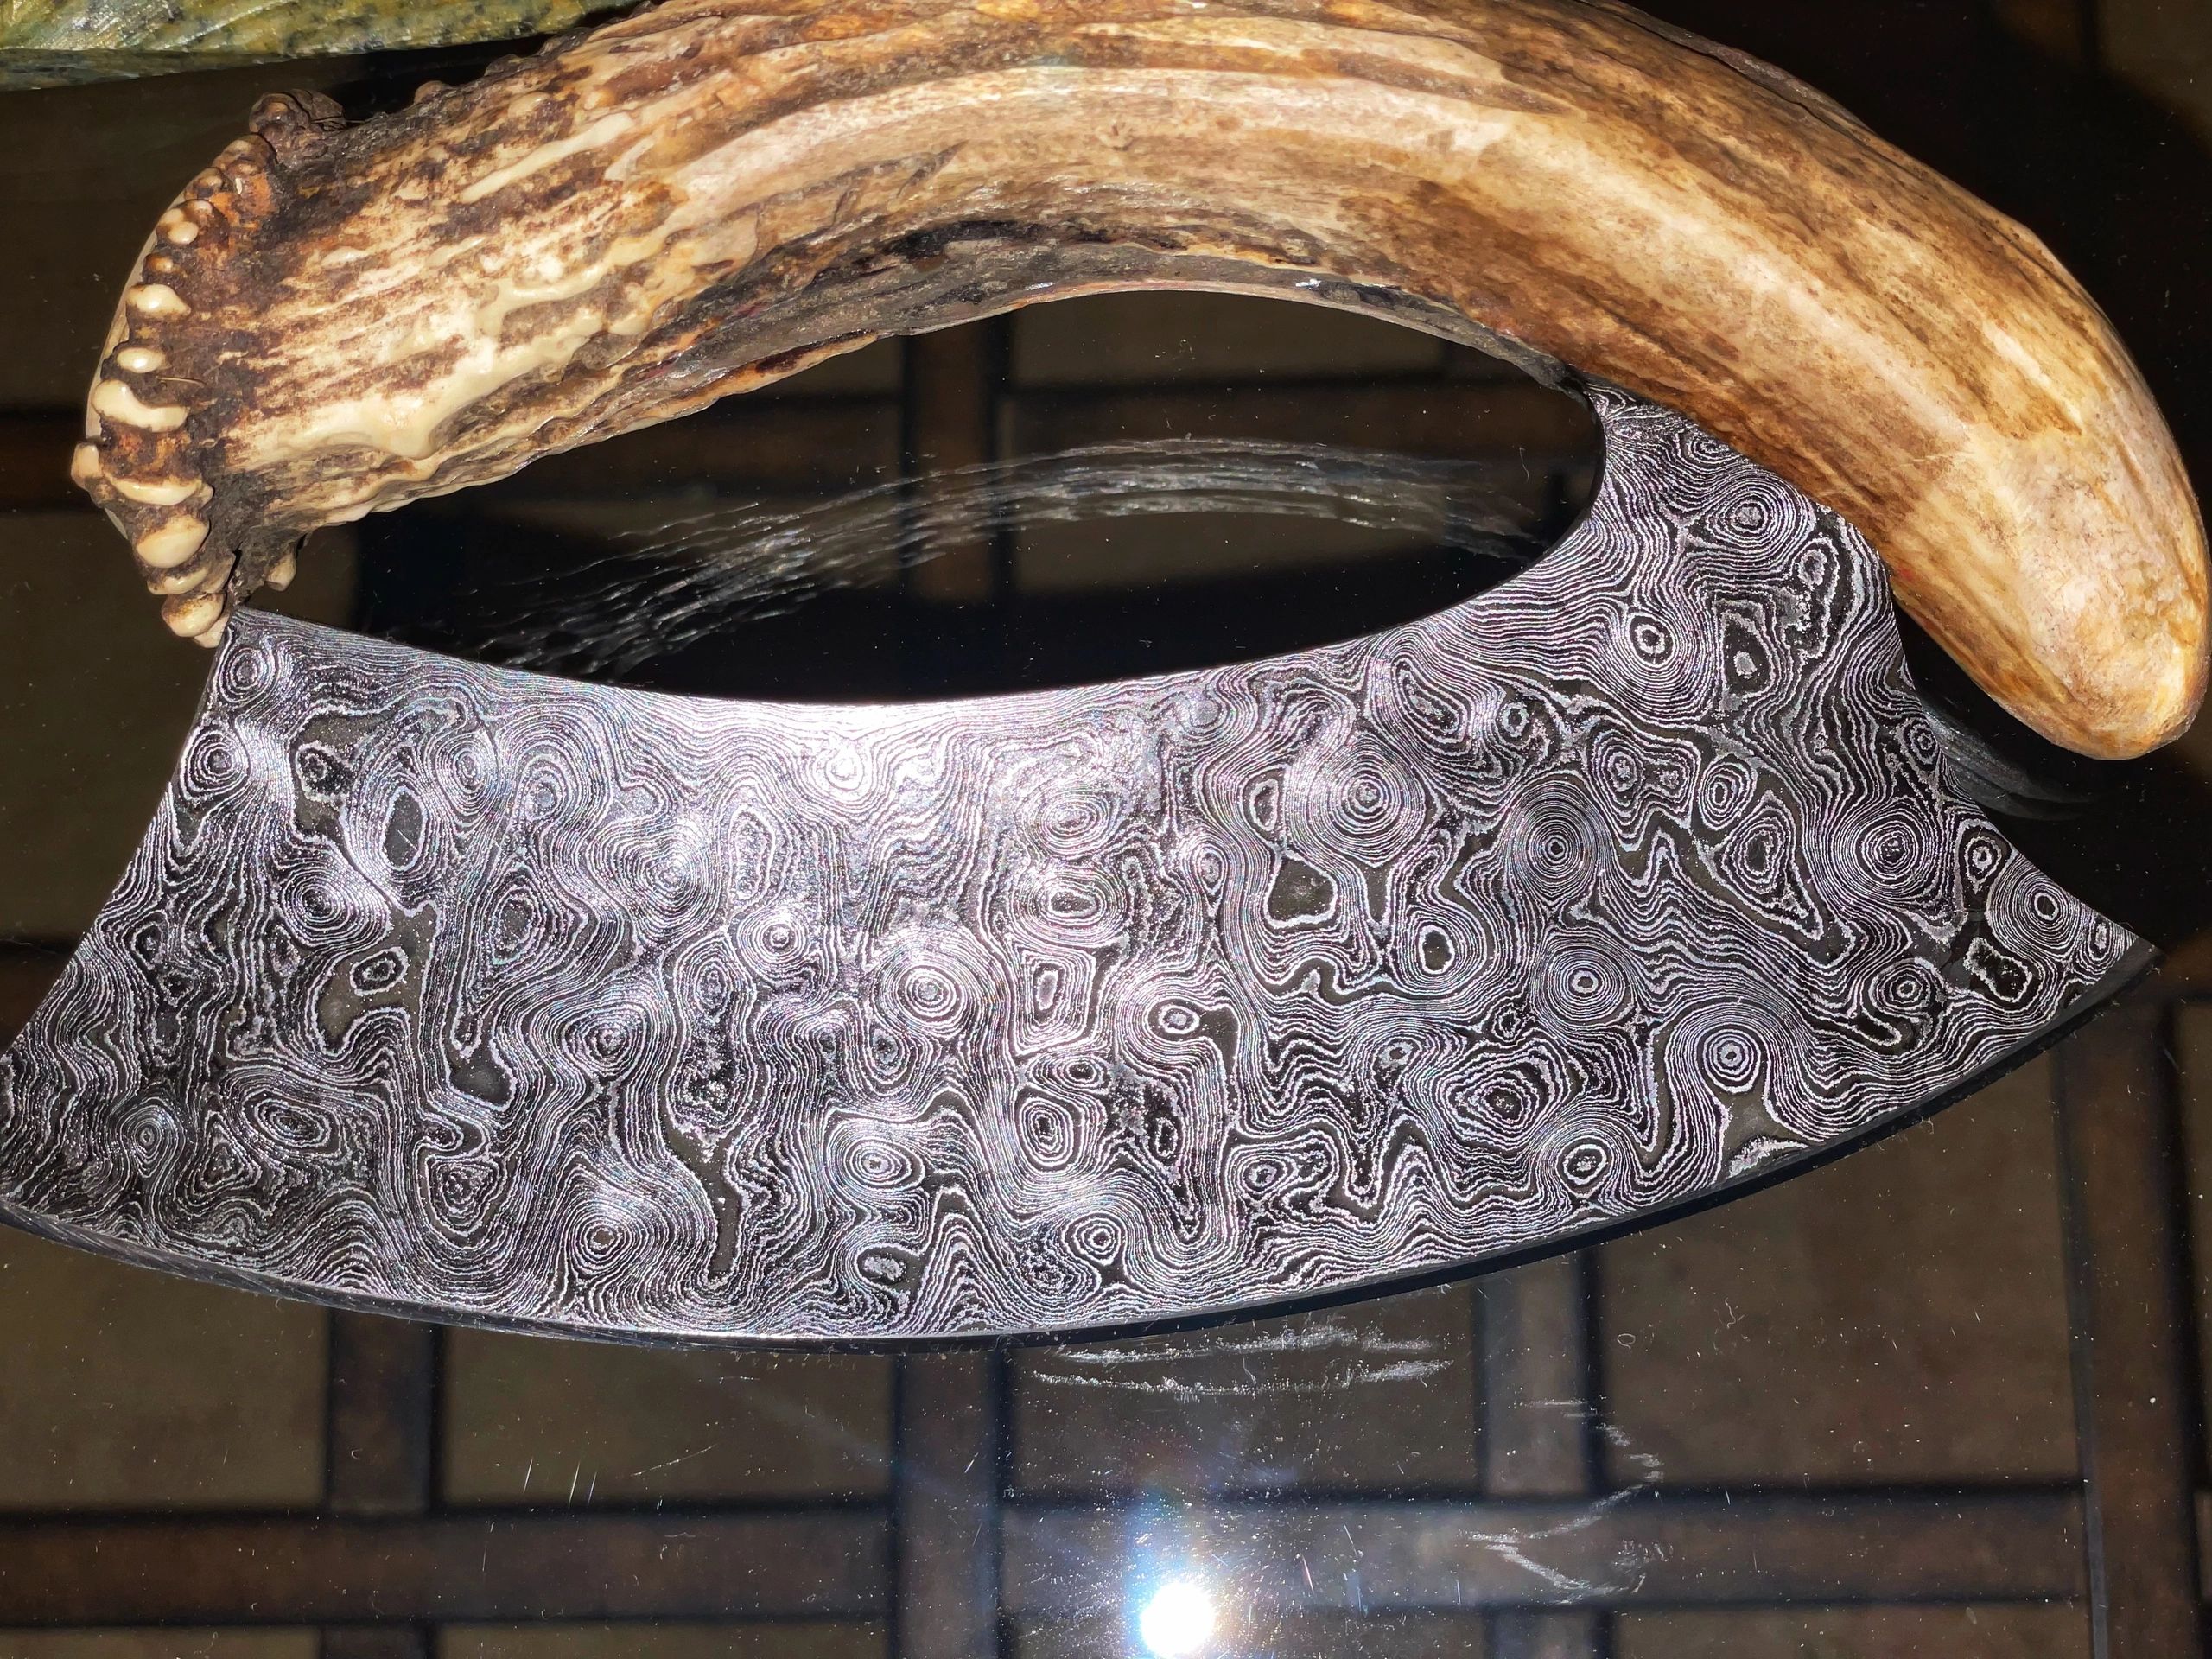
Both of these projects really gave me a boost of confidence.
Bob Bryenton
Solar Storm Group Ltd.
Phone: (780) 953-0016
Email: [email protected]
https://www.solarstorm.ca
“The only way of finding the limits of the possible is by going beyond them into the impossible" -- Arthur C. Clarke

Nice work! The spear looks very cool. The Damascus on that Ulu came out sweet too.
Forgewelding 5160 to mild steel is a difficult forge weld at best. 5160 has high chromium content and forge welding it to itself is nigh impossible. Forge welding it to other steels is difficult, but doable. Most of the guys I see making spears are using simple 10XX series steels for the blade and either wrought iron or mild for the socket.
“So I'm lightin' out for the territory, ahead of the scared and the weak and the mean spirited, because Aunt Sally is fixin’ to adopt me and civilize me, and I can't stand it. I've been there before.”
Thanks I wont lie, I only got about ½ of it forge welded because I didnt know this. You graciously answered my other post and if I do another, I will probably use something else, at the very least for the socket. I have seen some simply drill/lathe out a socket, but I dont have a lathe or mill, so the old hammer and heat all I have.
Bob Bryenton
Solar Storm Group Ltd.
Phone: (780) 953-0016
Email: [email protected]
https://www.solarstorm.ca
“The only way of finding the limits of the possible is by going beyond them into the impossible" -- Arthur C. Clarke
Well, there is always breaking out the MIG welder and angle grinder.......
“So I'm lightin' out for the territory, ahead of the scared and the weak and the mean spirited, because Aunt Sally is fixin’ to adopt me and civilize me, and I can't stand it. I've been there before.”
Shhhh... (thats what I did at the end)
Bob Bryenton
Solar Storm Group Ltd.
Phone: (780) 953-0016
Email: [email protected]
https://www.solarstorm.ca
“The only way of finding the limits of the possible is by going beyond them into the impossible" -- Arthur C. Clarke
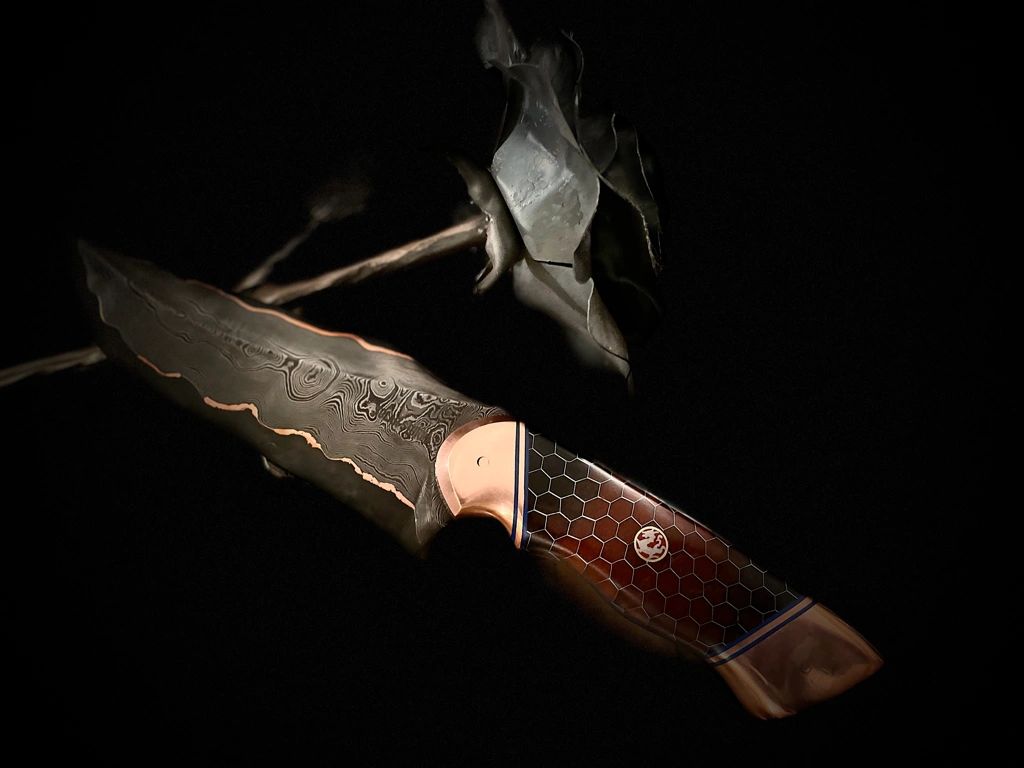
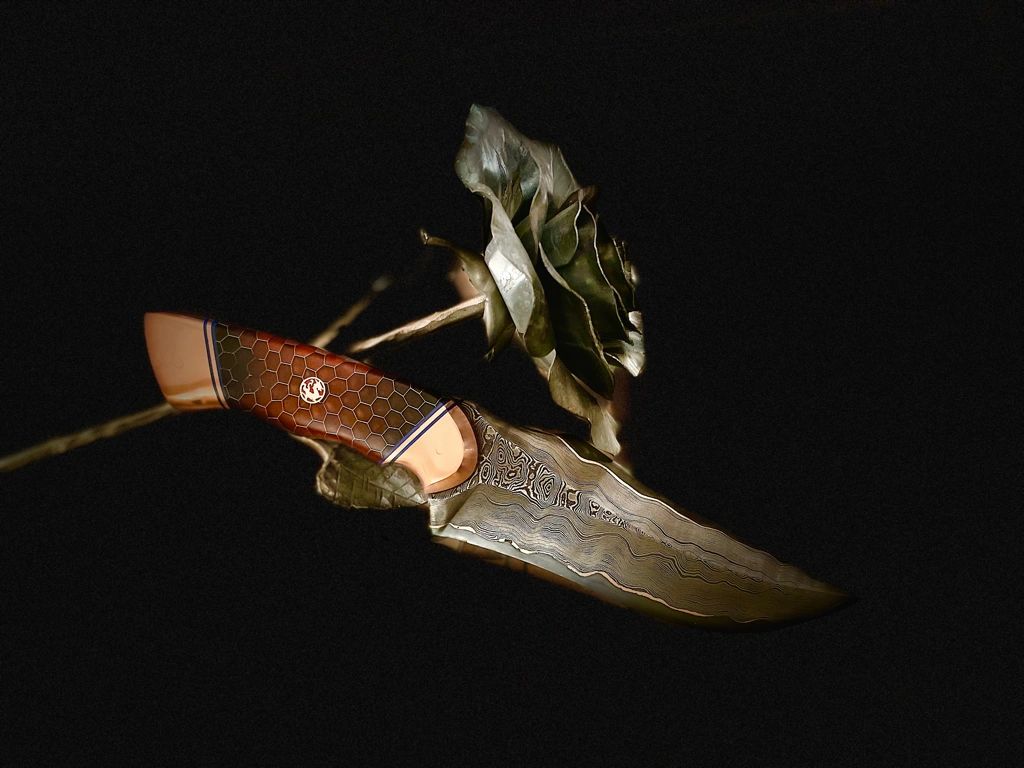
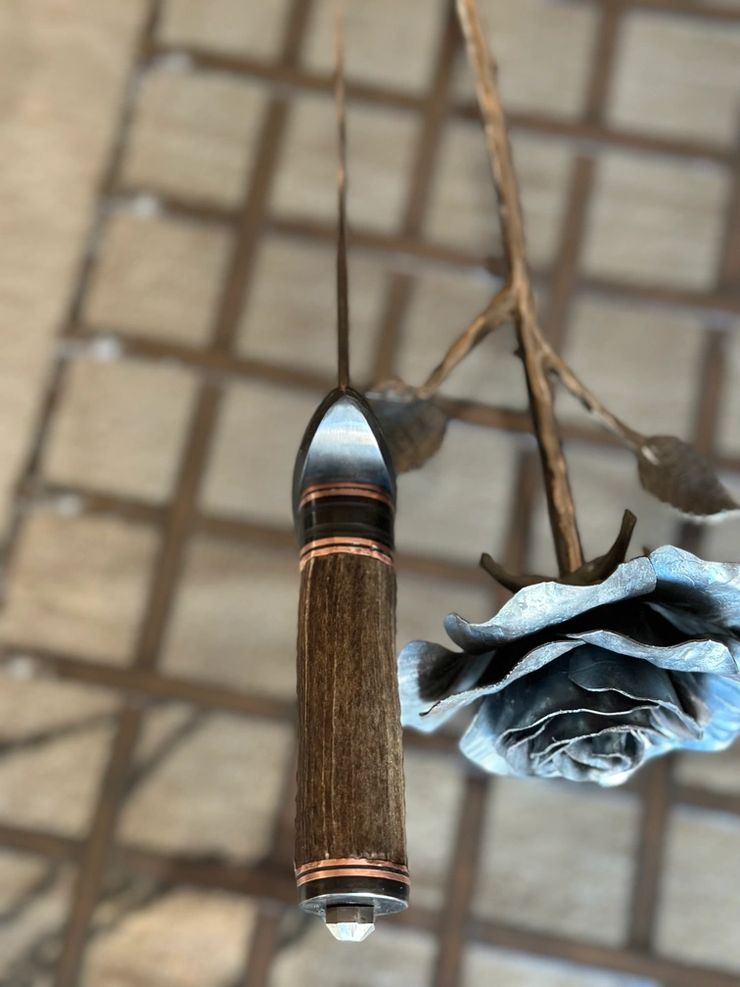
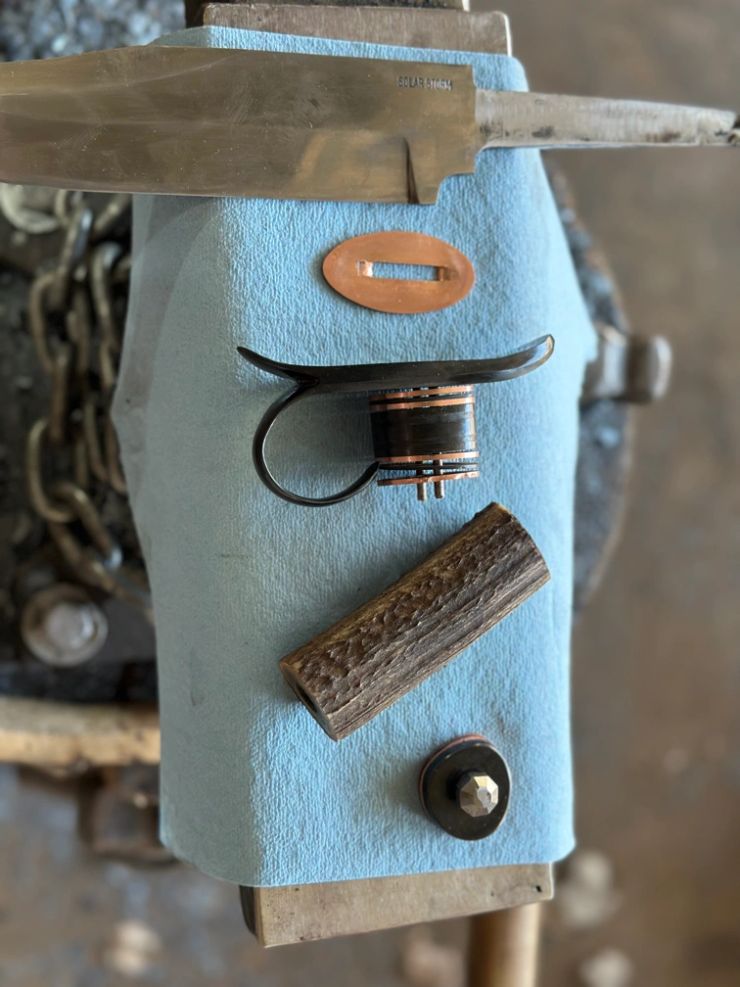
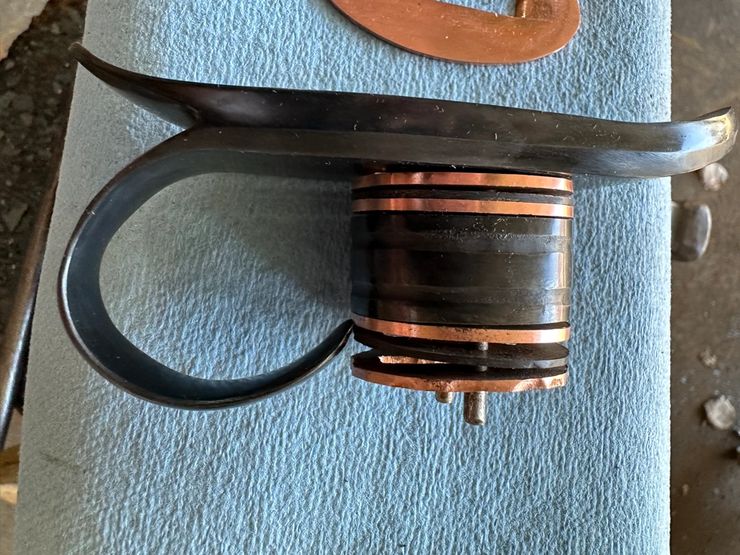
Copper Dragon - 240 layer Damascus CuMai. 120 layers of 15n20 and 1084 over a 1084 core. Copper bolster and pommel with epoxy dragon scales for the handle. 6.25" blade with a 5" handle https://www.solarstorm.ca
Bob Bryenton
Solar Storm Group Ltd.
Phone: (780) 953-0016
Email: [email protected]
https://www.solarstorm.ca
“The only way of finding the limits of the possible is by going beyond them into the impossible" -- Arthur C. Clarke
I do the copper damascus by watching the temperatures. Really the copper braises to the steel. 1st I create the damascus forge to 1/8" ish. then I used a center 1084 3/16" core. .4mm copper sheet on each side, then the layer of damascus. I keep the copper about 1/8" smaller all around to avoid getting copper in my welds.
Now comes the most important part. you MUST weld the entire edge of the billet to completely seal everything.
and now the part I have the most difficulty with. Keeping the core in the center. You want to get some variation to get the ripple in the copper by using an aggressive rounding die. But watch the pressure and ensure you do both sides evenly or the center core will not stay in the center and you will get copper on the blade edge.
Watch your temperatures. I use a temp gun. copper melts at 1085C and steel is 2-300C higher. you need to avoid the copper melting but getting hot enough to braise to the steel. AND avoid working it too cold.
If you see copper leaking out of a weld at any time, stop grind out the weld to clean out the copper from the edge and re-weld.
Once you get to your desired blade thickness, you need to do stock removal to get the final shape. If you try and forge the blade to shape, you will cause a delam in the steel-copper-steel union.
It does NOT make the strongest blade, but it makes a pretty blade.
Disclaimer, I have only been bladesmithing for a couple of years, the masters here can and should correct all my errors...
Bob Bryenton
Solar Storm Group Ltd.
Phone: (780) 953-0016
Email: [email protected]
https://www.solarstorm.ca
“The only way of finding the limits of the possible is by going beyond them into the impossible" -- Arthur C. Clarke
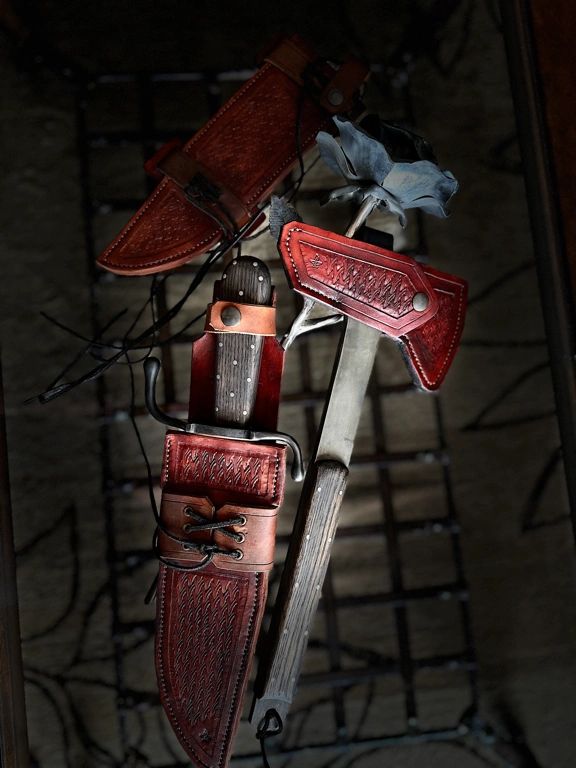
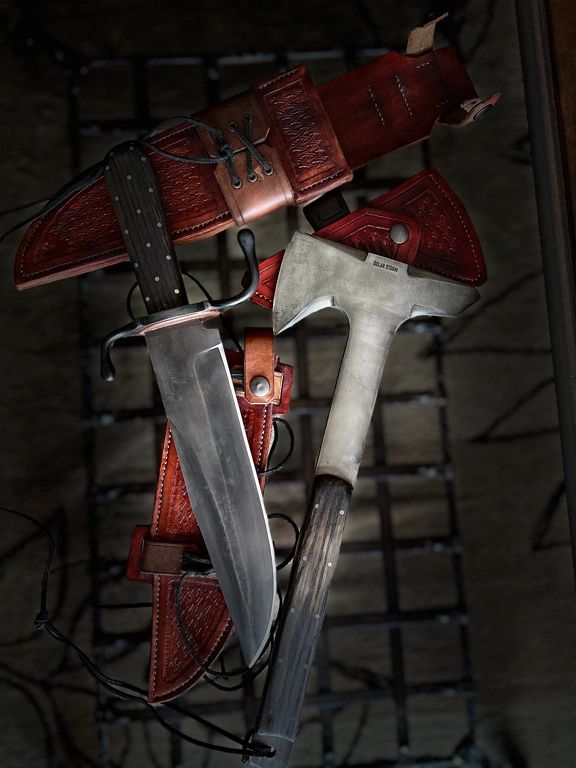
This was what I am calling a Modern Frontier set. A Bowie and a Tomahawk (which was much harder than I thought)
Bob Bryenton
Solar Storm Group Ltd.
Phone: (780) 953-0016
Email: [email protected]
https://www.solarstorm.ca
“The only way of finding the limits of the possible is by going beyond them into the impossible" -- Arthur C. Clarke
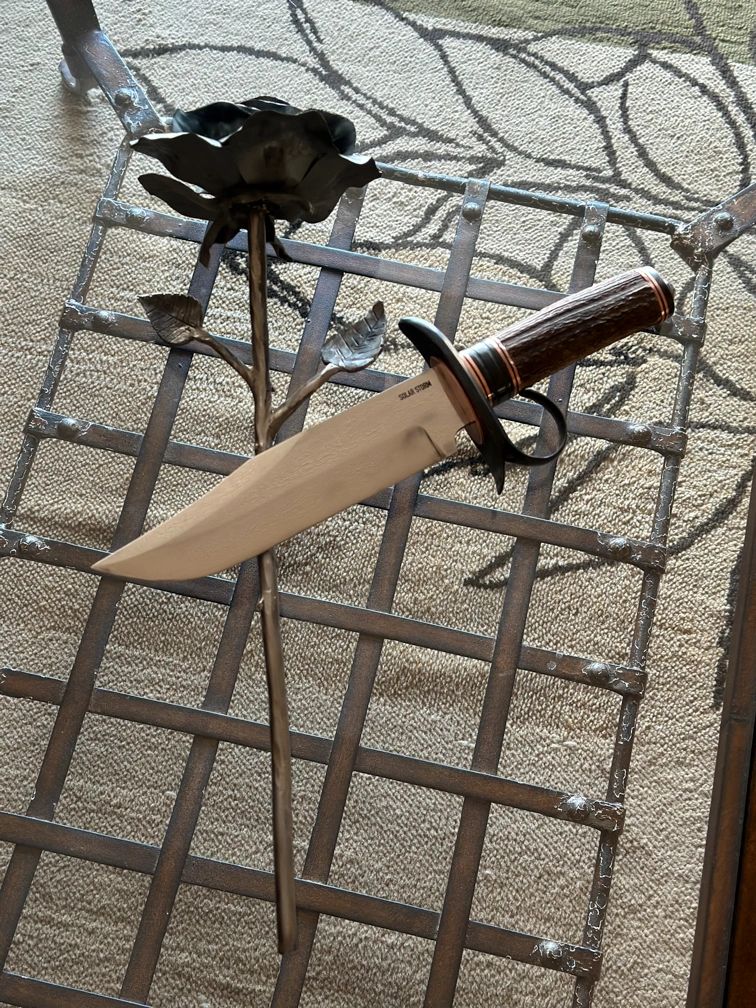
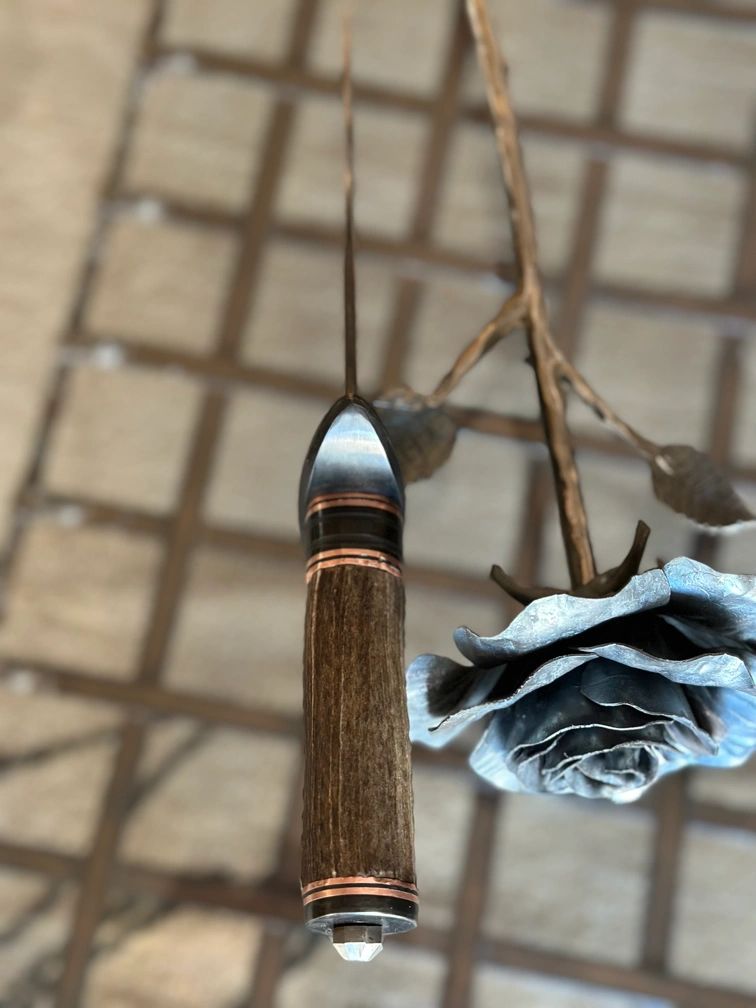
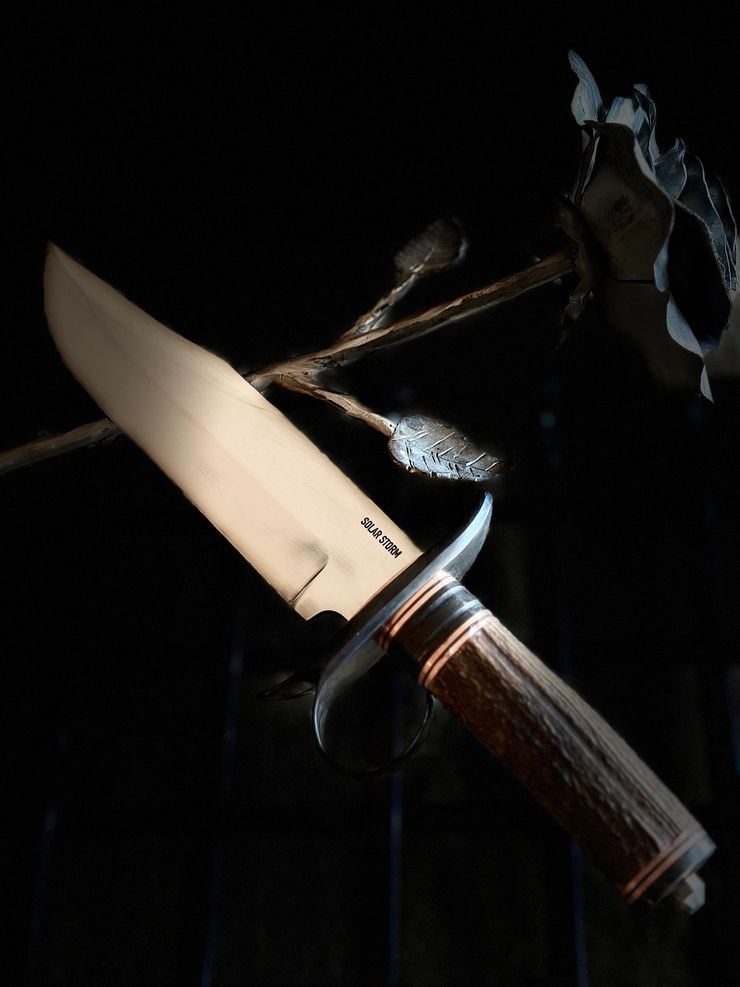
8” Ring Guard Take down Bowie with and Elk Antler handle


Bob Bryenton
Solar Storm Group Ltd.
Phone: (780) 953-0016
Email: [email protected]
https://www.solarstorm.ca
“The only way of finding the limits of the possible is by going beyond them into the impossible" -- Arthur C. Clarke
A recently finished "Pig Sticker" for a client. The mad buggers down here chase wild pigs with dogs then jamb a blade between their ribs to finish them off. Personally, I prefer shooting them, much easier and safer.
Getting an even blade thickness is key. (That one started as a piece or 3/4 × 1/2" 5160.) I then forged in the point and bevels. The rest is mostly careful grinding. Having the edges centred is critical. It's really important to keep an eye on it as you get close to finishing.

It has been a long time since I posted a finished knife (this is not the one for my second attempt at journeymen)
Blade steel: Hitachi blue from pops knife supply
Blade length 71/2 inches to the intentionally ugly guard
overall length 12 and 7/8ths inches
blade widths 1 1/2 inches
Rivets: large one is copper, the small one brass
its only been bedded in epoxy
I cracked the wedge handle material a little weirdly so i will change how i rivet it as i think it was do to the guard so i did not put my mark on it. but i desided this was a battifled repaired knife i do like the forged finished look/
Is this your most recent work?
“So I'm lightin' out for the territory, ahead of the scared and the weak and the mean spirited, because Aunt Sally is fixin’ to adopt me and civilize me, and I can't stand it. I've been there before.”
Yes, and no, it's my most recent Finished work. I finished it on November 3rd, 2023, I had the blade heat-treated on August 16th, 2023. I have a few I forged much more recently, but they are not finished yet. haveing had a few days to calm down after it happened I think what caused the spit was the choice of wood I used; Wenge looking at a board I have for scales, and the block I used seems like it is weak if the grains orientation is vertical like it is on this handle, as it has little imperfections in it as it split along the grain line at one of those imperfections, as I have used wenge scales on two other knives that worked just fine using my flat rivet method. My thumb is pointing at where it split. You can see the imperfections. I dont have the equipment right now to Stabilize wood, so I could not stabilize the block.
Good morning. Been a bit since I posted anything up. Set of some boning knives out for Christmas orders and a small clip point.
I have on the bench and in plan for starting in the new year moving to hidden tangs. Still a long ways to go on the journey, but looking back at the first one which is hanging on the shop wall, proud of where I’m at for only a little over a year in.
daytime work which pays the bills unfortunately right now keeps me from being able to take some courses, but hoping next year to do a couple.
