
I got the urge to try a boar spear and thought I'd share my results. To be more precise, a boar spear head.
I decided that the socket did not need to be lapped and welded as it would for a different application. For instance, a timber framing chisel would need welded because it would likely be struck with a mallet. A spear would be thrust, possibly thrown, and should not undergo the same type of abuse.
Anyway, I started with a bar of 80CRV2 steel. You can use your choice, but my recommendation is get familiar with the steel's characteristics and be certain you stay within it's particular limitations as far as heat ranges, etc. This bar was about .350 X 1-1/2 and I used maybe 6-1/2 inches of it. I forged the point pretty well to shape while it was on the bar before I needed to turn it around and work on the socket fan.
I am first placing material in it's general proportion for the blade.

You can see that I forged a "waist" into the piece to separate the blade and the fan as well as to establish shaft or ricasso. At the above stage, there is very little distal taper in it. That can come later if necessary. I'll explain. Since the cross section is diamond shape, I don't want to commit to the distal taper yet. I will next forge the bevels as if it were a dagger. I start forging one set of bevels (tilting the opposite side of the blade up) which pushes the blade into an "away" curve after which I forge the other bringing it back. Besides achieving bevels, doing it this way will also lengthen the blade and allow the ridges down the middle to follow along naturally without specifically concentrating on the distal taper. Of course, the blade will spread some, but mostly it will lengthen.
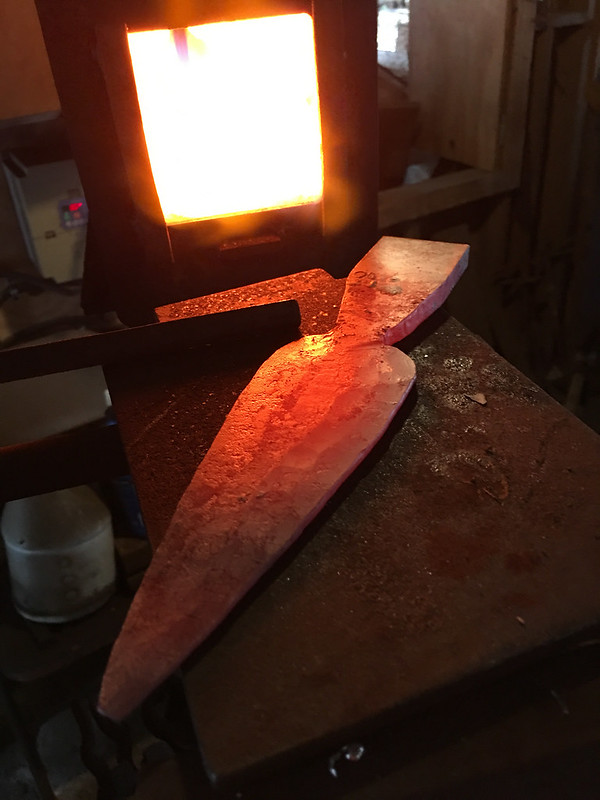
There should be a ricasso of sorts and two sets of bevels. In the above picture, the blade is 95% forged to shape But I wait till after the very high heats to do the hammer smoothing which should be at a lower heat.
The socket needs some forethought so plan it out before you put it back into the forge. I cut it off the bar with a bit more than what I think is enough. I then forge the fan. Remember the 1-1/2 inch bar will need to spread out to about 3 inches maybe a little more out at the end of the fan. just behind the ricasso, it needs to spread rather abruptly to about 1-1/4 to 1-3/8. The sides of the fan need to be sort of straight. There also should be some taper going from the ricasso toward the back. Take your time in the preparation of this step. Think of the material distribution. This is all done with the skills you already have from forging blades. Get it as smooth as you can. The taper should be about 1/8 thick where it steps from the ricasso and taper to a little less than 1/16 thick at the wide end of the socket.
This is the outside of the socket facing up.

This is the inside of the socket facing up. I had just started the roll of the socket and thought to take a picture.
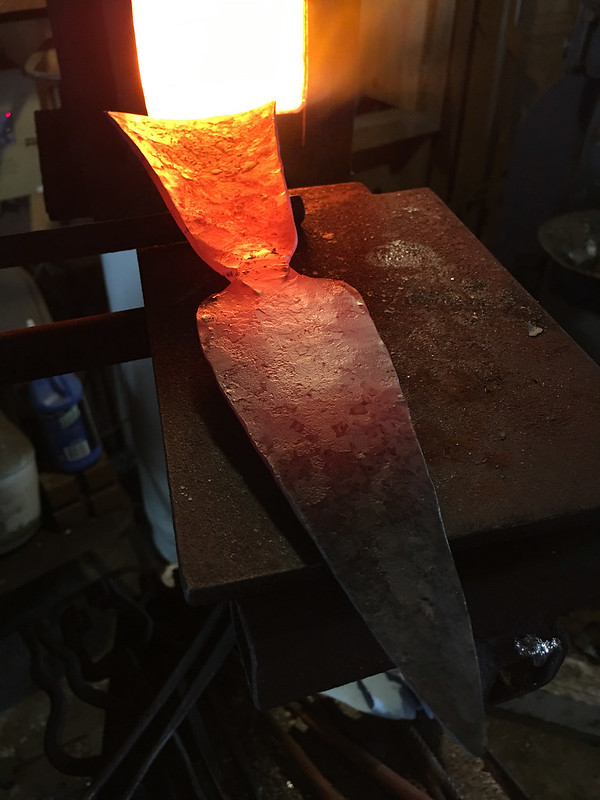
Notice the difference in the two surfaces of the fan. The outside is pretty flat and the inside has a slight ramp just behind the ricasso. That helps get the "hollow" shifted over.
As for rolling the socket. A swage block is handy but I use the step from my anvil face to the cutting shelf to get it started, then I just carefully hammer it into a round shape. Make any corrections as soon as you recognize it needs it. Don't wait.
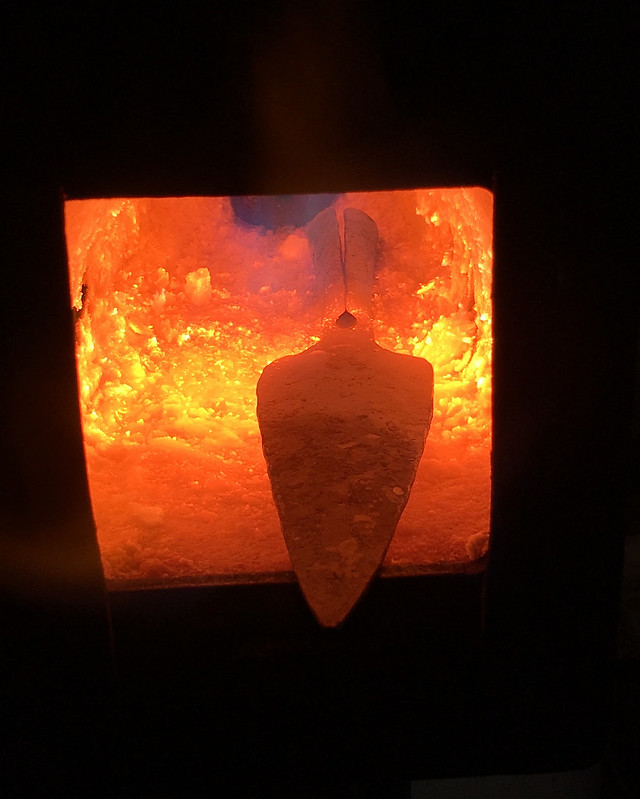
Now is the time to straighten and smooth the blade. Straighten it all, do any hot stamping as well.
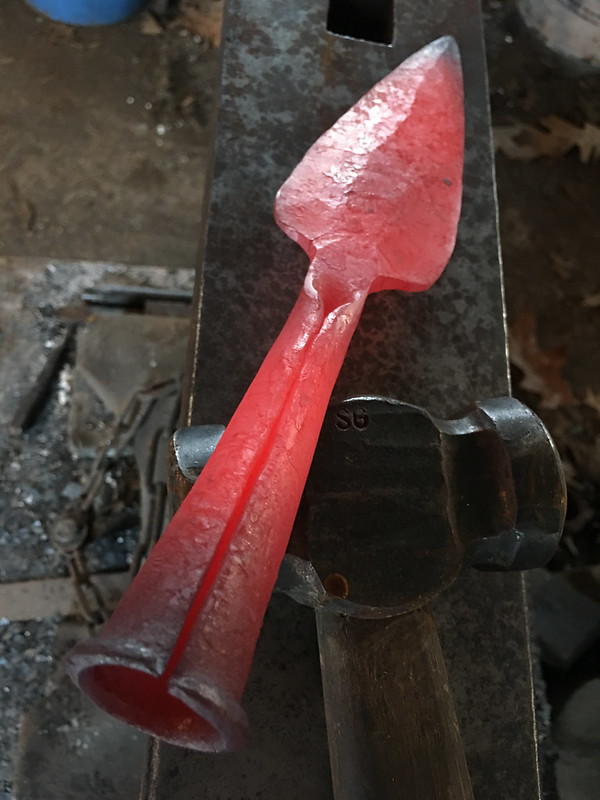
The next part can be done or not. I like it so I rolled a rim at the end of the socket. I just heated the very end of the socket and stuck it over the horn sort of jacked up in the air and, using a little hammer, hammered behind the very edge which flares the edge. I just keep the end hot and go all the way around. It's flared about 45 degrees. I then heat the same area but tap right on the end of the socket using fast, sharp blows. Again, with a small hammer. This will roll the rim. Just like rolling down your socks.
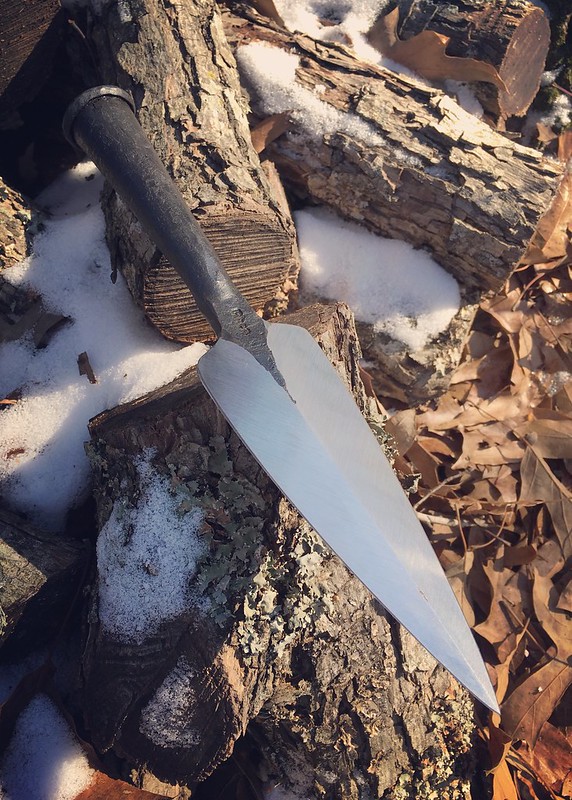
Here is a very usable but obviously forged spear head.
I muddled through this process but I think the steps will get you there. If there is anything I can explain, please ask here in the this thread. Thank you.
That's outstanding Lin. I have a buddy that has a blood tracking dog that wants one. Here it is not legal to shoot a deer at night when tracking. He has had to use a knife several times and I did as well when I was on a blood trail with him and his Dog. I have one started using your methods. I have the blade portion forged to about 90% and have to cut it off the parent bar to continue. Thanks for sharing your method for this project, especially the socket handle.

This is where I am so far. I hope you don't mind if I post my progress so far? I will show it in its own thread when completed.
Chris
I look forward to seeing it when it's completed. Love to see the results.
Lin
Very nice work and looks like a lot. Thanks for showing the steps used in the forging.
Anthony
Love the spear!

That is a nice bit o'forging there mate! I have a spear on my to-do list this year.
(dang bucket list gets longer everyday!)
There was a discussion on another forum recently about making a lugged spear. Have you ever considered trying that?
There seems to be a couple of different methods.
Joshua States
www.dosgatosforge.com
https://www.youtube.com/channel/UCdJMFMqnbLYqv965xd64vYg
https://www.facebook.com/dos.gatos.71
Also on Instagram and Facebook as J.States Bladesmith
“So I'm lightin' out for the territory, ahead of the scared and the weak and the mean spirited, because Aunt Sally is fixin’ to adopt me and civilize me, and I can't stand it. I've been there before.â€

I just finished my first boar spear.
Keep trying Michael. I would like to see it. You can look at the instructions for posting photos and work through it. If need be, send me the photo and I'll post it.
Very nice work Michael. I am impressed.
Chris
Thanks Chris
thats amazing.
